導航條的自定義:背景顏色設置,按鈕標題圖片設置,圖片坐標修改
編輯:IOS開發基礎
一、修改系統原生導航條
修改導航條背景顏色
self.navigationController.navigationBar.barTintColor = [UIColor colorWithHexString:@"#2295f2"];
自定義導航條按鈕
self.navigationItem.rightBarButtonItem = [[UIBarButtonItem alloc]initWithImage:[UIImage imageNamed:@"btn-menu-h"] style:UIBarButtonItemStylePlain target:self action:@selector(menuBtnClick)];
自定義的按鈕圖片距屏幕邊緣太遠,可通過以下代碼修改


self.navigationItem.leftBarButtonItem.imageInsets = UIEdgeInsetsMake(0,-20,0,0);
self.navigationItem.rightBarButtonItem.imageInsets = UIEdgeInsetsMake(0,-10,0,10);
設置了導航條背景顏色,會導致按鈕標題顏色改變,通過以下方法修改
self.navigationController.navigationBar.tintColor = [UIColor whiteColor];
修改標題顏色和字體大小
self.navigationController.navigationBar.titleTextAttributes =@{NSForegroundColorAttributeName: [UIColor colorWithHexString:@"#ffffff"],NSFontAttributeName:[UIFont systemFontOfSize:15]};修改按鈕標題顏色大小
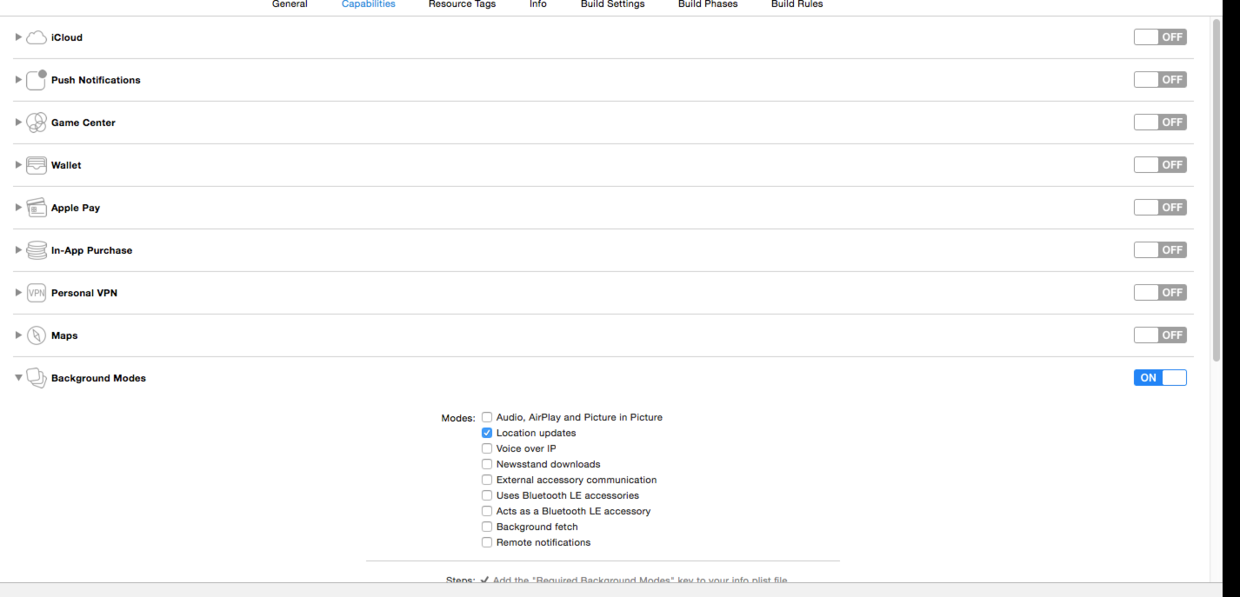
[self.navigationItem.rightBarButtonItem setTitleTextAttributes:@{NSForegroundColorAttributeName: [UIColor colorWithHexString:@"#ffffff"],NSFontAttributeName:navItermFont} forState:UIControlStateNormal];因為導航條是半透明的,如果不做處理導航條的顏色總是和設計顏色有誤差
這行代碼可以關閉半透明效果,但是會導致坐標0點移動。
[UINavigationBar appearance].translucent = NO;
關閉坐標0點移動
self.edgesForExtendedLayout = UIRectEdgeNone;
水平有限,關於translucent屬性的詳細解答請移步:IOS7 導航欄適配--translucent屬性設置的問題
二、自定義導航條
如果系統導航條不能滿足設計要求,就需要根據設計自定義,代碼中只寫了標題和左右按鈕,根據設計可以加入任意控件.
#import @interface CustomNav : UIView
@property(nonatomic,strong)UIButton *buttonLeft;
@property(nonatomic,strong)UIButton *buttonRight;
- (id)initWithTitle:(NSString *)title;
@end

#import "CustomNav.h"
@implementation CustomNav

- (id)initWithTitle:(NSString *)title
{
 self=[super init];
if (self)
{
    self.frame = CGRectMake(0, 0, SCREEN_WIDTH, 64);
    ##標題
    UILabel *titleLabel = [[UILabel alloc]init];
    titleLabel.frame = CGRectMake(SCREEN_WIDTH/4.0, 22, SCREEN_WIDTH/2.0, 40);
    titleLabel.textAlignment = NSTextAlignmentCenter;
    titleLabel.textColor = [UIColor colorWithHexString:@"#ffffff"];
    titleLabel.font = [UIFont systemFontOfSize:17];
    titleLabel.text = title;
    [self addSubview:titleLabel];
    ##左按鈕
    self.buttonLeft = [UIButton buttonWithType:UIButtonTypeCustom];
    self.buttonLeft.frame = CGRectMake(0, 22, 40, 40);
    [self addSubview:self.buttonLeft];
    self.buttonLeft.titleLabel.font = [UIFont systemFontOfSize:15];
    self.buttonLeft.contentHorizontalAlignment = UIControlContentHorizontalAlignmentRight;
     ##右按鈕
    self.buttonRight = [UIButton buttonWithType:UIButtonTypeCustom];
    self.buttonRight.frame = CGRectMake(SCREEN_WIDTH - 40, 22, 40, 40);
    [self addSubview:self.buttonRight];
    self.buttonRight.titleLabel.font = [UIFont systemFontOfSize:15];
    self.buttonRight.contentHorizontalAlignment = UIControlContentHorizontalAlignmentLeft;
    self.backgroundColor = [UIColor colorWithHexString:@"#2295f2"];
}

return self;
}
@end

相關文章
+- 進修iOS自界說導航掌握器UINavigationController
- iOS完成知乎和途家導航欄突變的文字動畫後果
- iOS中navigationController 去失落配景圖片、去失落底部線條的焦點代碼
- iOS中的導航欄UINavigationBar與對象欄UIToolBar要點解析
- 關於iOS導航欄前往按鈕成績的處理辦法
- 詳解iOS運用中自界說UIBarButtonItem導航按鈕的創立辦法
- iOS完成頂部標簽式導航欄及下拉分類菜單
- IOS百度地圖導航開辟功效完成簡述
- 深刻進修iOS7自界說導航轉場動畫
- iOS App開辟中導航欄的創立及根本屬性設置教程
- IOS仿昔日頭條滑動導航欄
- 詳解iOS開辟中應用storyboard創立導航掌握器的辦法
- iOS運用開辟中導航欄按鈕UIBarButtonItem的添加教程
- iOS開辟中導航掌握器的根本應用教程
- iOS隱藏導航欄底部的線條& UINavigationBar小技巧