iPhone開發學習筆記002——Xib設計UITableViewCell然後動態加載
一、新建iOS Application工程,選擇Single View Application,不要選中Use Storyboard.假設指定的是product name和class prefix都是one,則完成後自動生成代碼視圖如下圖:
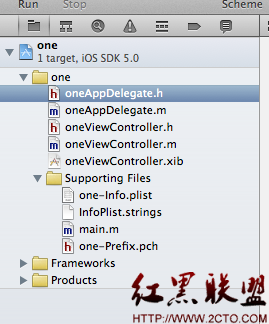
該應用默認加載的是oneViewController的view.雙擊oneViewController.xib,在該xib默認的view上面添加控件UILabel、UIButton和一個UITableView,如下圖所示:
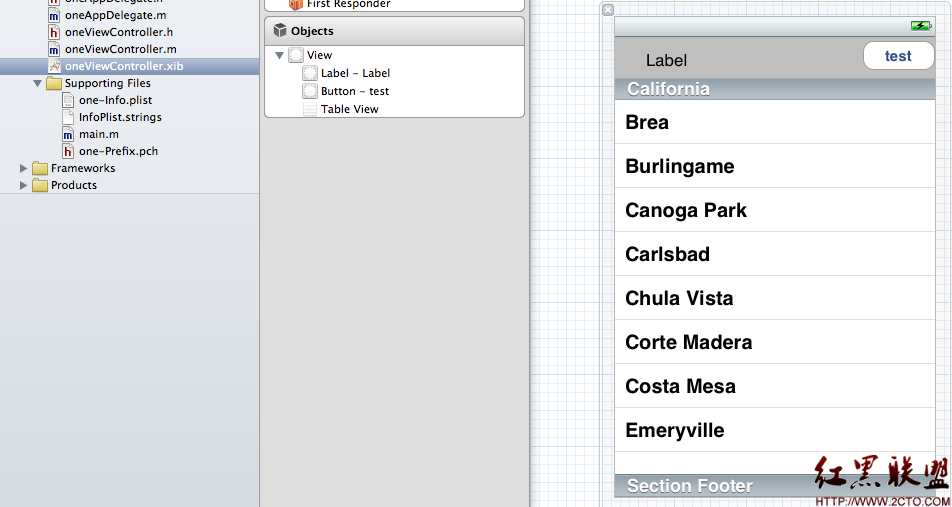
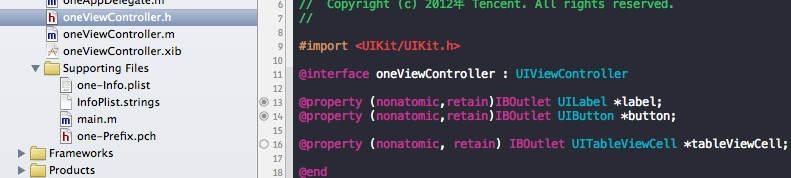
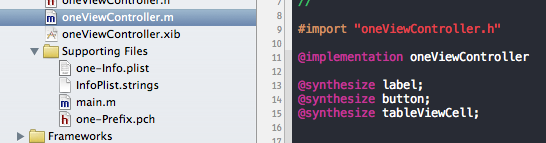
在oneViewController頭文件和*.m文件中定義和聲明三個屬性label、button、tableViewCell前兩個對應xib界面上的label和button,最後一個對應於即將創建的xib文件中的tableViewCell,並且將label和button屬性和界面上的控件通過拖拽相互關聯,如下圖:
oneViewController.h:
oneViewController.m:
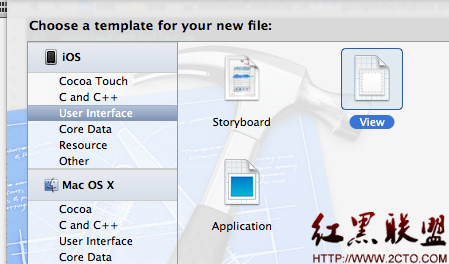
二、新建根view為UITableViewCell的xib文件Cell.xib:
無法直接生成根view為UITableViewCell的xib文件,可以通過先新建根view為UIView的xib文件,然後將該xib的根view刪除,再從Library窗口中拖一個Table View Cell到該xib中做為該xib的根view.如下圖:
剛生成的時候:
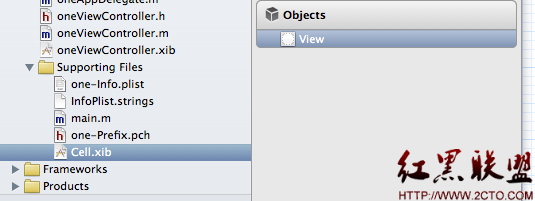
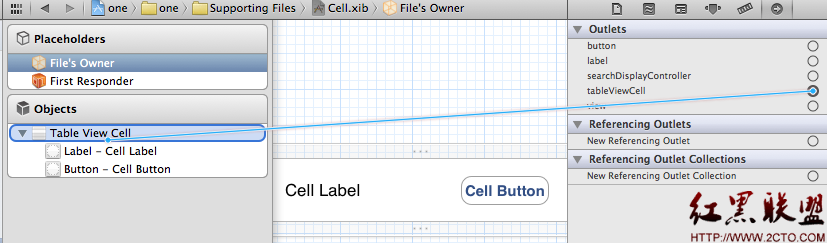
將上面的view刪除,拖一個table view cell代替,並且在該table view cell上面添加一個label和一個button,如下圖:

設置Table View Cell下面的Cell Label和Cell Button的view Tag分別為1和2:

然後選中上面的File's owner,在identify inspector視圖Custom Class中選擇對應的加載類為oneViewController:

並且從connections inspector下面的Outlets內的UITableViewCell對象tableViewCell與中間視圖窗口中的Objects下面的Table View Cell相拖拽連接:(圖XXX)
在Attributes inspector中設置Table View Cell的identifier為:CellIdentifier:

保存。
三、代碼中動態加載Table View Cell XIB:
打開oneViewController.h讓oneViewController實現協議UITableViewDataSource,UITableViewDelegate,即:
oneViewController.m中實現下面的接口方法:
- (NSInteger)tableView:(UITableView *)tableView numberOfRowsInSection:(NSInteger)section{
return20;
}
// Row display. Implementers should *always* try to reuse cells by setting each cell's reuseIdentifier and querying for available reusable cells with
dequeueReusableCellWithIdentifier:
// Cell gets various attributes set automatically based on table (separators) and data source (accessory views, editing controls)
- (UITableViewCell *)tableView:(UITableView *)tableView cellForRowAtIndexPath:(NSIndexPath *)indexPath{
staticNSString *CustomCellIdentifier =@"CellIdentifier";
UITableViewCell *cell = [tableView dequeueReusableCellWithIdentifier: CustomCellIdentifier];
if (cell ==nil) {
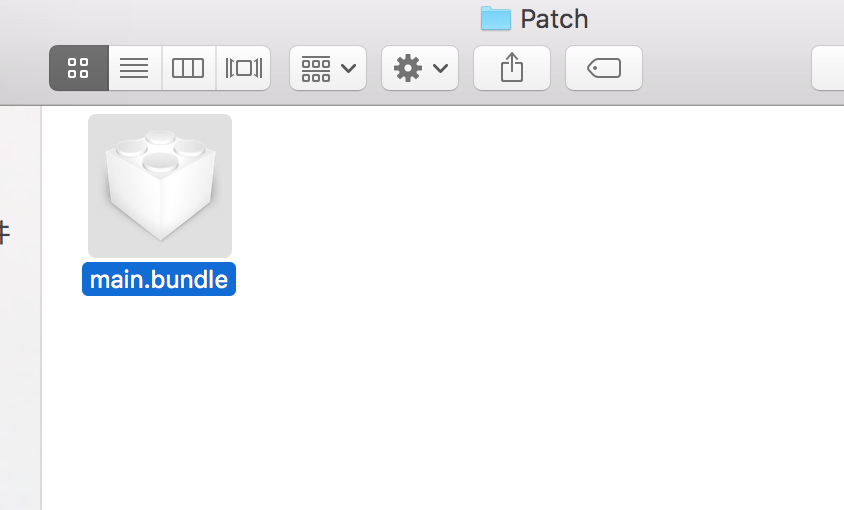
NSArray *nib = [[NSBundlemainBundle]loadNibNamed:@"Cell" owner:selfoptions:nil];
// if ([nib count] > 0) {
// cell = self.tableViewCell;
// } else {
// NSLog(@"failed to load CustomCell nib file!");
// }
cell = [nib objectAtIndex:0]; // 注釋掉的和該句是兩種方式,在這裡兩種方式都行。但是如果沒有上面紅色處(圖XXX)的拖拽連接過程,這裡只能使用nib objectAtIndex方式。
}
NSUInteger row = [indexPathrow];
NSLog(@"++++++++++++++ jonesduan %s, cell row:%d", __func__, row);
UILabel *cellLabel = (UILabel *)[cellviewWithTag:1];
cellLabel.text = [NSStringstringWithFormat:@"cell index: %d", row];
UIButton *cellButton = (UIButton *)[cellviewWithTag:2];
[cellButton setTitleColor:[UIColorredColor]forState:UIControlStateNormal];
[cellButton setTitleColor:[UIColororangeColor]forState:UIControlStateHighlighted];
[cellButton setTitle:@"Press me!"forState:UIControlStateNormal];
[cellButton setTitle:@"Pressed!"forState:UIControlStateHighlighted];
return cell;
}
- (CGFloat) tableView:(UITableView *)tableView heightForRowAtIndexPath:(NSIndexPath *)indexPath {
// Modified by jonesduan.
return80;
}
- (void)didReceiveMemoryWarning
{
[superdidReceiveMemoryWarning];
// Release any cached data, images, etc that aren't in use.
}
#pragma mark - View lifecycle
- (void)viewDidLoad
{
[superviewDidLoad];
// Do any additional setup after loading the view, typically from a nib.
[self.labelsetBackgroundColor:[UIColorgrayColor]];
[self.buttonsetTitleColor:[UIColorgreenColor]forState:UIControlStateNormal];
[self.buttonsetTitleColor:[UIColororangeColor]forState:UIControlStateHighlighted];//這裡控制的是oneViewController.xib中的label和button,前面已經拖拽連接過。
}
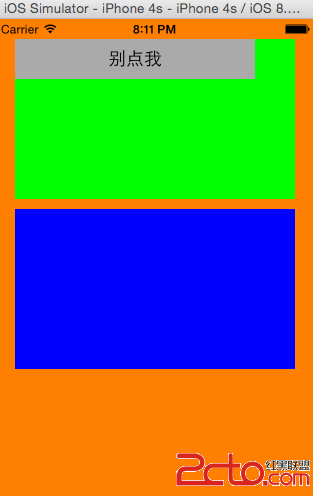
這樣完成後。CMD + R運行一下看看,發現界面如下圖所示:
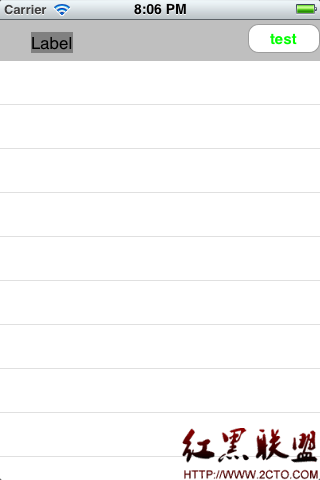
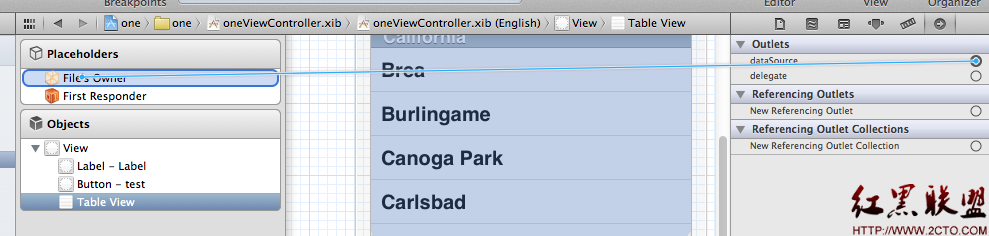
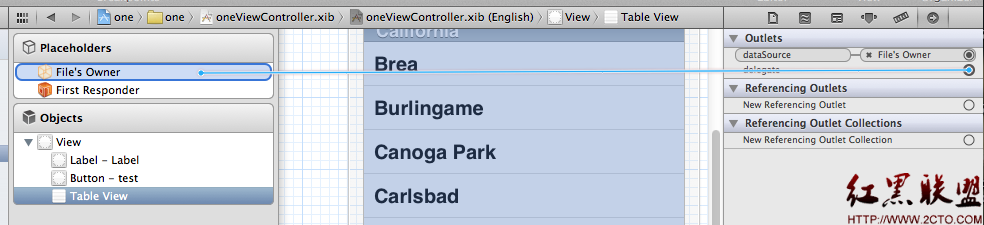
並沒有顯示Cell.xib中的Cell Label和Cell Button,下面是最重要的一點,也是一個人研究了很久才知道的,即:選中oneViewController.xib中view下的子Table View,切換到connections inspector,將Table View的dataSource和delegate均與File's owner相拖拽進行連接。如下圖:
連完後,再CMD + R運行看看,結果是不是就如下圖所示了,
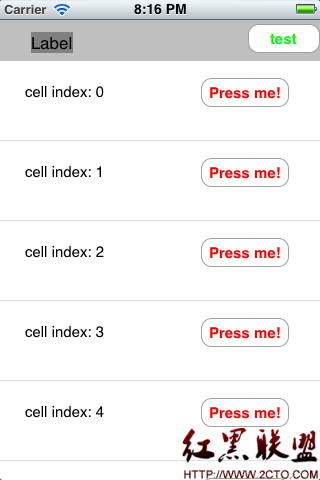
OK,成功!
總結:通過xib自定義view比較重要的一點就是這個view被哪個view controller使用,比如xxxViewController,就要在identity inspector中Custom Class指定對應的加載類為xxxViewController,然後選中File's owner(中間大窗口中的Placeholders下),並切換到connections inspector將Outlets下面的對象與中間大窗口中的Objects(與Placeholders同級別,在Placeholders下面)下的根視圖相連接。最後別忘了Table View的dataSource和delegate均與File's owner相拖拽進行連接。
APPLE開發最不習慣的就是拖拽連接,在此記錄一下作為個人參考,免得以後忘記了。
demo下載地址:http://download.csdn.net/detail/duanyipeng/4063778
摘自 Code Heaven
- iOS獲得以後裝備型號等信息(全)包括iPhone7和iPhone7P
- xcode8提交ipa掉敗沒法構建版本成績的處理計劃
- Objective-C 代碼與Javascript 代碼互相挪用實例
- iOS開辟之UIPickerView完成城市選擇器的步調詳解
- iPhone/iPad開辟經由過程LocalNotification完成iOS准時當地推送功效
- iOS法式開辟之應用PlaceholderImageView完成優雅的圖片加載後果
- iOS Runntime 靜態添加類辦法並挪用-class_addMethod
- iOS開辟之用javascript挪用oc辦法而非url
- iOS App中挪用iPhone各類感應器的辦法總結
- 實例講授iOS中的UIPageViewController翻頁視圖掌握器
- IOS代碼筆記UIView的placeholder的後果
- iOS中應用JSPatch框架使Objective-C與JavaScript代碼交互
- iOS中治理剪切板的UIPasteboard粘貼板類用法詳解
- iOS App開辟中的UIPageControl分頁控件應用小結
- 詳解iOS App中UIPickerView轉動選擇欄的添加辦法