iOS UI根底學習 Note_dayTwo
編輯:IOS開發綜合
暑假至今才出去一天和最好的冤家吃吃吃 然後就得持續回來學習
嗯…我能夠過了一個假的暑假
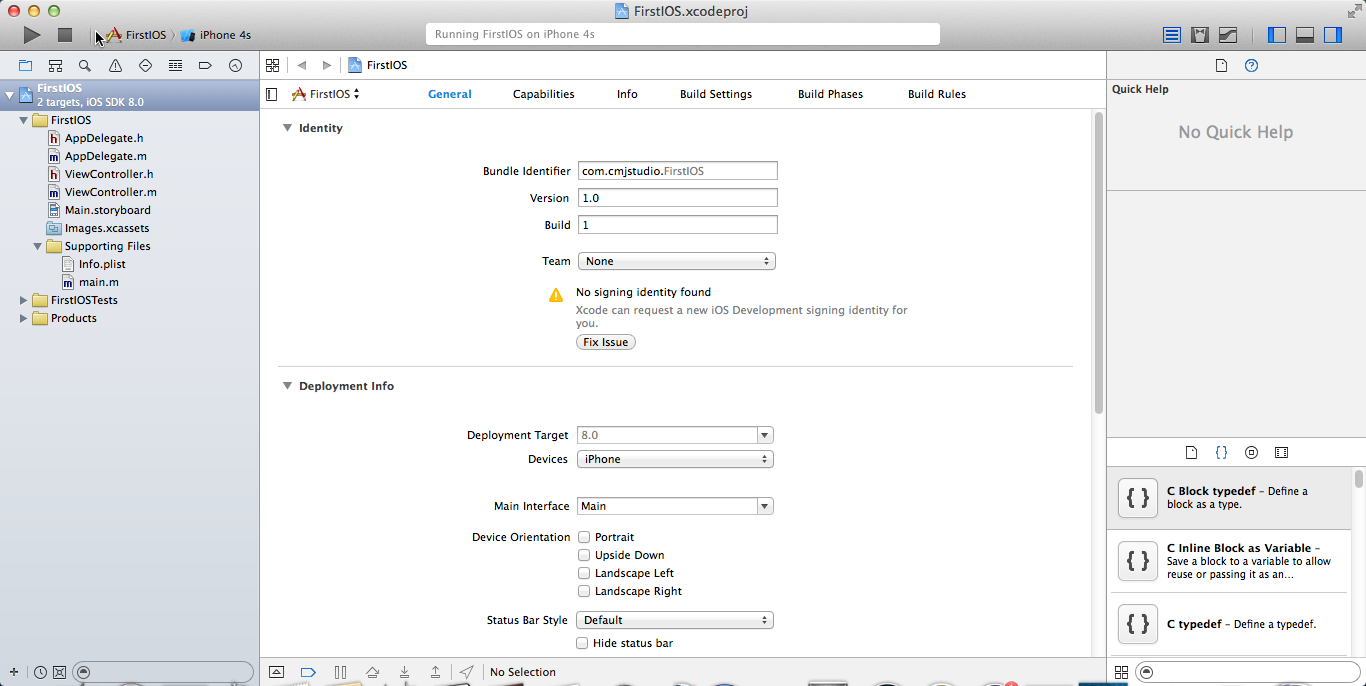
昨天深化的學習了UITextField..UILabel..UIImage..應用UIImageView和UIToolBar 生成一個毛玻璃的背景..應用UIImageView和NSMutableArray創立動畫 以及AVFoundation/AVFoundation.h中的AVplayer
UILabel&UITextField應用UIButton UILabel UITextField 做一個簡易的加法計算器demo
中心代碼:
- (IBAction)getResult {
    NSString *num1 = self.numberOne.text;
    NSString *num2 = self.numberTwo.text;
     //用兩個字符串 num1和num2監聽兩個TextField用戶所輸出的
 //數值
    if (num1.length ==0 ||num2.length ==0) {
        UIAlertController *alertController = [UIAlertController alertControllerWithTitle:@"短少輸出數字" message:@"請補充完全部數字" preferredStyle:UIAlertControllerStyleAlert];
        [alertController addAction:[UIAlertAction actionWithTitle:@"我知道了" style:UIAlertActionStyleDestructive handler:^(UIAlertAction * _Nonnull action) {
            nil;
        }]];
/*UIAlertController 是一個彈窗的辦法.alertControllerWithTitle是彈窗的標題 message是彈窗的內容
addAction:則是添加一個按鈕.該辦法是經過閱讀其他博客所學的
*/
        [self presentViewController:alertController animated:YES completion:nil];
//以後頁面添加創立的彈窗對象
    }

    int res = [num1 intValue] + [num2 intValue];
    self.result.text = [NSString stringWithFormat:@"%d",res];
}


在UITextField控件的顯示屬性反省器中有一個是Keyboard Type 可以選擇虛擬鍵盤的類型 然後在模仿器中經過command+K調出虛擬鍵盤 UIImage&UIToolBar 應用這三個類經過代碼創立一個毛玻璃效果的demo,把圖片加載到Assets.xcassets中,中心代碼如下:
- (void)viewDidLoad {
    [super viewDidLoad];
    [self ImageView];
}
- (void)ImageView{
    UIImage *image = [UIImage imageNamed:@"timg"];
//創立一個UIImage對象,獲取到一張圖片
    UIImageView *imageView = [[UIImageView alloc]initWithImage:image];
//創立一個UIImageView對象,將獲取到的照片傳給畫布
    imageView.frame = self.view.bounds;
//設置畫布的地位和尺寸,此處設置為與屏幕同寬高
    imageView.backgroundColor = [UIColor redColor];
//設置背景顏色
    imageView.contentMode = UIViewContentModeScaleaspectFill;
//設置顯示形式,此處為按比例填充
    imageView.clipsToBounds = YES;
//裁剪掉多余的局部
    [self.view addSubview:imageView];
//添加到View中
    [self toorbar];
}

-(void)toorbar{
//應用UIToolBar制造毛玻璃效果背景
    UIToolbar *toolbar = [[UIToolbar alloc]initWithFrame:self.view.bounds];
//初始化並設置地位和尺寸
    toolbar.barStyle = UIBarStyleBlack ;
//顯示款式
    toolbar.alpha = 0.9f;
//alpha是通明度
    [self.view addSubview:toolbar];
//添加到View
}
demo截圖
原圖

效果圖

想用AVPlayer需求調用頭文件AVFoundation/AVFoundation.h
在下面的demo的根底上經過修正變量和添加控件制造一個簡易播放器的demo,中心代碼如下:
@interface ViewController ()
@property (weak, nonatomic) IBOutlet UIImageView *imageview;
@property (nonatomic, strong) AVPlayer *player;
//創立一個AVPlayer的全局變量對象
@end

@implementation ViewController
- (void)viewDidLoad {
    [super viewDidLoad];
    [self groundGlass];
    [self playwithitem];
}

-(void)playwithitem{
    NSURL *url = [[NSBundle mainBundle]URLForResource:@"mySong1.mp3" withExtension:nil];
    AVPlayerItem *item = [AVPlayerItem playerItemWithURL:url];
    self.player = [[AVPlayer alloc]initWithPlayerItem:item];
/*
創立一個AVPlayerItem對象並讀取音樂文文件
初始化AVPlayer 傳入AVPlayerItem對象獲取的文件文件 並賦值給全局變量對象
*/
}

(IBAction)nextOrLast:(UIButton *)sender {
// 經過4個按鍵 關聯2個代碼塊 經過各自的Tag來區別各自的功用
    NSString *musicName = nil;
    switch (sender.tag) {
        case 1:
            musicName = @"mySong2.mp3";
            break;
//上一首
        case 4:
            musicName = @"mySong3.mp3";
            break;
//下一首
        default:
            break;
    }
    NSURL *url = [[NSBundle mainBundle]URLForResource:musicName withExtension:nil];
    AVPlayerItem *item = [AVPlayerItem playerItemWithURL:url];
//獲取上一首或下一首的歌名並傳入AVPlayerItem對象
    [self.player replaceCurrentItemWithPlayerItem:item];
//將獲取到歌名的AVPlayerItem對象傳給改換歌曲的辦法
    [self.player play];
//播放音樂
}

- (IBAction)playOrPause:(UIButton *)sender {
    switch (sender.tag) {
        case 2:
            [self.player pause];
            break;
//暫停
        case 3:
            [self.player play];
            break;
//播放
        default:
            break;
    }
}
@end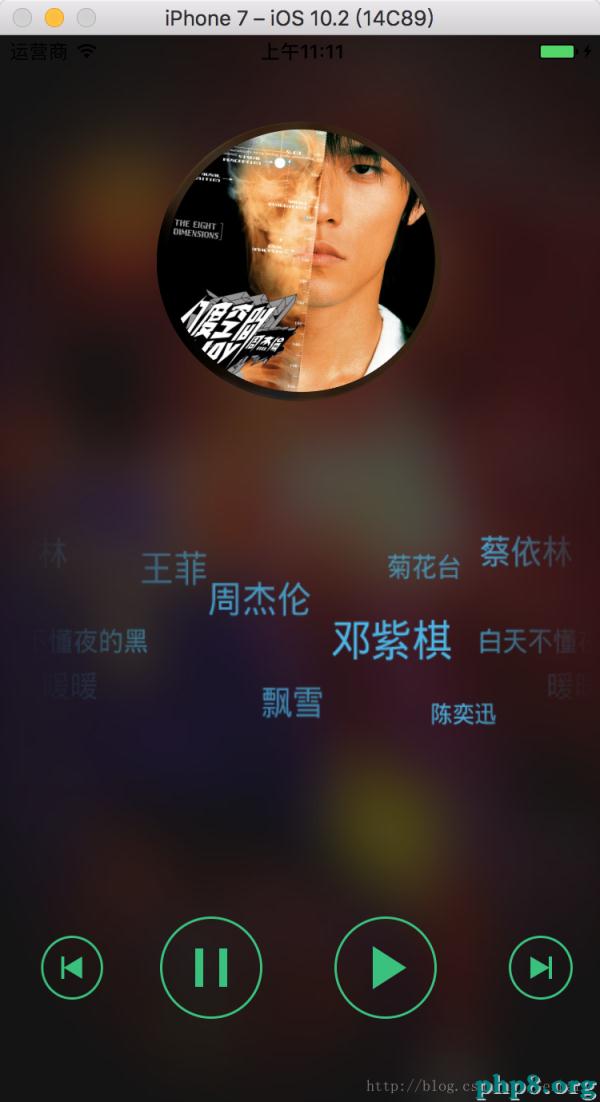
經過AVPlayer的學習,我學到一種寫OC代碼的辦法:就是缺啥補啥法
例如
   AVPlayer *palyer1 = [AVPlayer alloc]initWithPlayerItem:<#(nullable AVPlayerItem *)#>]
/*
下面代碼需求你傳入一個AVPlayerItem的對象,這個時分我們就創立一個AVPlayerItem的對象
*/
AVPlayerItem *item =[AVPlayerItem playerItemWithURL:<#(nonnull NSURL *)#>]
/*
下面代碼需求你傳入一個XVPlayerItem的對象,這個時分我們就創立一個NSURL的對象
*/
...
/*
反正 需求我們傳入什麼 我們除了可以commond 點擊類名去查找辦法
還可以經過上述辦法編寫代碼
*/經過UIImage..NSMutableArray類來制造一個簡易拳皇的幀動畫demo
中心代碼如下:
- (void)loadingWithCount:(int)count andName:(NSString *)name andDuration:(NSTimeInterval)duration andRepeatCount:(int)Rcount{
NSMutableArray <UIImage *> *imageArr = [[NSMutableArray alloc]init];
//創立一個具有<UIImage *>協議的可變數組來接納一切圖片
for (int i = 0; i < count; ++i) {
NSString *path = [[NSBundle mainBundle]pathForResource:[NSString stringWithFormat:@"%@_%d",name,i+1] ofType:@"png"];
UIImage *image = [UIImage imageWithContentsOfFile:path];
[imageArr addObject:image];
//將遍歷出來的圖片傳入圖片可變數組
}
self.imageView.animationImages = imageArr;
//將圖片數組賦值給動畫播放圖片
self.imageView.contentMode = UIViewContentModeScaleaspectFit;
self.imageView.animationRepeatCount =Rcount;
//播放次數
self.imageView.animationDuration = duration;
//播放時長
[self.imageView startAnimating];
//開端播放
- (IBAction)Mid{
[self loadingWithCount:39 andName:@"xiaozhao3" andDuration:2.4f andRepeatCount:1];
}
- (IBAction)Max{
[self loadingWithCount:87 andName:@"dazhao" andDuration:5.8f andRepeatCount:1];
}
- (void)initalization
{
[self loadingWithCount:9 andName:@"stand" andDuration:0.6 andRepeatCount:0];
}
- demo截圖
//這裡與之前的傳入圖片辦法有所不同之前是用了
UIImage *image = [UIImage imageNamed:@"xxx"]
//而這裡用的是
NSString *path = [[NSBundle mainBundle]pathForResource:[NSString stringWithFormat:@"%@_%d",name,i+1] ofType:@"png"];
UIImage *image = [UIImage imageWithContentsOfFile:path];
/*
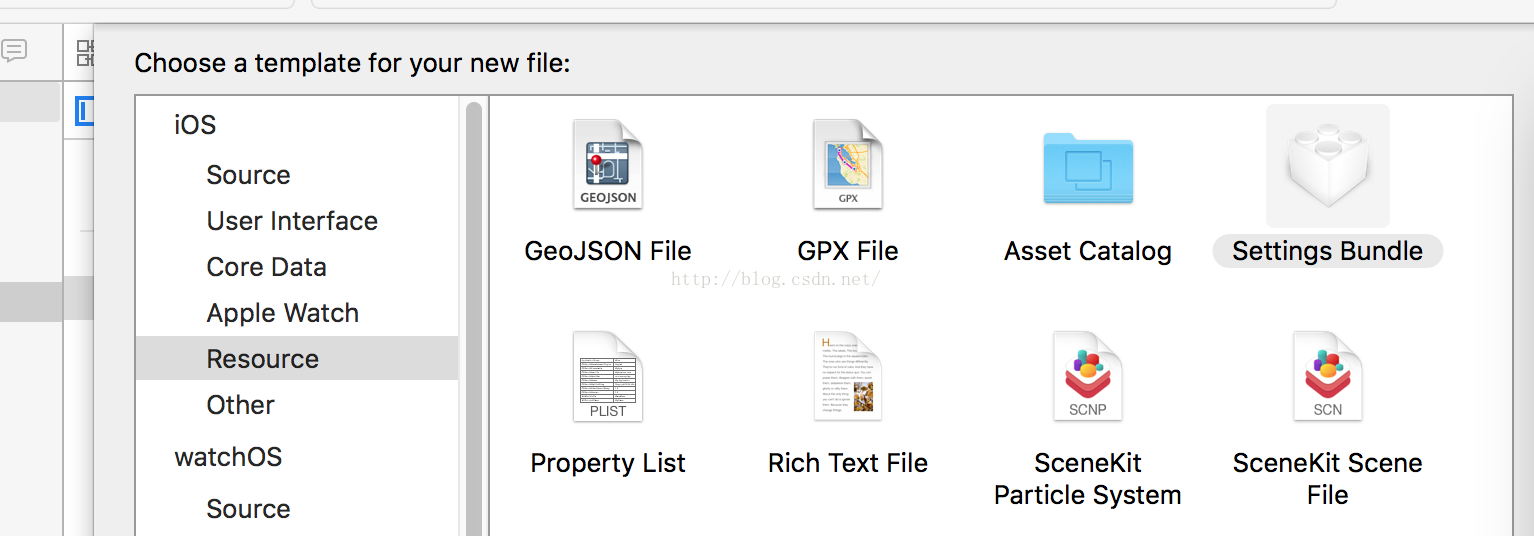
圖片也不是傳入到Assets.xcassets,而是加載到Supporting Files
這樣做的益處是當把強指針賦值為nil時,會釋放掉以後對象的運轉內存
而用 UIImage *image = [UIImage imageNamed:@"xxx"]並把圖片放置Assets.xcassets會生成一個Assets.car,即便你把強指針賦值為nil,占用內存照舊沒有變化
*/以上是第二天的學習,假如有什麼疑問或許錯誤以及珍貴的意見歡送提出,吃個午飯持續第三天的學習,嘿嘿嘿.
【iOS UI根底學習 Note_dayTwo】的相關資料介紹到這裡,希望對您有所幫助! 提示:不會對讀者因本文所帶來的任何損失負責。如果您支持就請把本站添加至收藏夾哦!
相關文章
+