IOS 九宮格布局實現方法
編輯:IOS開發綜合
以前剛開始搞iOS的時候大部分都是通過計算frame來布局視圖,搞著搞著貌似都是用自動布局來搞定了,因為自動布局實在太方便、太好用了,所以當我昨天突然回看以前代碼的時候突然看到了以前寫的九宮格布局,感覺很多東西都忘了,所以今天特意在這裡記錄一下,並且通過幾個簡單的宏定義來完成布局的需求,具體大家看代碼吧,都有注釋 很好懂:
//
// ButtonContainerView.h
// chemuchao
//
// Created by 遇見遠洋 on 16/3/7.
// Copyright © 2016年 zhaoxiaolu. All rights reserved.
//

#import <UIKit/UIKit.h>
//按鈕點擊block
typedef void(^spitlotBtnClick)(UIButton * btn);
@interface ButtonContainerView : UIView
@property (nonatomic,copy)spitlotBtnClick spitlotBlock;/**<<#展示對話內容的tableview#>*/

@end
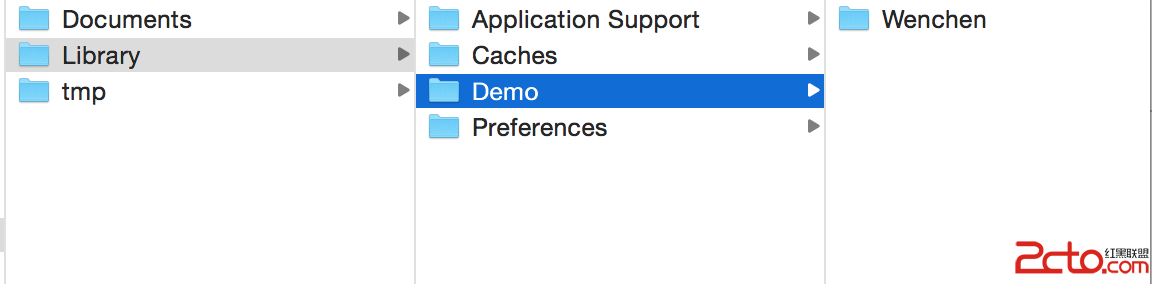
這裡給大家推薦一個寫注釋的好方法吧,在聲明屬性的時候,我們如果想在別的地方調用這個屬性的時候在下方有提示 如圖:
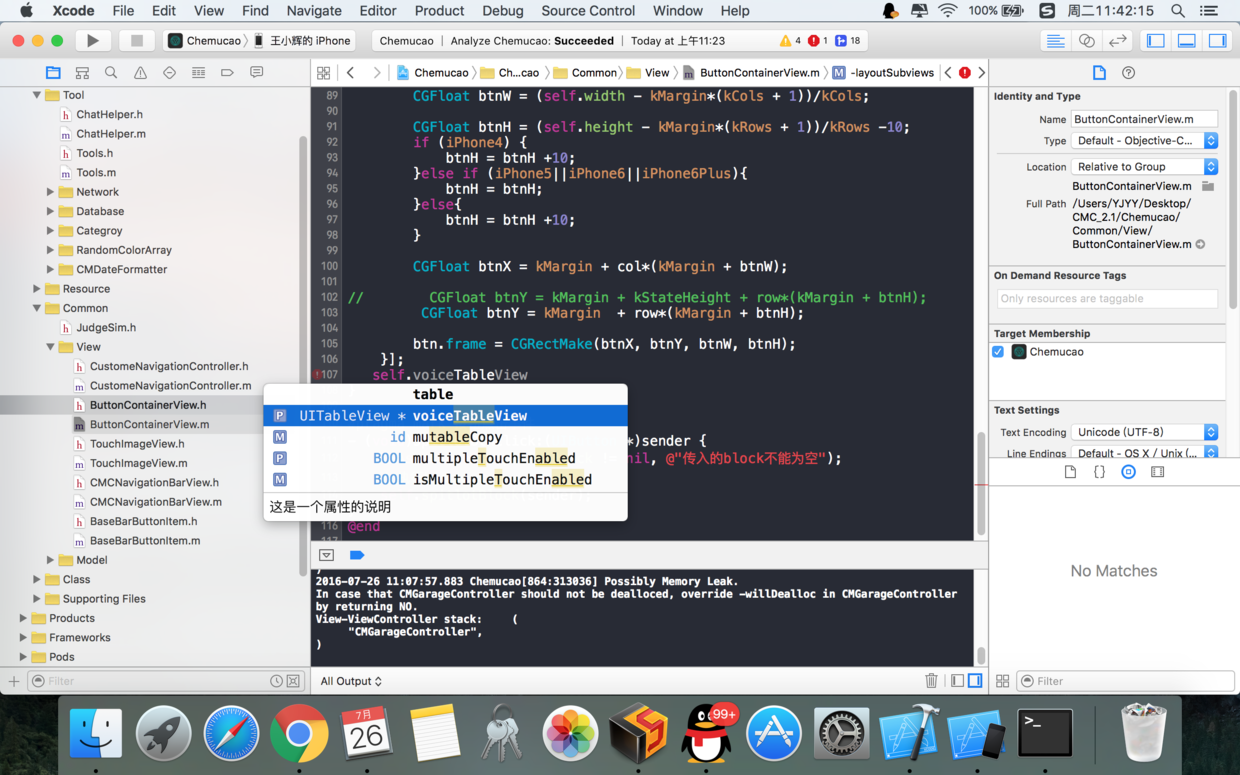
只需要跟我在上面聲明屬性的時候一樣 在最後加上
/**<這是要寫的提示文字*/
使用這種方式聲明的屬性,在外面調用的時候就會有提示,好像跑題了,接下來點M的代碼吧:
//
// ButtonContainerView.m
// chemuchao
//
// Created by 遇見遠洋 on 16/3/7.
// Copyright © 2016年 zhaoxiaolu. All rights reserved.
//

#import "ButtonContainerView.h"
#import "UIView+Extension.h"
//狀態欄高度
#define kStateHeight 20

//總行數
#define kRows 2

//總列數
#define kCols 4

//九宮格個數
#define kCount 8

//九宮格之間的間隙
#define kMargin 5

//字體大小
#define kFont15 [UIFont systemFontOfSize:15]

@interface ButtonContainerView ()
@property (nonatomic,strong)NSMutableArray * btns;
@property (nonatomic,strong)NSArray * btnTitles;

@end
@implementation ButtonContainerView

- (NSMutableArray *)btns
{
  if (!_btns) {
    _btns = [NSMutableArray array];
  }
  return _btns;
}

-(NSArray *)btnTitles {
  if (!_btnTitles) {
    _btnTitles = @[@"堵成狗",@"堵成翔",@"路太窄",@"沒燈",@"路不平",@"積水多",@"顛簸",@"路太髒"];
  }
  return _btnTitles;
}
- (instancetype)initWithFrame:(CGRect)frame{
  if (self = [super initWithFrame:frame]) {
    [self setupUI];
  }
  return self;
}

- (void)setupUI {
  for (int i = 0; i < kCount; i++) {
    UIButton * btn = [[UIButton alloc]init];
    [btn setTitle:self.btnTitles[i] forState:UIControlStateNormal];
    [self addSubview:btn];
    btn.layer.borderWidth = 1;
    btn.layer.borderColor = [UIColor redColor].CGColor;


      btn.titleLabel.font = [UIFont systemFontOfSize:13];
    [btn setTitleColor:[UIColor grayColor] forState:UIControlStateNormal];
    [btn addTarget:self action:@selector(spitlotBtnClick:) forControlEvents:UIControlEventTouchUpInside];
    [self.btns addObject:btn];
  }
}

-(void)layoutSubviews {
  [super layoutSubviews];
  [self.btns enumerateObjectsUsingBlock:^(id _Nonnull obj, NSUInteger idx, BOOL * _Nonnull stop) {
    UIButton * btn = obj;
    btn.tag = idx;
    //行號
    NSUInteger row = idx/kCols;

    //列號
    NSUInteger col = idx%kCols;

    CGFloat btnW = (self.width - kMargin*(kCols + 1))/kCols;

    CGFloat btnH = (self.height - kMargin*(kRows + 1))/kRows -10;

    CGFloat btnX = kMargin + col*(kMargin + btnW);

     CGFloat btnY = kMargin + row*(kMargin + btnH) + kStateHeight;

    btn.frame = CGRectMake(btnX, btnY, btnW, btnH);
  }];
}

#pragma mark 按鈕點擊事件
- (void)spitlotBtnClick:(UIButton *)sender {
  NSAssert(self.spitlotBlock != nil, @"傳入的block不能為空");
  //執行block
  self.spitlotBlock(sender);
}
@end
你只需要更換幾個宏定義就可以定制你的九宮格布局了,例如總行數、總列數、九宮格個數,簡單吧 復用性還是很高的,當然對於使用自動布局的你來說,可以無視我。
希望通過此文能幫助大家開發 IOS九宮格的開發,謝謝大家對本站的支持!
- 上一頁:iOS開發 正則運算詳細介紹
- 下一頁:解析iOS10中的極光推送消息的適配
相關文章
+