iOS實現微信朋友圈與搖一搖功能
編輯:IOS開發綜合
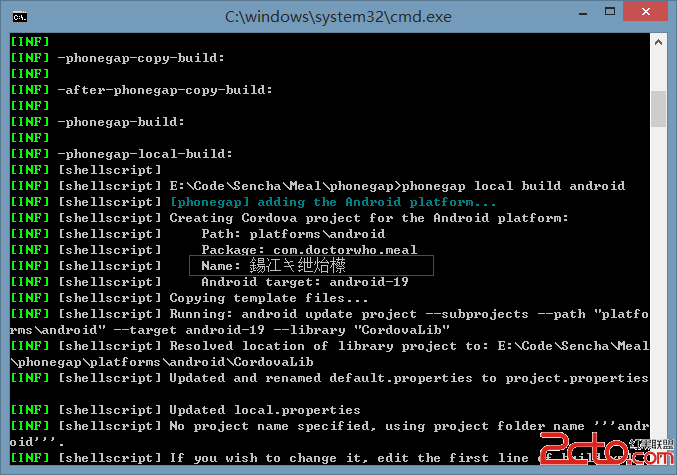
本Demo為練手小項目,主要是熟悉目前主流APP的架構模式.此項目中采用MVC設計模式,純代碼和少許XIB方式實現.主要實現了朋友圈功能和搖一搖功能.
預覽效果:
主要重點
1.整體架構
利用UITabBarController和UINavigationController配合實現.其中要注意定義基類,方便整體上的管理,例如對UINavigationController頭部的顏色,字體和渲染顏色等設置.以及對UITabBarController的底部的渲染等.
[self.navigationBarsetBackgroundImage:[UIImageimageNamed:@"Dimensional-_Code_Bg"]forBarMetrics:UIBarMetricsDefault];

[self.navigationBarsetTitleTextAttributes:@{
                       NSForegroundColorAttributeName:[UIColor whiteColor]
                      }];

[self.navigationBarsetTintColor:[UIColor whiteColor]];
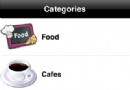
2.發現界面和我的界面
利用UITableViewController和Plist文件實現界面的展示.實現過程中有采用數據模型或直接利用字典等方式.這裡的實現比較簡單,就不多說啦.
- (instancetype)initWithDict:(NSDictionary *)dict{

if (self = [super init]) {
  [selfsetValuesForKeysWithDictionary:dict];
}
return self;
}

+ (instancetype)pictureWithDict:(NSDictionary *)dict{

return [[self alloc]initWithDict:dict];
}
3.朋友圈功能的實現
這裡面主要的難點在於朋友圈首頁的下拉刷新效果的實現,和選擇照片頁的狀態重用問題,以及照片的傳遞和代理的實現等.
朋友圈首頁的下拉刷新效果:主要利用transform屬性和scrollview的多種滾動狀態.
- (void)scrollViewWillBeginDragging:(UIScrollView *)scrollView{
 self.dragging = YES;
}
- (void)scrollViewDidScroll:(UIScrollView *)scrollView{

if (self.num == 0) {
  self.num ++;
  return;
}

CGFloat offsetY = scrollView.contentOffset.y;

CGFloat angle = -offsetY* M_PI / 30;

if (self.dragging == YES) {

  if (offsetY <= 110) {
    self.containerView.y = 10 + offsetY;

  }

}else {

  if (self.currentY < 120) {
    self.containerView.y = 10 + offsetY;
  }

}
self.activityView.transform = CGAffineTransformMakeRotation(angle);

}
- (void)scrollViewDidEndDragging:(UIScrollView *)scrollViewwillDecelerate:(BOOL)decelerate{

self.dragging = NO;

CGFloat currentY = self.containerView.y;
self.currentY = currentY;

}

- (void)scrollViewDidEndDecelerating:(UIScrollView *)scrollView{

[UIViewanimateWithDuration:0.25animations:^{

  self.containerView.frame = CGRectMake(15, 120, 30, 30);
  self.activityView.transform = CGAffineTransformMakeRotation(2 * M_PI);
}];

}
其中照片的展示是采用UICollectionViewController來實現的.沒有直接調用系統的相冊,因此加大了難度.自定義了cell,並采用了代理方式來實現類與類之間的通信.
@protocol YYPictureCellDelegate
@optional
- (void)pictureCell:(YYPictureCell *)cellwithDidClickBtn:(UIButton *)btn;

@end

- (IBAction)clickSureBtn:(UIButton *)sender {

if ([self.delegaterespondsToSelector:@selector(pictureCell:withDidClickBtn:)]) {

  [self.delegatepictureCell:selfwithDidClickBtn:sender];
}
}

- (void)pictureCell:(YYPictureCell *)cellwithDidClickBtn:(UIButton *)btn{

if ((self.selectedBtn.count == 9) && (!btn.isSelected)) {

  UIAlertView *alert = [[UIAlertView alloc]initWithTitle:nilmessage:@"最多選取9張照片哦,親!"delegate:nilcancelButtonTitle:@"確定"otherButtonTitles: nil];
  [alertshow];

  return;
}

btn.selected = !btn.isSelected;

NSIndexPath *indexPath = [self.collectionViewindexPathForCell:cell];

YYPictureModel *model = self.dataArray[indexPath.row];

if (btn.isSelected) {

  model.clickedBtn = YES;

  [self.selectedBtnaddObject:btn];
  [self.selImageArrayaddObject:model];

} else{

  model.clickedBtn = NO;
  [self.selectedBtnremoveObject:btn];
  [self.selImageArrayremoveObject:model];
}

if (self.selectedBtn.count > 0) {

  self.doneBtn.enabled = YES;
  self.doneBtn.selected = YES;
  self.previewBtn.enabled = YES;
  self.previewBtn.selected = YES;
}else {

  self.doneBtn.enabled = NO;
  self.doneBtn.selected = NO;
  self.previewBtn.enabled = NO;
  self.previewBtn.selected = NO;
}
}
4.搖一搖功能的實現
搖一搖功能的本身實現十分簡單,就是調用系統的兩個方法即可.難點在於動畫效果.其實這裡的動畫效果也不是很難.主要是計算有點復雜.可能是我在網上搜索到的素材有點不合適.導致要考慮各個控件的frame問題…
//實現搖一搖功能
- (void)motionBegan:(UIEventSubtype)motionwithEvent:(UIEvent *)event{

self.upLine.hidden = NO;
self.downLine.hidden = NO;
[UIViewanimateWithDuration:0.6animations:^{

  self.upImageView.y -= 60;
  self.upLine.y -= 60;

  self.downImageView.y += 60;
  self.downLine.y += 60;

}completion:^(BOOL finished) {

  [UIViewanimateWithDuration:0.6animations:^{

    self.upImageView.y += 60;
    self.upLine.y += 60;

    self.downImageView.y -= 60;
    self.downLine.y -= 60;

  }completion:^(BOOL finished) {

    self.upLine.hidden = YES;
    self.downLine.hidden = YES;

    //彈出搜索框
    [self showSearchView];
    [self.searchViewperformSelector:@selector(removeFromSuperview)withObject:nilafterDelay:2.4];
  }];

}];
}
//搖一搖結束後
- (void)motionEnded:(UIEventSubtype)motionwithEvent:(UIEvent *)event{

}
以上就是本文的全部內容,希望對大家的學習有所幫助,也希望大家多多支持本站。

相關文章
+