
iOS 多線程技術2
編輯:IOS開發綜合
iOS 多線程技術2
NSOperation
NSInvocationOperation
        //創建一個隊列
        NSOperationQueue *queue = [[NSOperationQueue alloc] init];

        //創建子任務,定義子任務必須是 NSOperation 的子類
        NSInvocationOperation *op = [[NSInvocationOperation alloc] initWithTarget:self selector:@selector(dosomething:) object:@NSInvocationOperation];

        //當把任務添加到隊列後,自動開啟線程
        [queue addOperation:op];
NSBlockOperation
            //創建一個隊列
        NSOperationQueue *queue = [[NSOperationQueue alloc] init];

        //創建 NSBlockOperation 對象
        NSBlockOperation *operation = [NSBlockOperation blockOperationWithBlock:^{
        [self doSomething];
        }];

        //加入隊列
        [queue addOperat:operation];
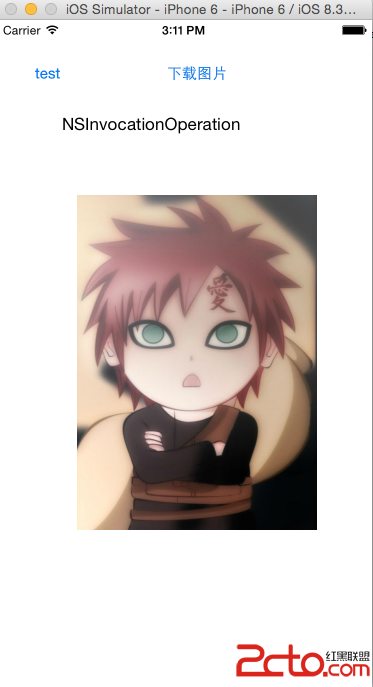
Demo:
下面我用NSOperation 的兩種方法來創建一個例子,實現與上篇一樣的功能,
#import ViewController.h

---

@interface ViewController ()
@property (weak, nonatomic) IBOutlet UIImageView *iamgeView;
@property (weak, nonatomic) IBOutlet UILabel *lable;


@property (nonatomic, strong) NSOperationQueue *queue;
@end

@implementation ViewController

- (void)viewDidLoad {
    [super viewDidLoad];

    // 1.NSInvocationOperation
    NSInvocationOperation *op = [[NSInvocationOperation alloc] initWithTarget:self selector:@selector(dosomething:) object:@NSInvocationOperation];
    op.name = @xiaoming;

    NSOperationQueue *queue = [[NSOperationQueue alloc] init];
    [queue addOperation:op];

    NSLog(@%@,queue.operations);
    _queue = queue;
}

- (void)dosomething:(NSString*)str
{
  //耗時操作
    [NSThread sleepForTimeInterval:3];

    //需要在主線程中更新 UI
    [self performSelectorOnMainThread:@selector(updateLable:) withObject:str waitUntilDone:YES];
}
- (void)updateLable:(NSString*)str
{
    if ([[NSThread currentThread] isMainThread]) {
        NSLog(@主線程>>>%s,__func__);
    }
    _lable.text = str;
}
- (IBAction)btnAction:(UIButton *)sender {

    NSBlockOperation *blockOp = [NSBlockOperation blockOperationWithBlock:^{
        //耗時操作
        [NSThread sleepForTimeInterval:3];

        //創建 url
        NSString *urlStr = @http://img.hb.aicdn.com/5a8f57157b47284724d09ffd2da28369731f8144ac9c-1XdZKJ_fw658;
        NSURL *url = [NSURL URLWithString:urlStr];
        NSData *data = [NSData dataWithContentsOfURL:url];

        UIImage *image = [UIImage imageWithData:data];

        //更新 UI
        [self performSelectorOnMainThread:@selector(updateImageView:) withObject:image waitUntilDone:YES];
    }];
    [_queue addOperation:blockOp];
}
- (void)updateImageView:(UIImage*)img
{
    if ([[NSThread currentThread] isMainThread]) {
        NSLog(@主線程>>>>>>%s,__FUNCTION__);
    }

    _iamgeView.image = img;
}

@end
運行結果:
2015-08-02 15:03:33.909 05-NSOperationDemo[3284:874300] (
“{name = ‘xiaoming’}”
)
2015-08-02 15:03:36.911 05-NSOperationDemo[3284:874300] 主線程>>>-[ViewController updateLable:]
2015-08-02 15:03:47.730 05-NSOperationDemo[3284:874300] 主線程>>>>>>-[ViewController updateImageView:]


相關文章
+