iOS開發進階 - 實現類似美顏相機的相機啟動動畫
編輯:IOS開發綜合
最近在寫一個相冊的demo,偶爾看到了美拍的相機過載動畫覺得很有意思,就想在我的相冊demo中加入一個這種特效,下面把我的想法和實現過程給大家分享一下
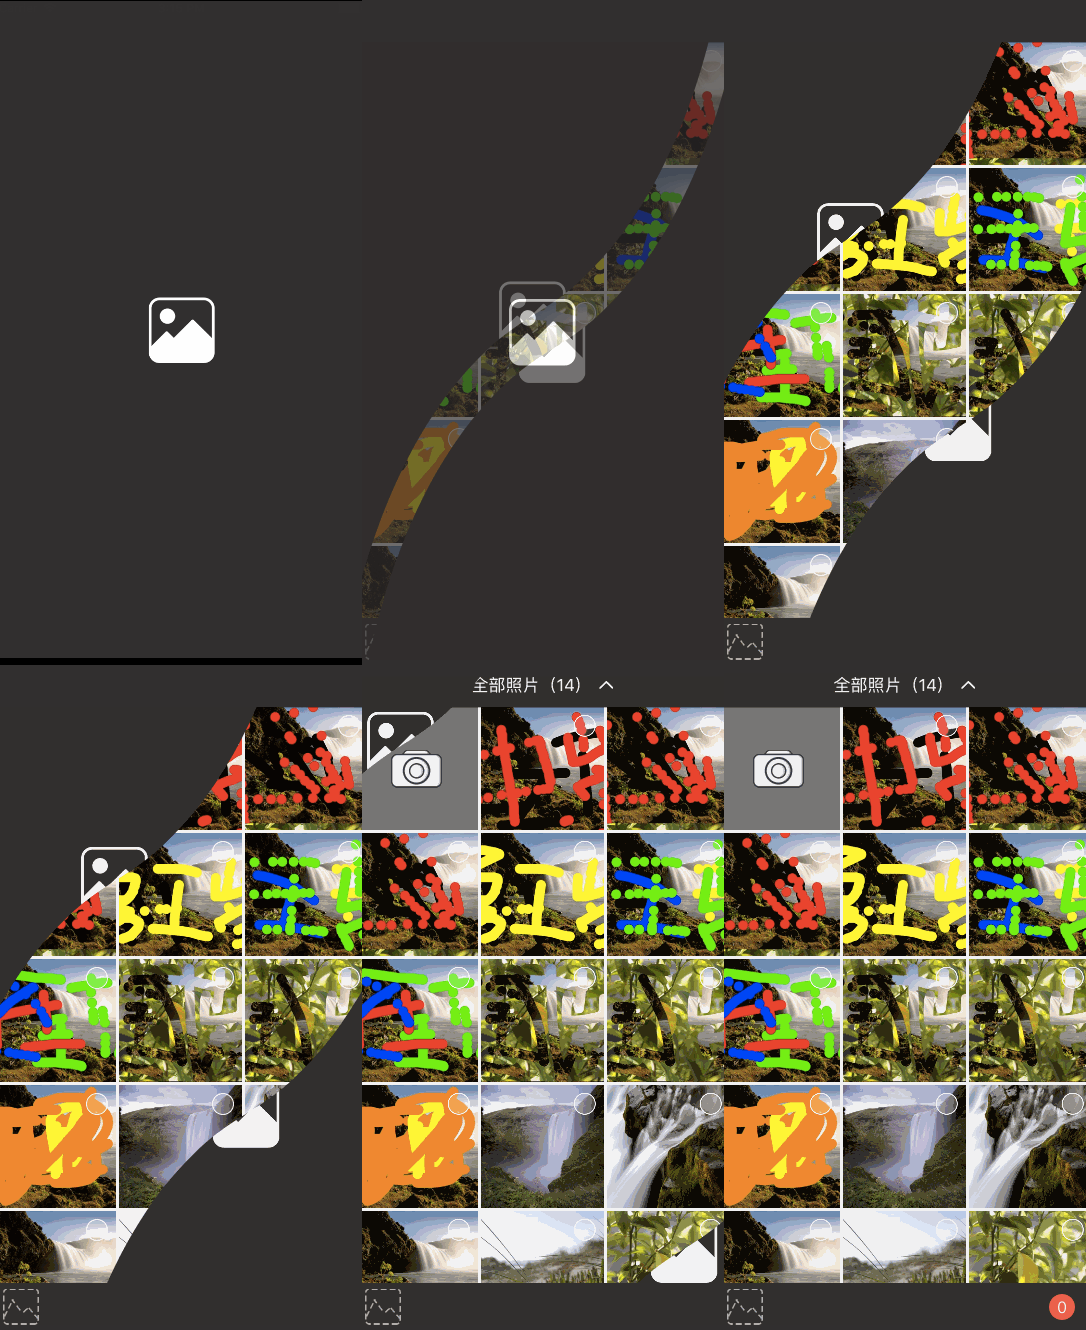
先上效果圖:(demo地址)

步驟分析
這個動效看起來很有特色但是實現起來是非常簡單的,只需要用到CALayer和CAShapeLayer做為展示層,然後通過CABasicAnimation實現動畫就行了~
用兩個CALayer來呈現啟動的image 通過UIBezierPath和CAShapeLayer來畫出具有曲線的CAShapeLayer 然後將曲線的CAShapeLayer做為CALayer的mask 最後通過CABasicAnimation做一個簡單的位移動畫 先繪制上半部分的layer
先繪制上半部分的layer
/**
     繪制上半部分的layer
     */
    private func configTopShapeLayer() {
        //繪制貝斯爾曲線
        let topBezier:UIBezierPath = UIBezierPath()
        topBezier.moveToPoint(CGPointMake(-1, -1))
        topBezier.addLineToPoint(CGPointMake(bounds.width+1, -1))
        topBezier.addCurveToPoint(CGPointMake(bounds.width/2.0+1, bounds.height/2.0+1), controlPoint1: CGPointMake(bounds.width+1, 0+1), controlPoint2: CGPointMake(343.5+1, 242.5+1))
        topBezier.addCurveToPoint(CGPointMake(-1, bounds.height+2), controlPoint1: CGPointMake(31.5+2, 424.5+2), controlPoint2: CGPointMake(0+2, bounds.height+2))
        topBezier.addLineToPoint(CGPointMake(-1, -1))
        topBezier.closePath()
        //創建一個CAShapeLayer,將繪制的貝斯爾曲線的path給CAShapeLayer
        let topShape = CAShapeLayer()
        topShape.path = topBezier.CGPath
        //給topLayer設置contents為啟動圖
        topLayer.contents = launchImage?.CGImage
        topLayer.frame = bounds
        layer.addSublayer(topLayer)
        //將繪制後的CAShapeLayer做為topLayer的mask
        topLayer.mask = topShape
    }
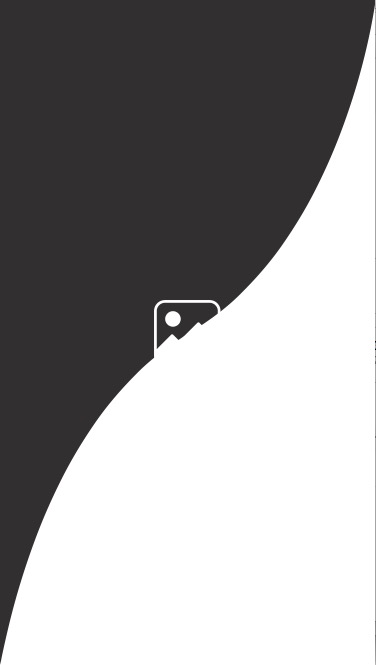
繪制後的結果是這樣的:

然後以同樣的原理繪制下半部分的layer
然後以同樣的原理繪制下半部分的layer
/**
     繪制下半部分的layer
     */
    private func configBottomShapeLayer() {
        //繪制貝斯爾曲線
        let bottomBezier:UIBezierPath = UIBezierPath()
        bottomBezier.moveToPoint(CGPointMake(bounds.width, 0))
        bottomBezier.addCurveToPoint(CGPointMake(bounds.width/2.0, bounds.height/2.0), controlPoint1: CGPointMake(bounds.width, 0), controlPoint2: CGPointMake(343.5, 242.5))
        bottomBezier.addCurveToPoint(CGPointMake(0, bounds.height), controlPoint1: CGPointMake(31.5, 424.5), controlPoint2: CGPointMake(0, bounds.height))
        bottomBezier.addLineToPoint(CGPointMake(bounds.width, bounds.height))
        bottomBezier.addLineToPoint(CGPointMake(bounds.width, 0))
        bottomBezier.closePath()
        //創建一個CAShapeLayer,將繪制的貝斯爾曲線的path給CAShapeLayer
        let bottomShape = CAShapeLayer()
        bottomShape.path = bottomBezier.CGPath
        //給bottomLayer設置contents為啟動圖
        bottomLayer.contents = launchImage?.CGImage
        bottomLayer.frame = bounds
        layer.addSublayer(bottomLayer)
        //將繪制後的CAShapeLayer做為bottomLayer的mask
        bottomLayer.mask = bottomShape
    }
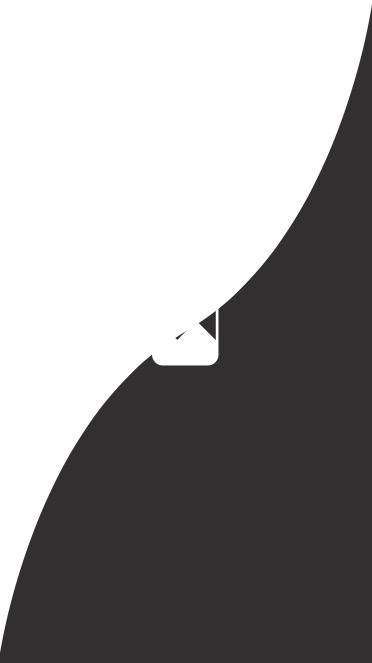
這裡注意的是畫的貝斯爾曲線上半部分的要整體向下平移1到2個像素,為了防止貝斯爾曲線畫曲線導致的鋸齒效果,下面是下半部分完成後的效果圖:

最後給兩個layer一個位移動畫
最後給兩個layer一個位移動畫
/**
     展開的動畫
     */
    func starAnimation() {
        //創建一個CABasicAnimation作用於CALayer的anchorPoint
        let topAnimation = CABasicAnimation.init(keyPath: "anchorPoint")
        //設置移動路徑
        topAnimation.toValue = NSValue.init(CGPoint: CGPointMake(1, 1))
        //動畫時間
        topAnimation.duration = 0.6
        //設置代理,方便完成動畫後移除當前view
        topAnimation.delegate = self
        //設置動畫速度為勻速
        topAnimation.timingFunction = CAMediaTimingFunction.init(name: kCAMediaTimingFunctionLinear)
        //設置動畫結束後不移除點,保持移動後的位置
        topAnimation.removedOnCompletion = false
        topAnimation.fillMode = kCAFillModeForwards
        topLayer.addAnimation(topAnimation, forKey: "topAnimation")

        //創建一個CABasicAnimation作用於CALayer的anchorPoint
        let bottomAnimation = CABasicAnimation.init(keyPath: "anchorPoint")
        //設置移動路徑
        bottomAnimation.toValue = NSValue.init(CGPoint: CGPointMake(0, 0))
        //動畫時間
        bottomAnimation.duration = 0.6
        //設置動畫速度為勻速
        bottomAnimation.timingFunction = CAMediaTimingFunction.init(name: kCAMediaTimingFunctionLinear)
        //設置動畫結束後不移除點,保持移動後的位置
        bottomAnimation.removedOnCompletion = false
        bottomAnimation.fillMode = kCAFillModeForwards
        bottomLayer.addAnimation(bottomAnimation, forKey: "topAnimation")
    }

        /**
     動畫完成後移除當前view
     */
    internal override func animationDidStop(anim: CAAnimation, finished flag: Bool)
    {
        if flag {
            removeFromSuperview()
        }
    }
這裡為了方便觀察,我將動畫時間變長了,下面是完成後的效果圖:

到這裡這個動效就完成的差不多了,希望大家能學到東西,如果大家有更好的實現辦法也可以給我提意見,我學習學習,謝謝大家觀看,另外附加demo地址,喜歡的可以關注一下
相關文章
+


