iOS基於Bmob的實時通訊
編輯:IOS開發綜合
最近剛完成一個基於Bmob後台的項目,用到了實時通訊這一功能,完成它還真是一個浩大的工程吶,一些步驟及重點在這裡記錄下來
下載安裝BmobIMSDK
首先我們要通過官網下載最新的BmobIMSDK,將它導到自己的項目工程裡面
引入相關的庫文件
如果項目中已包含BmobSDK數據服務SDK的話,可以不添加新的框架,如果沒有則需添加SystemConfiguration.framework、CoreFoundation.framework、Foundation.framework、CFNetwork.framwork、CoreGraphics.framework、sqlite3.tbd
初始化
在AppDelegate.m文件中,引入相關的頭文件, 填入申請的授權Key(SDK使用的是應用密鑰裡的Application ID)
- (BOOL)application:(UIApplication *)application didFinishLaunchingWithOptions:(NSDictionary *)launchOptions {
    //初始化BmobSDK
    [Bmob registerWithAppKey:@"Application ID"];

    self.sharedIM = [BmobIM sharedBmobIM];

    [self.sharedIM registerWithAppKey:@"Application ID"];

    [UIApplication sharedApplication].statusBarStyle = UIStatusBarStyleLightContent;

    BmobUser *user = [BmobUser getCurrentUser];
    //如果有用戶了,不需要推送服務來推送消息的話,可以直接連接服務器
    if (user) {
        self.userId = user.objectId;
        [self connectToServer];
    }else{
        //如果用戶還未登錄,則監聽對應的通知,再進行處理
        [[NSNotificationCenter defaultCenter] addObserver:self selector:@selector(userLogin:) name:@"Login" object:nil];
        [[NSNotificationCenter defaultCenter] addObserver:self selector:@selector(userLogout:) name:@"Logout" object:nil];
    }

    self.sharedIM.delegate = self;
    return YES;
}
如果需要推送服務的話,可以在其相關代理那裡設置調用 [self.sharedIM setupDeviceToken:@"xxxx"]的方法後,在連接服務器,當然需要在管理後台上傳對應Bundle ID的p12文件,請勿加密
-(void)application:(UIApplication *)application didFailToRegisterForRemoteNotificationsWithError:(nonnull NSError *)error{
    BmobUser *user = [BmobUser getCurrentUser];
    if (user) {
        [self connectToServer];
    }
}
-(void)application:(UIApplication *)application didRegisterForRemoteNotificationsWithDeviceToken:(NSData *)deviceToken{
        BmobUser *user = [BmobUser getCurrentUser];
    if (user) {
        //將deviceToken轉成字符串
        NSString *string = [[NSString alloc] initWithData:deviceToken encoding:NSUTF8StringEncoding];
        self.token = [[[string stringByReplacingOccurrencesOfString:@" " withString:@""] stringByReplacingOccurrencesOfString:@"<" withString:@""] stringByReplacingOccurrencesOfString:@">" withString:@""];
        [self connectToServer];
    }
}
通知方法:
登陸對應處理
-(void)userLogin:(NSNotification *)noti{
    NSString *userId = noti.object;
    self.userId = userId;
    [self connectToServer];
}
退出登錄的時候需要斷開連接
-(void)userLogout:(NSNotification *)noti{
    [self.sharedIM disconnect];
}
連接服務器
-(void)connectToServer{
    [self.sharedIM setupBelongId:self.userId];
    [self.sharedIM setupDeviceToken:self.token];
    [self.sharedIM connect];
}
在應用進入前台或者後台的時候可以重新進行連接或者斷開連接進入前台
- (void)applicationWillEnterForeground:(UIApplication *)application {
    // Called as part of the transition from the background to the inactive state; here you can undo many of the changes made on entering the background.

    if (self.userId && self.userId.length > 0) {
        [self connectToServer];
    }
}
進入後台
- (void)applicationDidEnterBackground:(UIApplication *)application {
    // Use this method to release shared resources, save user data, invalidate timers, and store enough application state information to restore your application to its current state in case it is terminated later.
    // If your application supports background execution, this method is called instead of applicationWillTerminate: when the user quits.
    if ([self.sharedIM isConnected]) {
        [self.sharedIM disconnect];
    }
需要說明的是,連接服務器建立一次即可,開發者自己控制連接服務器的時機。建立連接之前必須設置appKey和belongId,不然會拋出異常
注冊推送
可以在函數 - (BOOL)application:(UIApplication *)application didFinishLaunchingWithOptions:(NSDictionary *)launchOptions 添加推送的相關代碼
CGFloat version = [[[UIDevice currentDevice] systemVersion] floatValue];
    if (version >= 10.0)
    {
        //iOS 10推送
        UNUserNotificationCenter *center = [UNUserNotificationCenter currentNotificationCenter];
        [center requestAuthorizationWithOptions:UNAuthorizationOptionCarPlay | UNAuthorizationOptionSound | UNAuthorizationOptionBadge | UNAuthorizationOptionAlert completionHandler:^(BOOL granted, NSError * _Nullable error) {

            if (granted) {
                NSLog(@" iOS 10 request notification success");
            }else{
                NSLog(@" iOS 10 request notification fail");
            }
        }];
    } else if (version >= 8.0) {
        //iOS 8、9推送
        UIMutableUserNotificationCategory *categorys = [[UIMutableUserNotificationCategory alloc]init];
        //注意:此處的Bundle ID要與你申請證書時填寫的一致。
        categorys.identifier=@"Bmob";

        UIUserNotificationSettings *userNotifiSetting = [UIUserNotificationSettings settingsForTypes:(UIUserNotificationTypeAlert|UIUserNotificationTypeBadge|UIUserNotificationTypeSound) categories:[NSSet setWithObjects:categorys,nil]];

        [[UIApplication sharedApplication] registerUserNotificationSettings:userNotifiSetting];

        [[UIApplication sharedApplication] registerForRemoteNotifications];
    }
接收消息
在初始化的部分,我們已經設置了self.sharedIM的delegate,我們只需要在對應的代理函數那裡處理相關的應用邏輯即可。在應用連接服務器的時候,SDK會主動的獲取離線消息,並保存到本地數據庫裡面。在這裡,開發者可能需要知道哪些人發來了消息,並且去下載相關人物信息。
-(void)didGetOfflineMessagesWithIM:(BmobIM *)im{
    //獲取哪些人的消息還未讀
    NSArray *objectIds = [self.sharedIM allConversationUsersIds];
    if (objectIds && objectIds.count > 0) {
        //查找服務器相關人物的信息
        [UserService loadUsersWithUserIds:objectIds completion:^(NSArray *array, NSError *error) {
            if (array && array.count > 0) {
                //保存到本地數據庫
                [self.sharedIM saveUserInfos:array];
                //發新用戶的通知
                [[NSNotificationCenter defaultCenter] postNotificationName:kNewMessageFromer object:nil];
            }
        }];
    }
}
如果已經連接到服務器上了,就可以收到別人發送過來的消息,這是需要在另一個方法處理
-(void)didRecieveMessage:(BmobIMMessage *)message withIM:(BmobIM *)im{
    //查看本地有無這個用戶的信息
    BmobIMUserInfo *userInfo = [self.sharedIM userInfoWithUserId:message.fromId];
    if (!userInfo) {
          //如果沒有則去下載
        [UserService loadUserWithUserId:message.fromId completion:^(BmobIMUserInfo *result, NSError *error) {
            if (result) {
                //保存到本地數據庫
                [self.sharedIM saveUserInfo:result];
                //發新用戶的通知
                [[NSNotificationCenter defaultCenter] postNotificationName:kNewMessageFromer object:nil];
            }
            //發接收到新信息的通知
            [[NSNotificationCenter defaultCenter] postNotificationName:kNewMessagesNotifacation object:message];
        }];
    }else{
          //發接收到新信息的通知
        [[NSNotificationCenter defaultCenter] postNotificationName:kNewMessagesNotifacation object:message];
    }
}
注冊
BmobUser *user = [[BmobUser alloc] init];
user.username = self.usernameTextField.text;
user.password = self.passwordTextField.text;
[user signUpInBackgroundWithBlock:^(BOOL isSuccessful, NSError *error) {
     if (isSuccessful) {
         [[NSNotificationCenter defaultCenter] postNotificationName:@"Login" object:user.objectId];
         [self dismissViewControllerAnimated:YES completion:nil];
     }else{
         [self showInfomation:error.description];
     }
}];
登陸
[self showLoading];
    [BmobUser loginWithUsernameInBackground:self.usernameTextField.text password:self.passwordTextField.text block:^(BmobUser *user, NSError *error) {
        if (user) {
            [self hideLoading];
            [[NSNotificationCenter defaultCenter] postNotificationName:@"Login" object:user.objectId];
            [self dismissViewControllerAnimated:YES completion:nil];
        }else{
            [self showInfomation:error.description];
        }
    }];
獲取好友列表
-(void)loadUserFriends{
    [UserService friendsWithCompletion:^(NSArray *array, NSError *error) {
        if (error) {
            [self showInfomation:error.localizedDescription];
        }else{
            BmobUser *loginUser = [BmobUser getCurrentUser];
            NSMutableArray *result  = [NSMutableArray array];
            for (BmobObject *obj in array) {

                BmobUser *friend = nil;
                if ([[(BmobUser *)[obj objectForKey:@"user"] objectId] isEqualToString:loginUser.objectId]) {
                    friend = [obj objectForKey:@"friendUser"];
                }else{
                    friend = [obj objectForKey:@"user"];
                }
                BmobIMUserInfo *info = [BmobIMUserInfo userInfoWithBmobUser:friend];

                [result addObject:info];
            }
            if (result && result.count > 0) {
                [self.userArray setArray:result];
                [self.tableView reloadData];

            }

        }
    }];
}
添加好友
-(void)addFriend{
    [UserService addFriendNoticeWithUserId:self.userInfo.userId completion:^(BOOL isSuccessful, NSError *error) {
        if (error) {
            [self showInfomation:error.localizedDescription];
        }else{
            [self showInfomation:@"已發送添加好友請求"];
        }
    }];
}
消息發送
通過IMSDK,用戶可以與陌生人聊天,也可以與好友聊天,這個由我們控制。當需要發起聊天的時候,需要建立起一個BmobIMConversation對象來進行管理,SDK提供了方法來快速構建BmobIMConversation對象。BmobIMConversation *conversation = [BmobIMConversation conversationWithId:self.userInfo.userId conversationType:BmobIMConversationTypeSingle]; conversation.conversationTitle = self.userInfo.name;//這是聊天對象名,顯示到title上
查看聊天記錄
加載第一頁數據的時候,只需要將message設置為nil
-(void)loadMessageRecords{
    NSArray *array = [self.conversation queryMessagesWithMessage:nil limit:10];//每次顯示10條數據

    if (array && array.count > 0) {
        //根據消息更新時間進行排序
        NSArray *result = [array sortedArrayUsingComparator:^NSComparisonResult(BmobIMMessage *obj1, BmobIMMessage *obj2) {
            if (obj1.updatedTime > obj2.updatedTime) {
                return NSOrderedDescending;
            }else if(obj1.updatedTime <  obj2.updatedTime) {
                return NSOrderedAscending;
            }else{
                return NSOrderedSame;
            }

        }];
        [self.messagesArray setArray:result];
        [self.tableView reloadData];

        [self.tableView scrollToRowAtIndexPath:[NSIndexPath indexPathForRow:self.messagesArray.count-1 inSection:0] atScrollPosition:UITableViewScrollPositionBottom animated:YES];
    }
}
加載之前的歷史消息記錄,可以通過將message參數設置為時間為最後一條消息即可
-(void)loadMoreRecords{
    if (!self.finished) {
        self.page ++;
        [self.freshControl beginRefreshing];

        if (self.messagesArray.count <= 0) {
            [self.freshControl endRefreshing];
            return;
        }
        BmobIMMessage *msg = [self.messagesArray firstObject];

        NSArray *array = [self.conversation queryMessagesWithMessage:msg limit:10];

        if (array && array.count > 0) {
            NSMutableArray *messages = [NSMutableArray arrayWithArray:self.messagesArray];
            [messages addObjectsFromArray:array];
            //排序
            NSArray *result = [messages sortedArrayUsingComparator:^NSComparisonResult(BmobIMMessage *obj1, BmobIMMessage *obj2) {
                if (obj1.updatedTime > obj2.updatedTime) {
                    return NSOrderedDescending;
                }else if(obj1.updatedTime <  obj2.updatedTime) {
                    return NSOrderedAscending;
                }else{
                    return NSOrderedSame;
                }

            }];
            [self.messagesArray setArray:result];
            [self.tableView reloadData];
        }else{
            self.finished = YES;
            [self showInfomation:@"沒有更多的歷史消息"];
        }

    }else{
        [self showInfomation:@"沒有更多的歷史消息"];
    }

    [self.freshControl endRefreshing];
}
發送消息
發送文本消息
-(void)sendTextWithTextField:(UITextField *)textField{
    if (textField.text.length == 0) {
        [self showInfomation:@"請輸入內容"];
    }else{
        //創建BmobIMTextMessage對象
        BmobIMTextMessage *message = [BmobIMTextMessage messageWithText:textField.text attributes:nil];
         //聊天類型設置為單聊
        message.conversationType =  BmobIMConversationTypeSingle;
        message.createdTime = (uint64_t)([[NSDate date] timeIntervalSince1970] * 1000);
        message.updatedTime = message.createdTime;
        [self.messagesArray addObject:message];
        [self.tableView reloadData];
        self.bottomView.textField.text = nil;
        [self.tableView scrollToRowAtIndexPath:[NSIndexPath indexPathForRow:self.messagesArray.count-1 inSection:0] atScrollPosition:UITableViewScrollPositionBottom animated:YES];
        __weak typeof(self)weakSelf = self;
        [self.conversation sendMessage:message completion:^(BOOL isSuccessful, NSError *error) {
            [weakSelf.tableView reloadRowsAtIndexPaths:@[[NSIndexPath indexPathForRow:self.messagesArray.count-1 inSection:0]] withRowAnimation:UITableViewRowAnimationFade];

        }];

    }
}
發送圖片發送圖片消息的流程是通過把拍照或者圖片的內容,轉成Data,然後通過Bmob文件上傳接口來上傳文件,獲取到相關的信息(文件地址之類的),再構造對應的BmobIMImageMessage對象來發送消息。
這裡封裝一個直接傳入image就能發送圖片的方法
+(void)uploadImage:(UIImage *)image
        completion:(uploadBlock)block
          progress:(BmobProgressBlock)progressBlock
                          {
    BmobFile *file = [[BmobFile alloc] initWithFileName:[NSString stringWithFormat:@"%.0f.png",[[NSDate date] timeIntervalSinceReferenceDate] ] withFileData:UIImagePNGRepresentation(image)];

    [file saveInBackgroundByDataSharding:^(BOOL isSuccessful, NSError *error) {
        BmobIMImageMessage *message = nil;
        if (!error) {
          message = [BmobIMImageMessage messageWithUrl:file.url attributes:@{KEY_METADATA:@{KEY_HEIGHT:@(image.size.height),KEY_WIDTH:@(image.size.width)}}];
            message.conversationType = BmobIMConversationTypeSingle;
            message.createdTime = (uint64_t)([[NSDate date] timeIntervalSince1970] * 1000);
            message.updatedTime = message.createdTime;
        }
        if (block) {
            block(message,error);
        }
    } progressBlock:^(CGFloat progress) {
        if (progressBlock) {
            progressBlock(progress);
        }
    }];
}
然後可以直接調用方法來發送圖片,並在當前頁顯示出來
[MessageService uploadImage:resizeImage completion:^(BmobIMImageMessage *message, NSError *error) {
        if (!error) {
            [self.messagesArray addObject:message];
            [self scrollToBottom];
             __weak typeof(self)weakSelf = self;

            [self.conversation sendMessage:message completion:^(BOOL isSuccessful, NSError *error) {
                [weakSelf reloadLastRow];
            }];
        }else{
            [self showInfomation:error.localizedDescription];
        }
    } progress:^(CGFloat progress) {
        [self showProgress:progress];
    }];
發送語音文件(模擬器上不能發送語音,只有真機上才可以操作,還需要設置訪問錄音的白名單)發送語音消息的流程是把錄音下載的Data轉成AMR格式,保存在本地,然後通過Bmob文件上傳接口來上傳文件,獲取到相關的信息(文件地址之類的),再構造對應的BmobIMAudioMessage對象來發送消息。
封裝一個直接傳入NSData就能發送語音文件的方法
+(void)uploadAudio:(NSData *)data
                          duration:(CGFloat)duration
                        completion:(uploadBlock)block
                          progress:(BmobProgressBlock)progressBlock
                           {
    //保存在本地
    NSString *filename = [NSString stringWithFormat:@"%.0f.amr",[NSDate timeIntervalSinceReferenceDate]];
    NSString *path = [[CommonUtil audioCacheDirectory] stringByAppendingPathComponent:filename];
    [data writeToFile:path options:NSDataWritingAtomic error:nil];


    BmobFile *file = [[BmobFile alloc] initWithFileName:filename withFileData:data];
    [file saveInBackground:^(BOOL isSuccessful, NSError *error) {
         BmobIMAudioMessage *message = nil;
        if (!error) {
            message = [BmobIMAudioMessage messageWithUrl:file.url attributes:@{KEY_METADATA:@{KEY_DURATION:@(duration)}}];
            message.conversationType = BmobIMConversationTypeSingle;
            message.createdTime = (uint64_t)([[NSDate date] timeIntervalSince1970] * 1000);
            message.updatedTime = message.createdTime;
            message.localPath   = [path stringByReplacingOccurrencesOfString:NSHomeDirectory() withString:@""];
        }
        if (block) {
            block(message,error);
        }
    } withProgressBlock:^(CGFloat progress) {
        if (progressBlock) {
            progressBlock(progress);
        }
    }];
}
直接調用這個方法就能發送語音文件
[MessageService uploadAudio:data
                           duration:duration
                         completion:^(BmobIMAudioMessage *message, NSError *error) {
                             if (!error) {

                                 [self.messagesArray addObject:message];
                                 [self scrollToBottom];
                                 __weak typeof(self)weakSelf = self;
                                 [self.conversation sendMessage:message completion:^(BOOL isSuccessful, NSError *error) {
                                     [weakSelf reloadLastRow];
                                 }];
                             }
                         } progress:nil];
接收消息
[[NSNotificationCenter defaultCenter] addObserver:self selector:@selector(receiveMessage:) name:kNewMessagesNotifacation object:nil];
-(void)receiveMessage:(NSNotification *)noti{
    BmobIMMessage *message = noti.object;
    //如果是消息來源是當前聊天用戶,就將其加載到內存裡並顯示出來
    if ([message.fromId isEqualToString:self.conversation.conversationId]) {
        [self.messagesArray addObject:message];
        [self.tableView reloadData];
        [self.tableView scrollToRowAtIndexPath:[NSIndexPath indexPathForRow:self.messagesArray.count-1 inSection:0] atScrollPosition:UITableViewScrollPositionBottom animated:YES];
    }

}
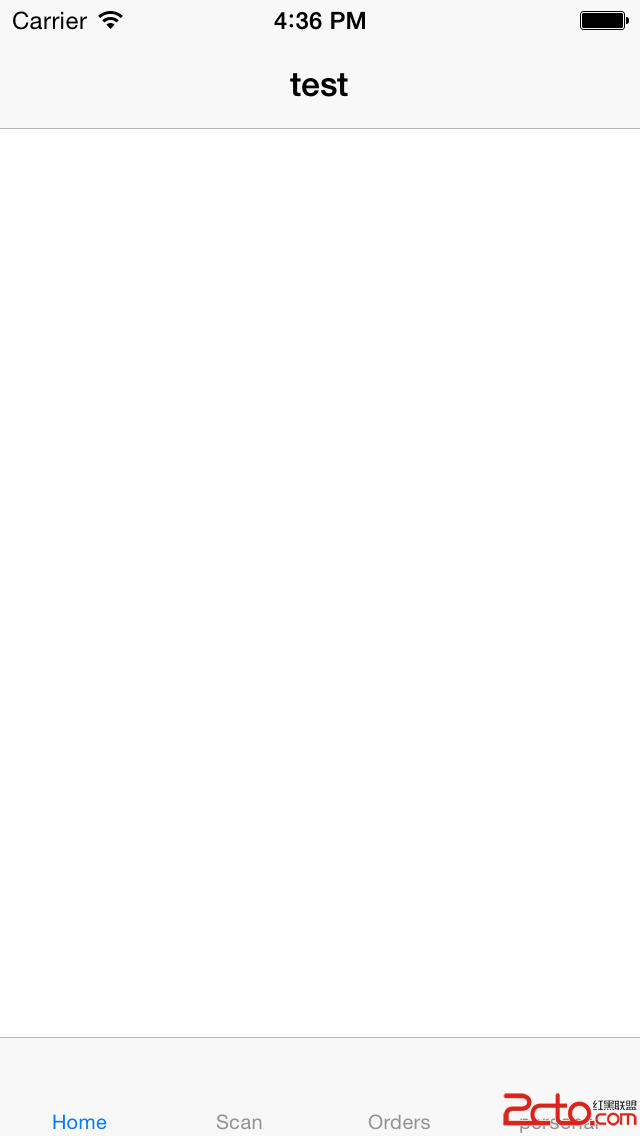
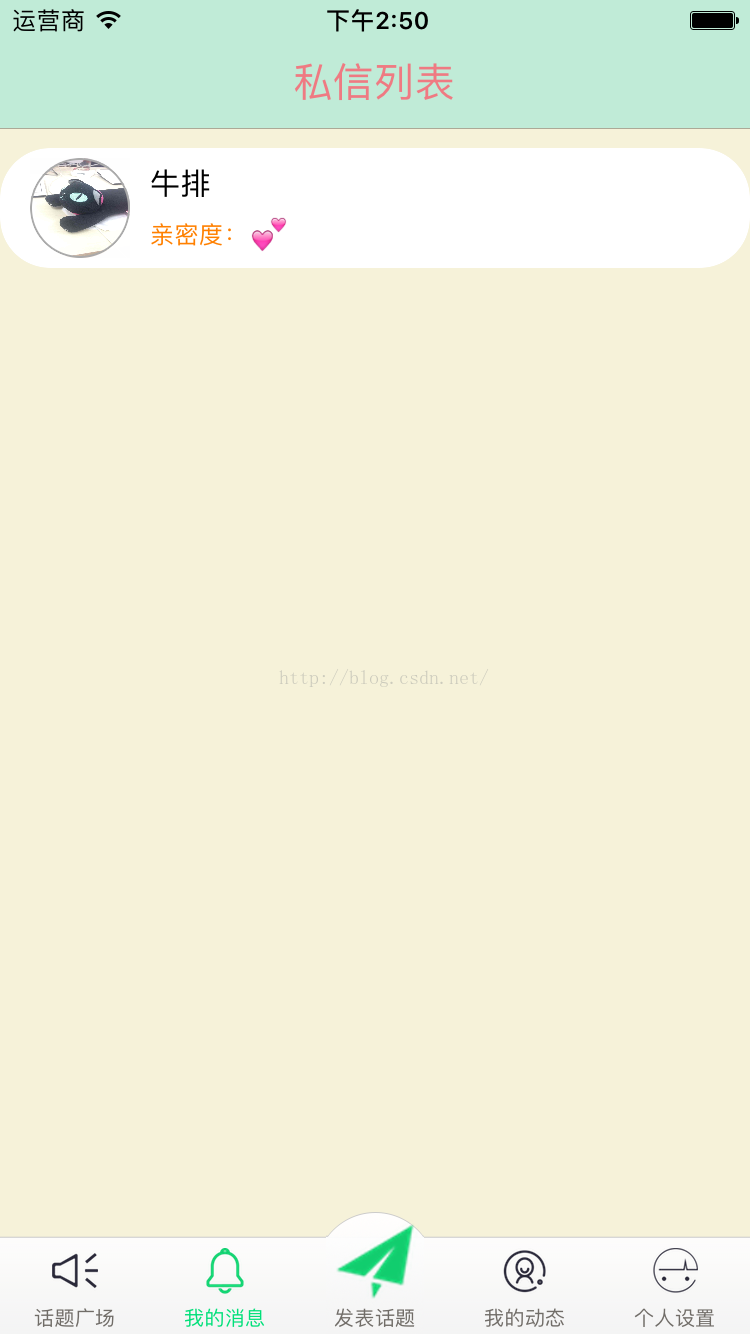
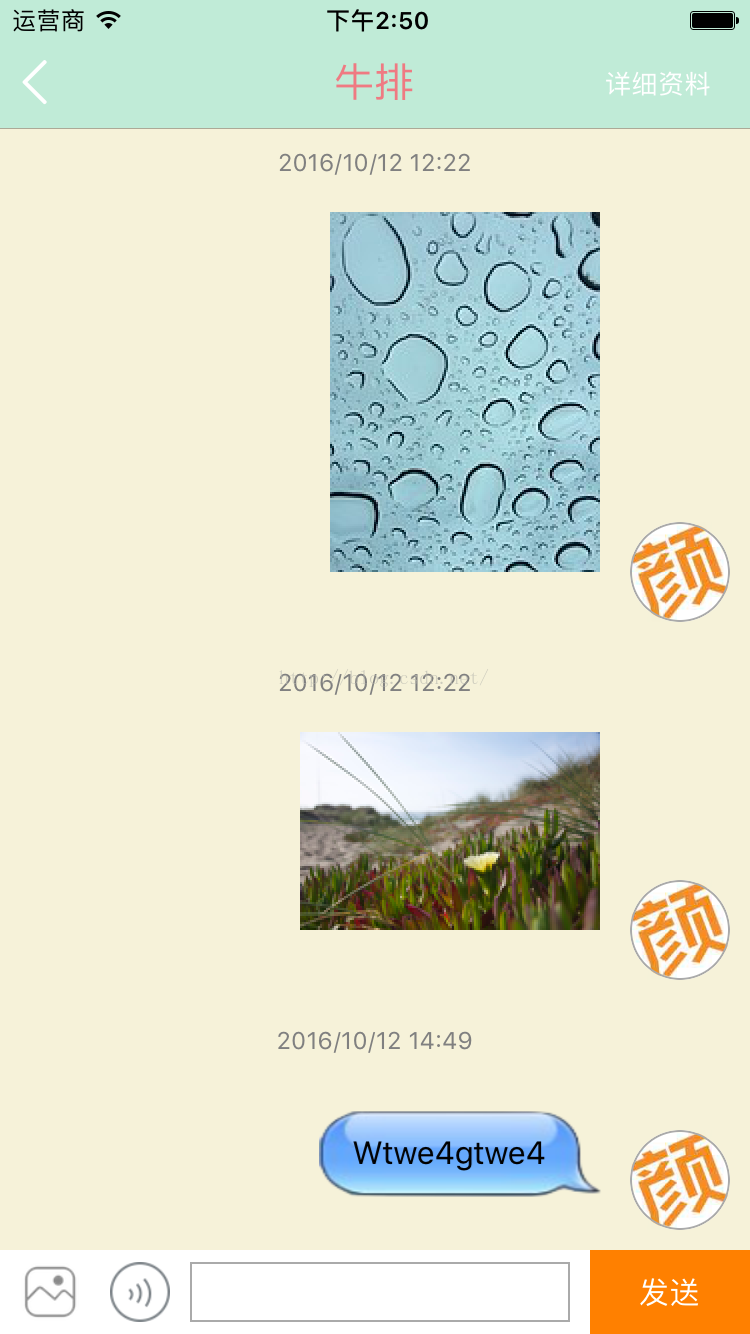
在這裡的描述不是特別詳細,因為這是一個特別大的模塊,所以一些小的細節並沒有展示出來,以及運用tableview來展示聊天的排版,通過自己與好友的id區分左右排版,通過id獲得用戶的信息展示,項目中的截圖:


相關文章
+