【iOS10 SpeechRecognition】語音辨認 現說現譯的最佳理論
首先想強調一下“語音辨認”四個字字面意義上的需求:用戶說話然後馬上把用戶說的話轉成文字顯示!,這才是開發者真正需求的功用。
做需求之前其實是先谷歌百度一下看有沒有造好的輪子直接用,後果真的很呵呵,都是標著這個庫深化學習的標題,外面調用一下api從URL裡取出一個本地語音文件停止辨認,這就沒了? 最根本的需求都沒法完成。
明天整理下關於此功用的兩種完成方式:
首先看下辨認懇求的API有兩種 SFSpeechAudioBufferRecognitionRequest 和 SFSpeechURLRecognitionRequest ,並且完成解析的方式也有兩種 block 和 delegate。 我就互相組合下兩種辦法把這些內容都能涵蓋。
在開發之前需求先在info.plist注冊用戶隱私權限,雖然大家都曾經知道了我還是說一嘴為了本文的完好性。
Privacy - Microphone Usage Description
Privacy - Speech Recognition Usage Description
再運用requestAuthorization來懇求運用權限
    [SFSpeechRecognizer requestAuthorization:^(SFSpeechRecognizerAuthorizationStatus status) {
        // 對後果枚舉的判別
    }];
關於麥克風的權限在初次開端錄音時也會提出權限選擇。
一、 SFSpeechAudioBufferRecognitionRequest 加上 block的方式
用這種方式完成次要分為以下幾個步驟
①多媒體引擎的樹立
成員變量需求添加以下幾個屬性,便於開端完畢釋放等
@property(nonatomic,strong)SFSpeechRecognizer *bufferRec;
@property(nonatomic,strong)SFSpeechAudioBufferRecognitionRequest *bufferRequest;
@property(nonatomic,strong)SFSpeechRecognitionTask *bufferTask;
@property(nonatomic,strong)AVAudioEngine *bufferEngine;
@property(nonatomic,strong)AVAudioInputNode *buffeInputNode;
初始化建議寫在啟動的辦法裡,便於啟動和封閉,假如預備運用全局的也可以只初始化一次
    self.bufferRec = [[SFSpeechRecognizer alloc]initWithLocale:[NSLocale localeWithLocaleIdentifier:@"zh_CN"]];
    self.bufferEngine = [[AVAudioEngine alloc]init];
    self.buffeInputNode = [self.bufferEngine inputNode];
②創立語音辨認懇求
    self.bufferRequest = [[SFSpeechAudioBufferRecognitionRequest alloc]init];
    self.bufferRequest.shouldReportPartialResults = true;
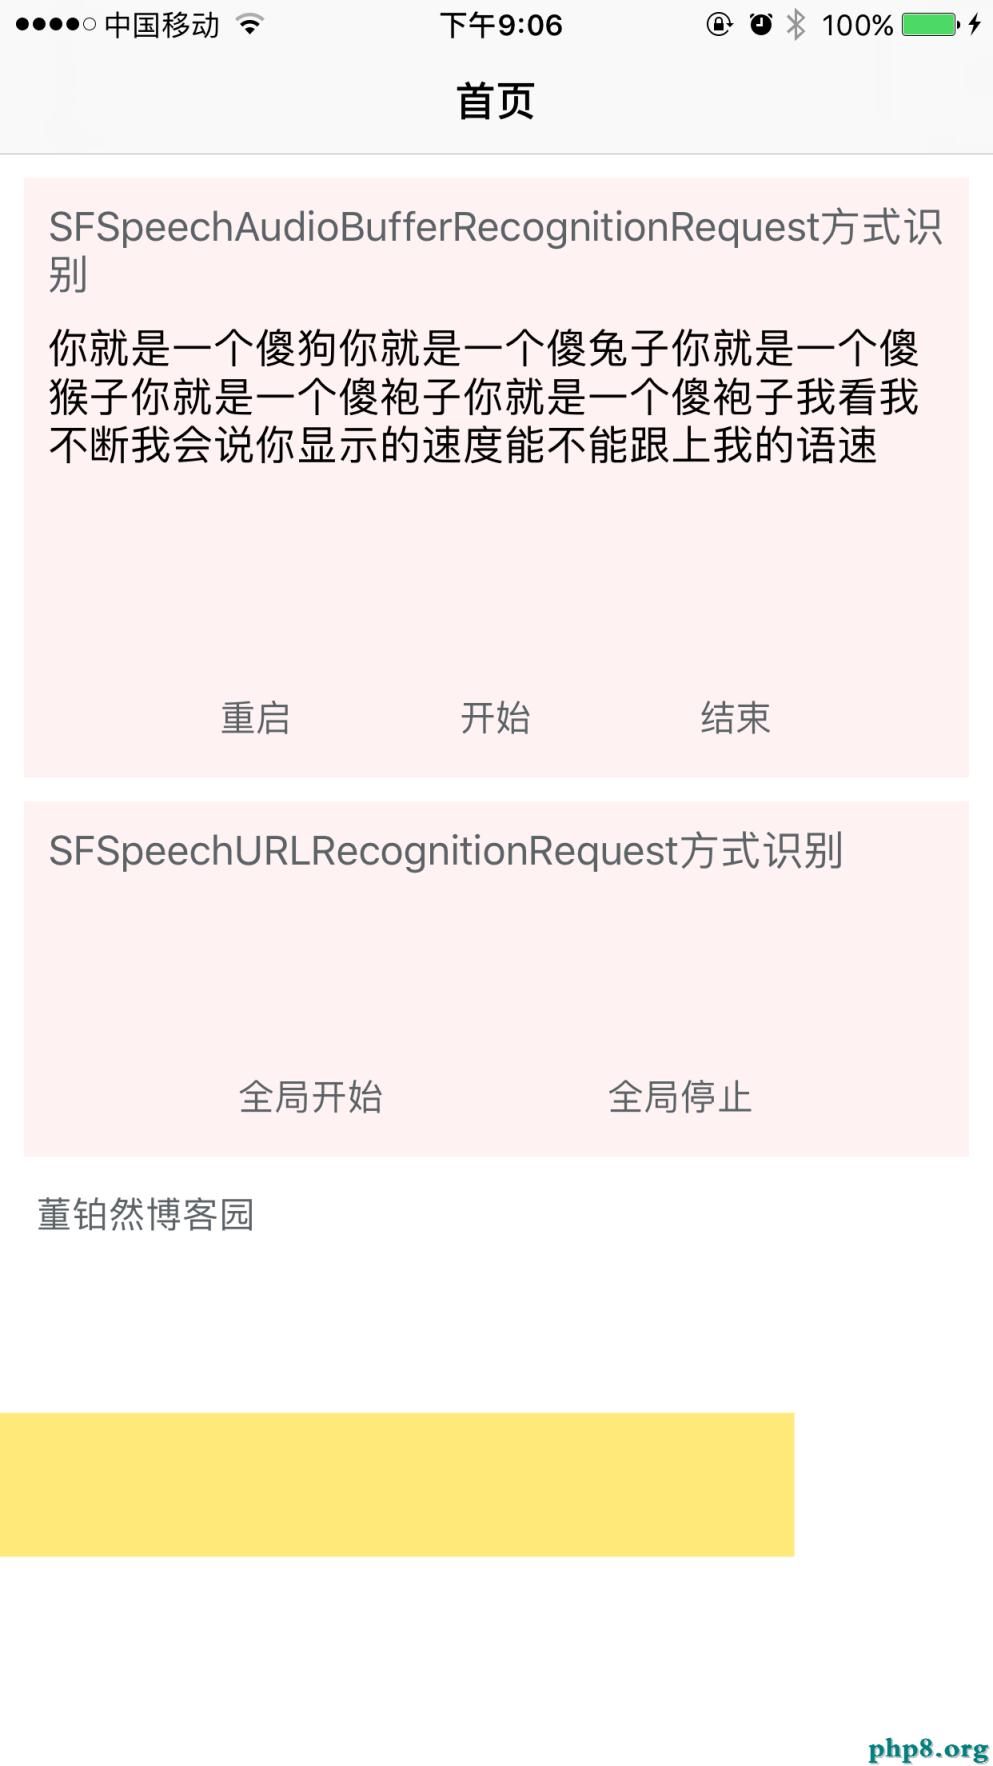
shouldReportPartialResults 其中這個屬性可以自行設置開關,是等你一句話說完再回調一次,還是每一個散碎的語音片段都會回調。
③樹立義務,並執行義務
// block外的代碼也都是預備任務,參數初始設置等
self.bufferRequest = [[SFSpeechAudioBufferRecognitionRequest alloc]init];
self.bufferRequest.shouldReportPartialResults = true;
__weak ViewController *weakSelf = self;
self.bufferTask = [self.bufferRec recognitionTaskWithRequest:self.bufferRequest resultHandler:^(SFSpeechRecognitionResult * _Nullable result, NSError * _Nullable error) {
// 接納到後果後的回調
}];
// 監聽一個標識位並拼接流文件
AVAudioFormat *format =[self.buffeInputNode outputFormatForBus:0];
[self.buffeInputNode installTapOnBus:0 bufferSize:1024 format:format block:^(AVAudioPCMBuffer * _Nonnull buffer, AVAudioTime * _Nonnull when) {
[weakSelf.bufferRequest appendAudioPCMBuffer:buffer];
}];
// 預備並啟動引擎
[self.bufferEngine prepare];
NSError *error = nil;
if (![self.bufferEngine startAndReturnError:&error]) {
NSLog(@"%@",error.userInfo);
};
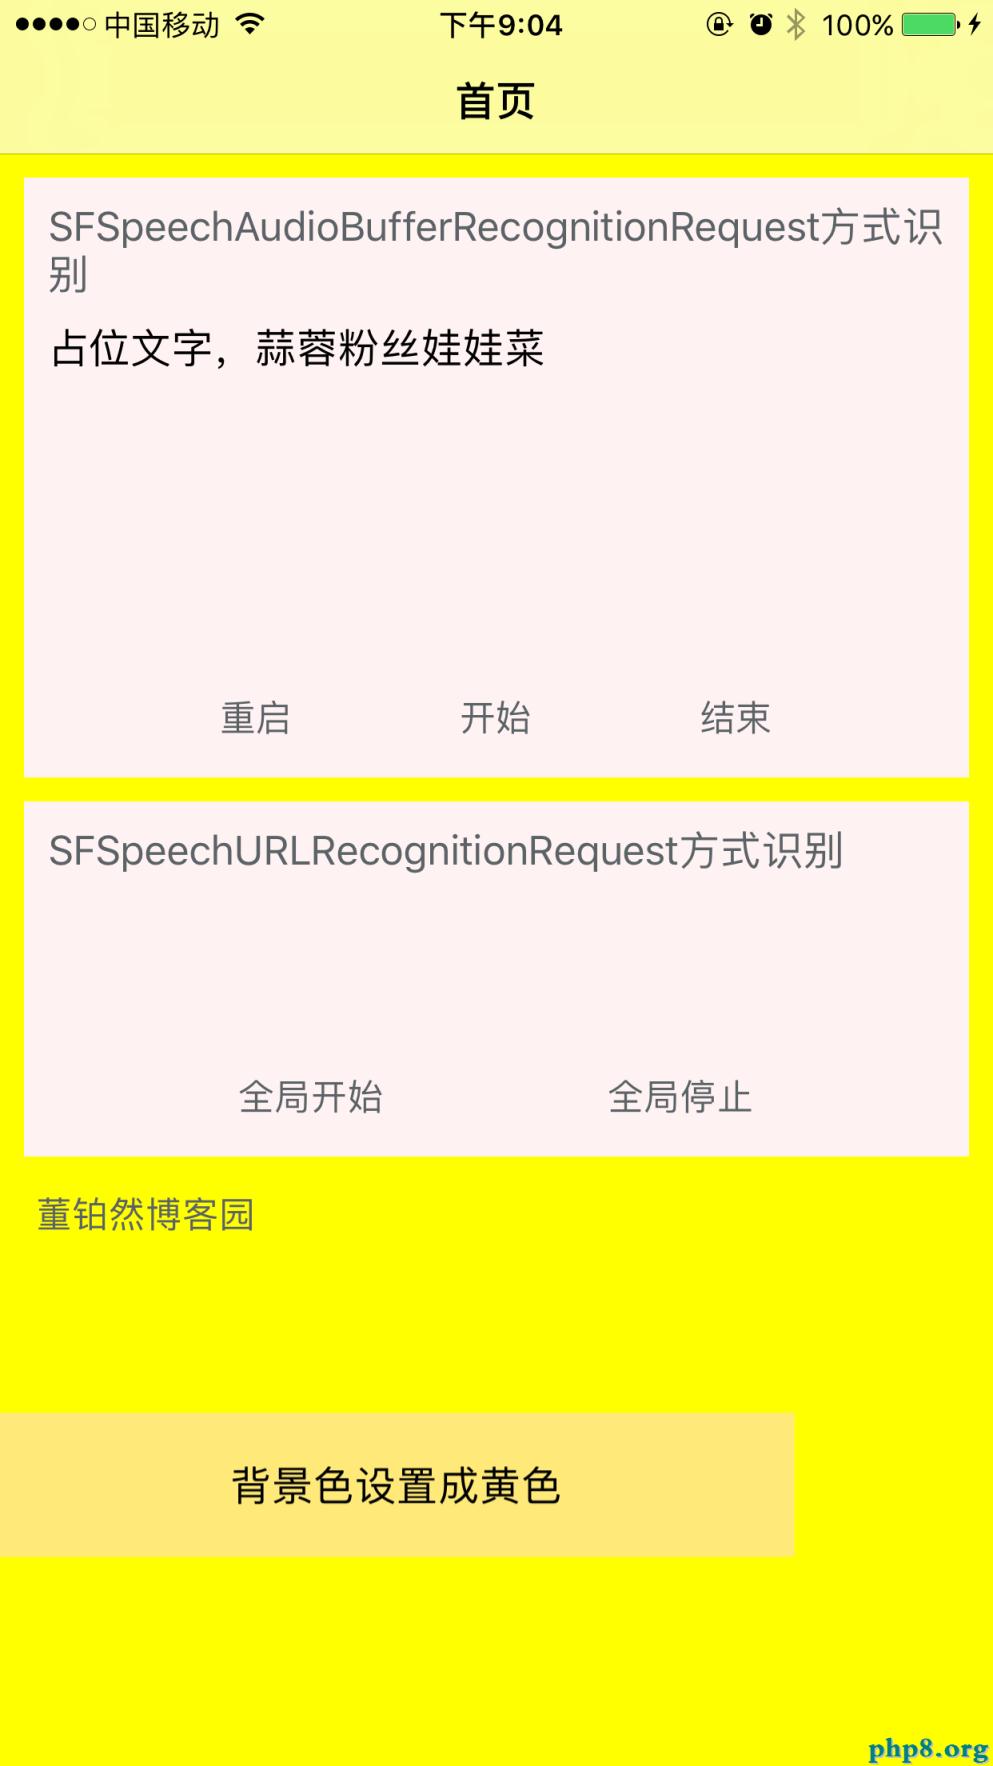
self.showBufferText.text = @"等候命令中.....";
對runloop略微理解過的人都知道,block裡面的代碼是在前一個運轉循環先執行的, 正常的啟動流程是 先初始化參數 然後 啟動引擎,然後會不時地調用拼接buffer的這個回調辦法,然後一個單位的buffer攢夠了後會回調一次下面的語音辨認後果的回調,有時分沒聲響也會調用buffer的辦法,但是不會調用下面的resulthandler回調,這個辦法外部應該有個容錯(音量power沒到設定值會自動疏忽)。
④接納到後果的回調
後果的回調就是在下面resultHandler外面的block裡了,執行後前往的參數就是result和error了,可以針對這個後果做一些操作。
        if (result != nil) {
            self.showBufferText.text = result.bestTranscription.formattedString;
        }
        if (error != nil) {
            NSLog(@"%@",error.userInfo);
        }
這個後果類型SFSpeechRecognitionResult可以看看外面的屬性 ,有最佳後果,還有備選後果的數組。假如想做准確婚配的應該得把備選數組的答案也都過濾一遍。
⑤完畢監聽
    [self.bufferEngine stop];
    [self.buffeInputNode removeTapOnBus:0];
    self.showBufferText.text = @"";
    self.bufferRequest = nil;
    self.bufferTask = nil;
這個兩頭的bus是暫時標識的節點,大約了解和端口的概念差不多。
二、SFSpeechURLRecognitionRequest 和 delegate的 辦法
block和delegate的次要區別是,block方式運用簡約, delegate則可以有更多的自定義需求的空間,由於外面有更多的後果回調生命周期辦法。
這五個辦法也沒什麼好說的,都是望文生義。 要留意的一點是第二個辦法會調用屢次,第三個辦法會在一句話說完時調用一次。
// Called when the task first detects speech in the source audio
- (void)speechRecognitionDidDetectSpeech:(SFSpeechRecognitionTask *)task;

// Called for all recognitions, including non-final hypothesis
- (void)speechRecognitionTask:(SFSpeechRecognitionTask *)task didHypothesizeTranscription:(SFTranscription *)transcription;

// Called only for final recognitions of utterances. No more about the utterance will be reported
- (void)speechRecognitionTask:(SFSpeechRecognitionTask *)task didFinishRecognition:(SFSpeechRecognitionResult *)recognitionResult;

// Called when the task is no longer accepting new audio but may be finishing final processing
- (void)speechRecognitionTaskFinishedReadingAudio:(SFSpeechRecognitionTask *)task;

// Called when the task has been cancelled, either by client app, the user, or the system
- (void)speechRecognitionTaskWasCancelled:(SFSpeechRecognitionTask *)task;

// Called when recognition of all requested utterances is finished.
// If successfully is false, the error property of the task will contain error information
- (void)speechRecognitionTask:(SFSpeechRecognitionTask *)task didFinishSuccessfully:(BOOL)successfully;
這種完成的思緒是,先完成一個錄音器(可以手動控制開端完畢,也可以是依據音調大小自動開端完畢的同步錄音器相似於會說話的湯姆貓),然後將錄音文件存到一個本地目錄,然後運用URLRequest的方式讀取出來停止翻譯。步驟分解如下
①樹立同步錄音器
需求以下這些屬性
/** 錄音設備 */
@property (nonatomic, strong) AVAudioRecorder *recorder;
/** 監聽設備 */
@property (nonatomic, strong) AVAudioRecorder *monitor;
/** 錄音文件的URL */
@property (nonatomic, strong) NSURL *recordURL;
/** 監聽器 URL */
@property (nonatomic, strong) NSURL *monitorURL;
/** 定時器 */
@property (nonatomic, strong) NSTimer *timer;
屬性的初始化
    // 參數設置
    NSDictionary *recordSettings = [[NSDictionary alloc] initWithObjectsAndKeys:
                                    [NSNumber numberWithFloat: 14400.0], AVSampleRateKey,
                                    [NSNumber numberWithInt: kAudioFormatAppleIMA4], AVFormatIDKey,
                                    [NSNumber numberWithInt: 2], AVNumberOfChannelsKey,
                                    [NSNumber numberWithInt: AVAudioQualityMax], AVEncoderAudioQualityKey,
                                    nil];

    NSString *recordPath = [NSTemporaryDirectory() stringByAppendingPathComponent:@"record.caf"];
    _recordURL = [NSURL fileURLWithPath:recordPath];

    _recorder = [[AVAudioRecorder alloc] initWithURL:_recordURL settings:recordSettings error:NULL];

    // 監聽器
    NSString *monitorPath = [NSTemporaryDirectory() stringByAppendingPathComponent:@"monitor.caf"];
    _monitorURL = [NSURL fileURLWithPath:monitorPath];
    _monitor = [[AVAudioRecorder alloc] initWithURL:_monitorURL settings:recordSettings error:NULL];
    _monitor.meteringEnabled = YES;
其中參數設置的那個字典裡,的那些常量大家不必過於上火,這是之前寫的代碼直接扒來用的,上文中設置的最優語音質量。
②開端與完畢
要想經過聲響大小來控制開端完畢的話,需求在錄音器外再額定設置個監聽器用來 檢查語音的大小 經過peakPowerForChannel 辦法檢查以後話筒環境的聲響環境音量。並且有個定時器來控制音量檢測的周期。大致代碼如下
- (void)setupTimer {
    [self.monitor record];
    self.timer = [NSTimer scheduledTimerWithTimeInterval:0.1 target:self selector:@selector(updateTimer) userInfo:nil repeats:YES]; //董鉑然博客園
}

// 監聽開端與完畢的辦法
- (void)updateTimer {

    // 不更新就沒法用了
    [self.monitor updateMeters];

    // 取得0聲道的音量,完全沒有聲響-160.0,0是最大音量
    float power = [self.monitor peakPowerForChannel:0];

    //        NSLog(@"%f", power);
    if (power > -20) {
        if (!self.recorder.isRecording) {
            NSLog(@"開端錄音");
            [self.recorder record];
        }
    } else {
        if (self.recorder.isRecording) {
            NSLog(@"中止錄音");
            [self.recorder stop];
            [self recognition];
        }
    }
}
③語音辨認的義務懇求
- (void)recognition {
    // 時鐘中止
    [self.timer invalidate];
    // 監聽器也中止
    [self.monitor stop];
    // 刪除監聽器的錄音文件
    [self.monitor deleteRecording];

    //創立語音辨認操作類對象
    SFSpeechRecognizer *rec = [[SFSpeechRecognizer alloc]initWithLocale:[NSLocale localeWithLocaleIdentifier:@"zh_CN"]];
    //            SFSpeechRecognizer *rec = [[SFSpeechRecognizer alloc]initWithLocale:[NSLocale localeWithLocaleIdentifier:@"en_ww"]];  //董鉑然博客園

    //經過一個本地的音頻文件來解析
    SFSpeechRecognitionRequest * request = [[SFSpeechURLRecognitionRequest alloc]initWithURL:_recordURL];
    [rec recognitionTaskWithRequest:request delegate:self];
}
這段經過一個本地文件停止辨認轉漢字的代碼,應該是網上傳的最多的,由於不必動腦子都能寫出來。 但是單有這一段代碼根本是沒有什麼卵用的。(除了人家微信如今有個長按把語音轉文字的功用, 其他誰的App需求 我真想不到會直接拿出一個本地音頻文件來解析,自動生成mp3歌詞?周傑倫的歌解析難度比擬大,還有語音辨認時間要求不能超越1分鐘)
④後果回調的代理辦法
- (void)speechRecognitionTask:(SFSpeechRecognitionTask *)task didFinishRecognition:(SFSpeechRecognitionResult *)recognitionResult
{
    NSLog(@"%s",__FUNCTION__);
    NSLog(@"%@",recognitionResult.bestTranscription.formattedString);
    [self setupTimer];
}
用的最多的就這個辦法了,另外不同時辰的回調辦法可以按需添加,這裡也就是復雜展現,可以看我的demo順序裡有更多功用。
https://github.com/dsxNiubility/SXSpeechRecognitionTwoWays
IOS10在語音相關辨認相關功用上有了一個大的飛躍,次要表現在兩點 一點就是下面的語音辨認,另一點是sirikit可以完成將內部的信息透傳到App內停止操作,但是暫時局限性比擬分明,只可以完成官網所說 叫車,發信息 等音訊類型,甚至連“翻開美團 搜索烤魚店”這品種型 都還不能辨認,所以暫時也無法往下做過多研討,等候蘋果之後的更新吧。
【【iOS10 SpeechRecognition】語音辨認 現說現譯的最佳理論】的相關資料介紹到這裡,希望對您有所幫助! 提示:不會對讀者因本文所帶來的任何損失負責。如果您支持就請把本站添加至收藏夾哦!