JSPatch學習
JSPatch 是一個 IOS 靜態更新框架,只需在項目中引入極小的引擎,就可以運用 JavaScript 調用任何 Objective-C 原生接口,取得腳本言語的優勢:為項目靜態添加模塊,或交換項目原生代碼靜態修復 bug。 原文
閒話不說進入正題:復雜集成JSPatch SDK
以下進程為參照JSPatch官方集成引見寫就
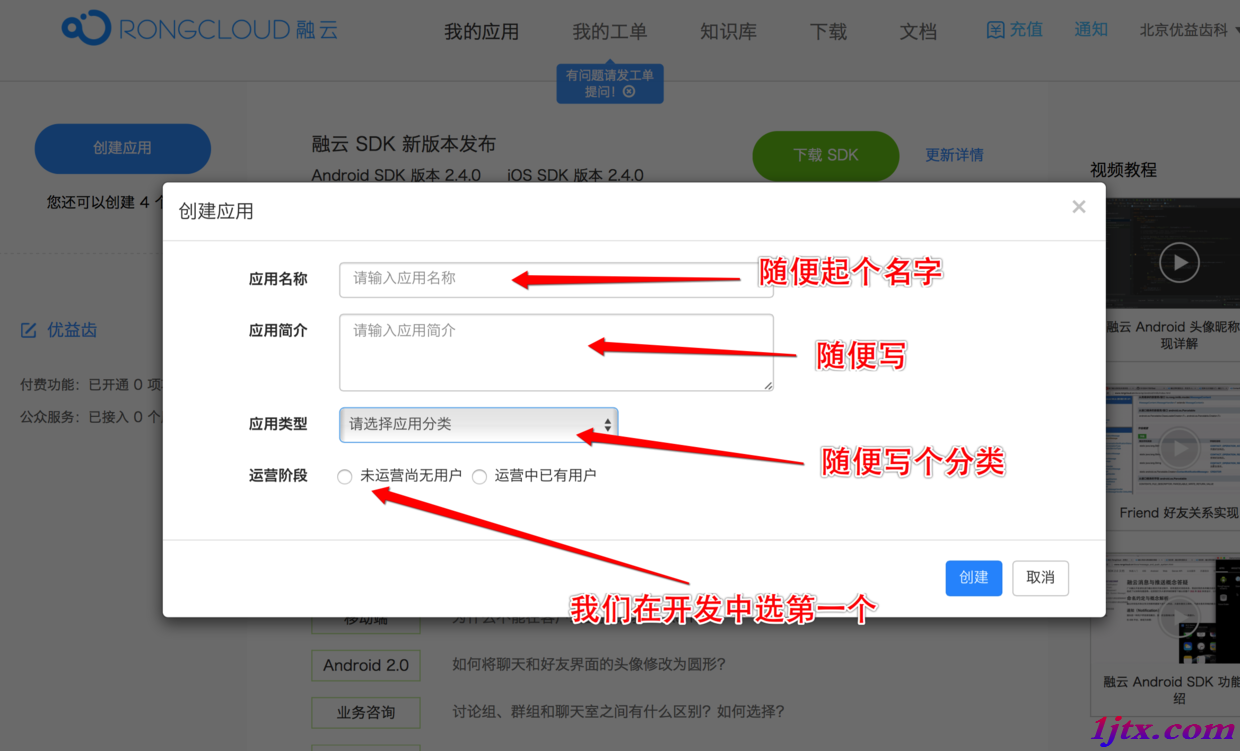
在平台上注冊帳號,可以恣意添加新 App,每一個 App 都有一個獨一的 AppKey 作為標識。
第二步 集成SDK經過 cocoapods 集成
在 podfile 中添加命令:
pod ‘JSPatchPlatform’
再執行 pod install 即可。
留意: 若運用 XCode8 接入,需求在項目 Capabilities 翻開 Keychain Sharing 開關,否則在模仿器下載腳本後會呈現 decompress error, md5 didn’t match 錯誤(真機無論能否翻開都沒問題):

在 AppDelegate.m 裡載入文件,並調用 +startWithAppKey: 辦法,參數為第一步取得的 AppKey。接著調用 +sync 辦法反省更新。:
- (BOOL)application:(UIApplication *)application didFinishLaunchingWithOptions:(NSDictionary *)launchOptions {
    // Override point for customization after application launch.

    [JSPatch startWithAppKey:@"9a013eaea38bc749"];
    [JSPatch sync];

    // set rootViewController
    self.Window = [[UIWindow alloc] initWithFrame:[UIScreen mainScreen].bounds];
    JPViewController *rootViewController = [[JPViewController alloc] init];
    UINavigationController *navigationController = [[UINavigationController alloc] initWithRootViewController:rootViewController];
    self.Window.rootViewController = navigationController;
    [self.window makeKeyAndVisible];

    [[UINavigationBar appearance] setBackgroundImage:nil forBarMetrics:UIBarMetricsCompact];

    return YES;
}
至此 JSPatch 接入終了,下一步可以開端在後台為這個 App 添加 JS 補丁文件了。
上述例子是把 JSPatch 同步放在 -application:didFinishLaunchingWithOptions: 裡,若希望補丁能及時推送,可以放在 -applicationDidBecomeActive: 裡,每次喚醒都能同步更新 JSPatch 補丁,不需求等用戶下次啟動:
#import <JSPatchPlatform/JSPatch.h>
@implementation AppDelegate
- (void)applicationDidBecomeActive:(UIApplication *)application {
    [JSPatch startWithAppKey:@"你的AppKey"];
    [JSPatch sync];
    ...
}
@end預備.js文件

main.js中的示例代碼(定義了兩個控制器類文件, 並改寫或增添了一些辦法):
defineClass('JPViewController', {
  handleBtn: function(sender) {
    var tableViewCtrl = JPTableViewController.alloc().init()
    self.navigationController().pushViewController_animated(tableViewCtrl, YES)
  }
})

defineClass('JPTableViewController : UITableViewController <UIAlertViewDelegate>', ['data'], {
  dataSource: function() {
    var data = self.data();
    if (data) return data;
    var data = [];
    for (var i = 0; i < 20; i ++) {
      data.push("cell from js " + i);
    }
    self.setData(data)
    return data;
  },
  numberOfSectionsInTableView: function(tableView) {
    return 1;
  },
  tableView_numberOfRowsInSection: function(tableView, section) {
    return self.dataSource().length;
  },
  tableView_cellForRowAtIndexPath: function(tableView, indexPath) {
    var cell = tableView.dequeueReusableCellWithIdentifier("cell")
    if (!cell) {
      cell = require('UITableViewCell').alloc().initWithStyle_reuseIdentifier(0, "cell")
    }
    cell.textLabel().setText(self.dataSource()[indexPath.row()])
    return cell
  },
  tableView_heightForRowAtIndexPath: function(tableView, indexPath) {
    return 30
  },
  tableView_didSelectRowAtIndexPath: function(tableView, indexPath) {
     var alertView = require('UIAlertView').alloc().initWithTitle_message_delegate_cancelButtonTitle_otherButtonTitles("Alert",self.dataSource()[indexPath.row()], self, "OK",  null);
     alertView.show()
  },
  alertView_willDismissWithButtonIndex: function(alertView, idx) {
    console.log('click btn ' + alertView.buttonTitleAtIndex(idx).toJS())
  }
})
接上去就要在JSPatch的管理後台上傳該main.js文件了(可以設置下發限制):
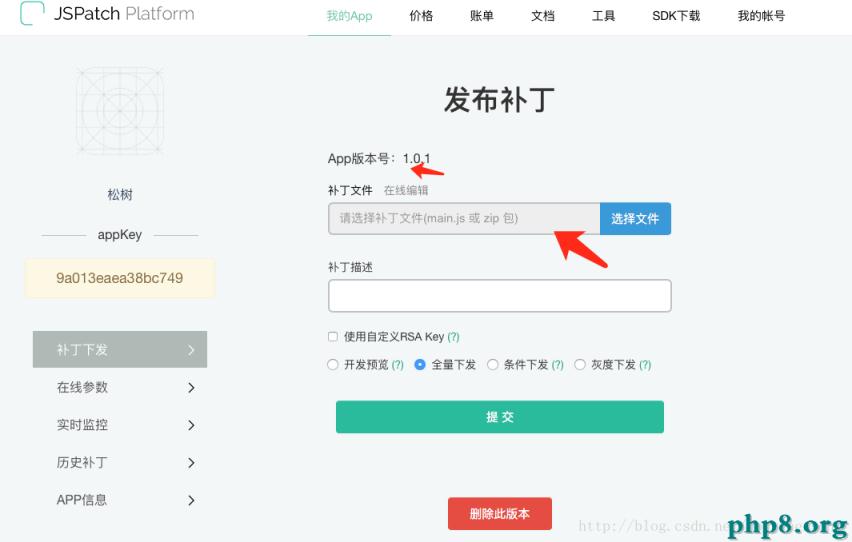
這之後運轉項目便能懇求到設置的腳本.
JPViewConroller.m中代碼
#import "JPViewController.h"
@implementation JPViewController
- (void)viewDidLoad {
[super viewDidLoad];
self.view.backgroundColor = [UIColor whiteColor];
UIButton *btn = [[UIButton alloc] initWithFrame:CGRectMake(20, 200, [UIScreen mainScreen].bounds.size.width - 40, 50)];
[btn setTitle:@"to JPTableViewController" forState:UIControlStateNormal];
[btn addTarget:self action:@selector(handleBtn:) forControlEvents:UIControlEventTouchUpInside];
[btn setBackgroundColor:[UIColor grayColor]];
[self.view addSubview:btn];
}
- (void)handleBtn:(id)sender
{
}
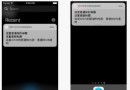
@end效果圖:
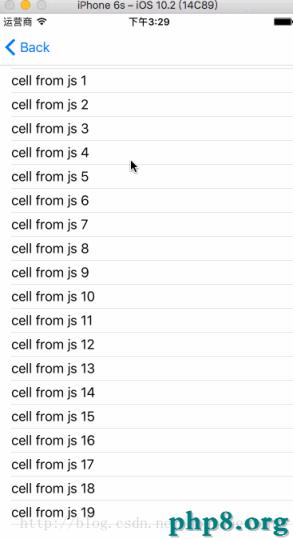
以上可見, 我並沒有在原生App中寫很多代碼, 包括定義JPTableViewController. 但最終完成了較多的功用, 這些功用都是在js中添加了.
demo下載: github
【JSPatch學習】的相關資料介紹到這裡,希望對您有所幫助! 提示:不會對讀者因本文所帶來的任何損失負責。如果您支持就請把本站添加至收藏夾哦!

- xcode8提交ipa掉敗沒法構建版本成績的處理計劃
- iOS10語音辨認框架SpeechFramework運用詳解
- iPhone/iPad開辟經由過程LocalNotification完成iOS准時當地推送功效
- 處理JSON數據由於null招致數據加載掉敗的辦法
- iOS開辟之UIKeyboardTypeNumberPad數字鍵盤自界說按鍵
- 在Swift中應用JSONModel 實例代碼
- iOS 9 Core Spotlight搜刮實例代碼
- 實例講授iOS中的UIPageViewController翻頁視圖掌握器
- iOS中應用JSPatch框架使Objective-C與JavaScript代碼交互
- iOS中治理剪切板的UIPasteboard粘貼板類用法詳解
- iOS App開辟中的UIPageControl分頁控件應用小結
- iOS運用法式中經由過程dispatch隊列掌握線程履行的辦法
- 詳解Obejective-C中將JSON數據轉為模子的辦法
- IOS框架Spring經常使用的動畫後果
- 微信JSSDK多圖片上傳而且處理IOS體系上傳一向加載的成績