iOS GPUImage研究一:圖片濾鏡
編輯:IOS開發綜合
本片介紹關於圖片濾鏡的研究:xoxo_x 著

本文參考:https://github.com/BradLarson/GPUImage#gpuimage
下載地址:
https://github.com/BradLarson/GPUImage/tree/master/examples/IOS/SimpleImageFilter
效果如下:

第一步:
CGRect mainScreenFrame = [[UIScreen mainScreen] applicationFrame];
GPUImageView *primaryView = [[GPUImageView alloc] initWithFrame:mainScreenFrame];
self.view = primaryView;
第二步:
 UIImage *inputImage = [UIImage imageNamed:@"WID-small.jpg"];
GPUImagePicture *sourcePicture = [[GPUImagePicture alloc] initWithImage:inputImage smoothlyScaleOutput:YES];
第三步:
GPUImageOutput<GPUImageInput> *sepiaFilter = [[GPUImageSobelEdgeDetectionFilter alloc] init];
第四步:
//設置紋理尺寸
 [sepiaFilter forceProcessingAtSize:imageView.sizeInPixels];

[sourcePicture addTarget:sepiaFilter];
[sepiaFilter addTarget:imageView];
//開始處理
[sourcePicture processImage];
如果想將圖片保存下來需要使用:
- (void)useNextFrameForImageCapture;
- (UIImage *)imageFromCurrentFramebuffer;
或者使用:
- (UIImage *)imageByFilteringImage:(UIImage *)imageToFilter;
即:
[sepiaFilter useNextFrameForImageCapture];

    UIImage *nearestNeighborImage = [sepiaFilter imageFromCurrentFramebuffer];
或:
UIImage *inputImage = [UIImage imageNamed:@"Lambeau.jpg"];

UIImage *nearestNeighborImage = [sepiaFilter imageByFilteringImage:inputImage];
//文件寫入本地
    NSData *dataForPNGFile1 = UIImagePNGRepresentation(nearestNeighborImage);
    NSArray *paths = NSSearchPathForDirectoriesInDomains(NSDocumentDirectory, NSUserDomainMask, YES);
    NSString *documentsDirectory = [paths objectAtIndex:0];
    NSError *error = nil;

    if (![dataForPNGFile1 writeToFile:[documentsDirectory stringByAppendingPathComponent:@"Lambeau-Resized-fsk.png"] options:NSAtomicWrite error:&error])
    {
        return;
    }
一、分析GPUImageView
@interface GPUImageView : UIView <GPUImageInput>
{
    GPUImageRotationMode inputRotation;
}
繼承:UIView 並遵守GPUImageInput協議
GPUImageInput協議內容如下:
@protocol GPUImageInput <NSObject>
- (void)newFrameReadyAtTime:(CMTime)frameTime atIndex:(NSInteger)textureIndex;
- (void)setInputFramebuffer:(GPUImageFramebuffer *)neWinputFramebuffer atIndex:(NSInteger)textureIndex;
- (NSInteger)nextAvailableTextureIndex;
- (void)setInputSize:(CGSize)newSize atIndex:(NSInteger)textureIndex;
- (void)setInputRotation:(GPUImageRotationMode)neWinputRotation atIndex:(NSInteger)textureIndex;
- (CGSize)maximumOutputSize;
- (void)endProcessing;
- (BOOL)shouldIgnoreUpdatesToThisTarget;
- (BOOL)enabled;
- (BOOL)wantsMonochromeInput;
- (void)
二、分析GPUImagePicture
@interface GPUImagePicture : GPUImageOutput
{
    CGSize pixelSizeOfImage;
    BOOL hasprocessedImage;

    dispatch_semaphore_t imageUpdateSemaphore;
}

// 初始化方法有很多
- (id)initWithURL:(NSURL *)url;
- (id)initWithImage:(UIImage *)newImageSource;
- (id)initWithCGImage:(CGImageRef)newImageSource;
- (id)initWithImage:(UIImage *)newImageSource smoothlyScaleOutput:(BOOL)smoothlyScaleOutput;
- (id)initWithCGImage:(CGImageRef)newImageSource smoothlyScaleOutput:(BOOL)smoothlyScaleOutput;
- (id)initWithImage:(UIImage *)newImageSource removePremultiplication:(BOOL)removePremultiplication;
- (id)initWithCGImage:(CGImageRef)newImageSource removePremultiplication:(BOOL)removePremultiplication;
- (id)initWithImage:(UIImage *)newImageSource smoothlyScaleOutput:(BOOL)smoothlyScaleOutput removePremultiplication:(BOOL)removePremultiplication;
- (id)initWithCGImage:(CGImageRef)newImageSource smoothlyScaleOutput:(BOOL)smoothlyScaleOutput removePremultiplication:(BOOL)removePremultiplication;

// 處理和對輸出圖片大小進行更改
- (void)processImage;
- (CGSize)outputImageSize;

/**
異步處理,回調
 */
- (BOOL)processImageWithCompletionHandler:(void (^)(void))completion;
- (void)processImageUpToFilter:(GPUImageOutput<GPUImageInput> *)finalFilterInChain withCompletionHandler:(void (^)(UIImage *processedImage))block;
三 、分析GPUImageSobelEdgeDetectionFilter (黑白漫畫)
//起名為黑白漫畫 、更好理解些
//所有的濾鏡都是繼承GPUImageFilter
GPUImageSobelEdgeDetectionFilter最終是繼承GPUImageFilter的
@interface GPUImageFilter : GPUImageOutput <GPUImageInput>所以,我們前面寫到
GPUImageOutput<GPUImageInput> *sepiaFilter = [[GPUImageSobelEdgeDetectionFilter alloc] init];就是因為繼承的關系。
四、分析addTaget
- (void)addTarget:(id<GPUImageInput>)newTarget;
{
    NSInteger nextAvailableTextureIndex = [newTarget nextAvailableTextureIndex];
    [self addTarget:newTarget atTextureLocation:nextAvailableTextureIndex];

    if ([newTarget shouldIgnoreUpdatesToThisTarget])
    {
        _targetToIgnoreForUpdates = newTarget;
    }
}
我們可以看到addTarget 是GPUImageOutput的方法,也就是說,所有的GPUImageOutput的子類夠可以使用這個函數,即繼承與GPUImageOutput的類,如上面提到的GPUImageFilter。
- (void)addTarget:(id<GPUImageInput>)newTarget;此外,凡是遵守這個協議的都是newTarget對象,如我們上面提到的GPUImageFilter以及GPUImageView。
本文所涉及到的代碼:
#import <UIKit/UIKit.h>
#import "GPUImage.h"

@interface SimpleImageViewController : UIViewController
{
    GPUImagePicture *sourcePicture;
    GPUImageOutput<GPUImageInput> *sepiaFilter;

}
#import "SimpleImageViewController.h"
@implementation SimpleImageViewController
- (void)viewDidLoad{
CGRect mainScreenFrame = [[UIScreen mainScreen] applicationFrame];
GPUImageView *primaryView = [[GPUImageView alloc] initWithFrame:mainScreenFrame];
self.view = primaryView;
[self setupDisplayFiltering];
}
#pragma mark Image filtering
- (void)setupDisplayFiltering;
{
UIImage *inputImage = [UIImage imageNamed:@"WID-small.jpg"];
sourcePicture = [[GPUImagePicture alloc] initWithImage:inputImage smoothlyScaleOutput:YES];
sepiaFilter = [[GPUImageSobelEdgeDetectionFilter alloc] init];
GPUImageView *imageView = (GPUImageView *)self.view;
[sepiaFilter forceProcessingAtSize:imageView.sizeInPixels];
[sourcePicture addTarget:sepiaFilter];
[sepiaFilter addTarget:imageView];
[sourcePicture processImage];
}
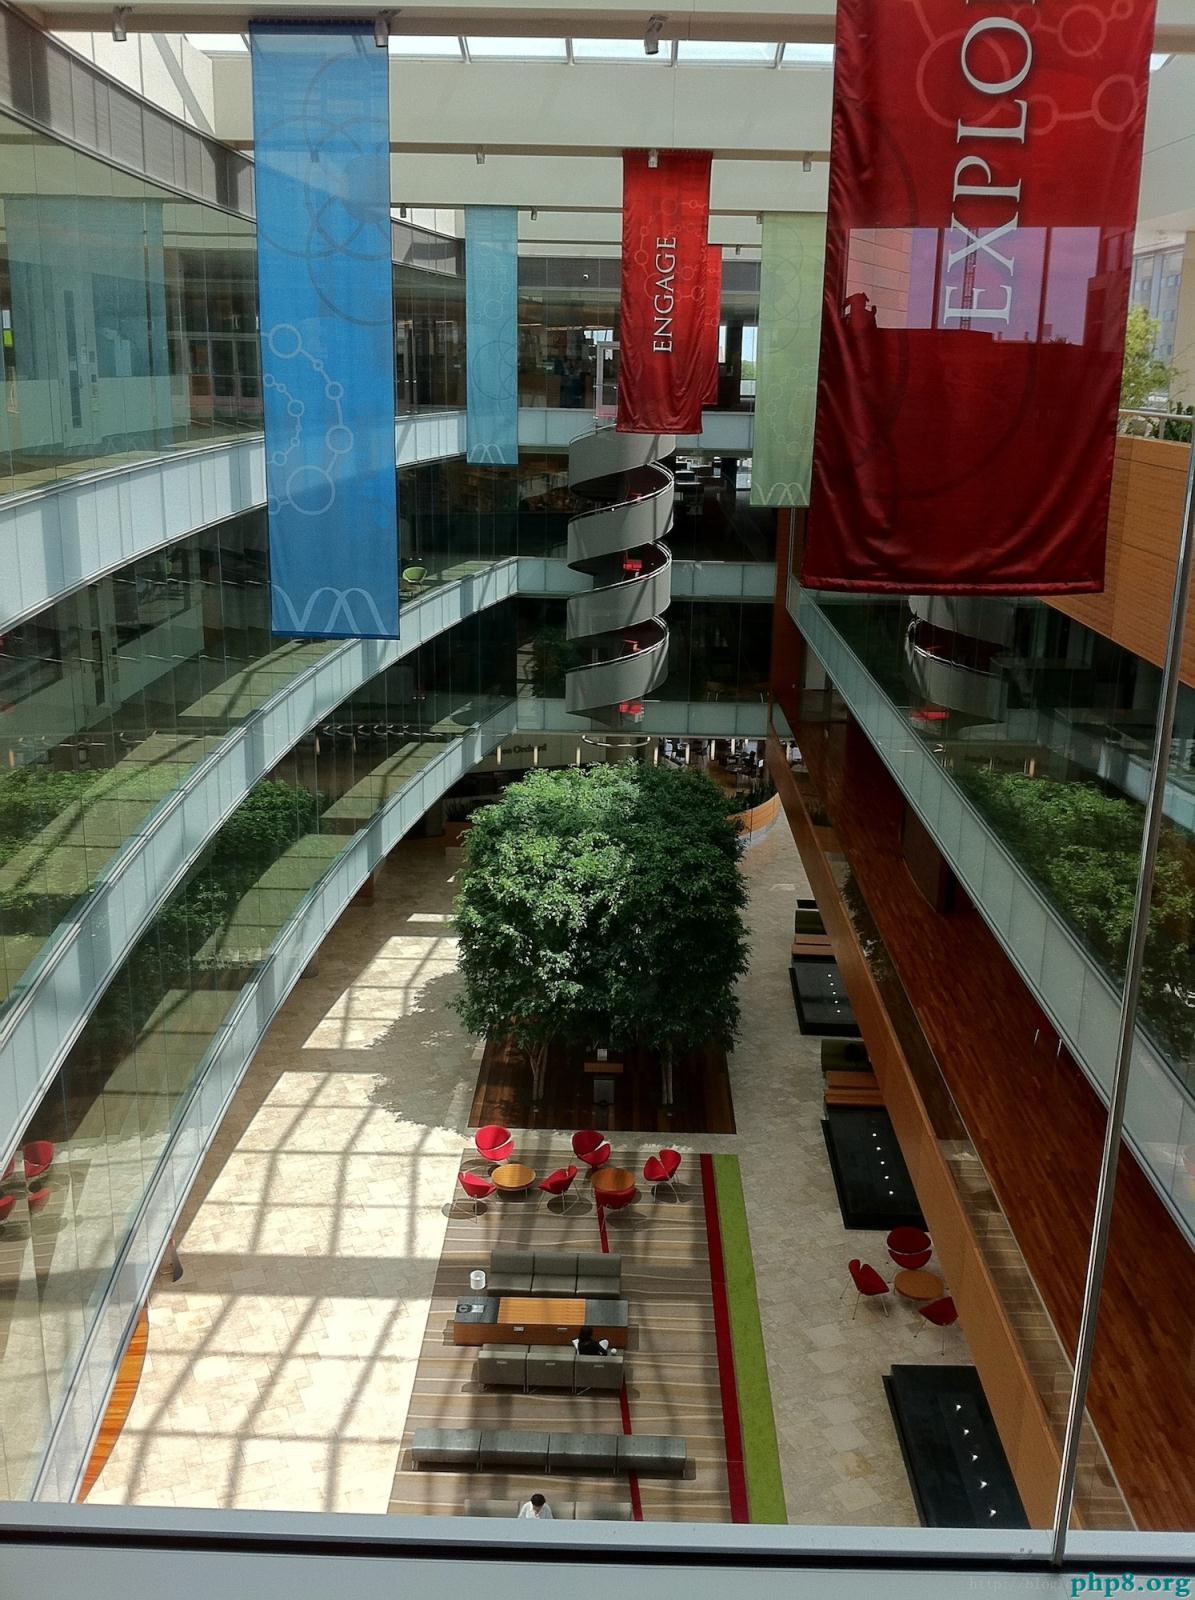
本文用到的圖片:
【iOS GPUImage研究一:圖片濾鏡】的相關資料介紹到這裡,希望對您有所幫助! 提示:不會對讀者因本文所帶來的任何損失負責。如果您支持就請把本站添加至收藏夾哦!
相關文章
+