iOS 仿微博客戶端紅包加載界面 XLDotLoading效果
編輯:IOS開發綜合
一、顯示效果
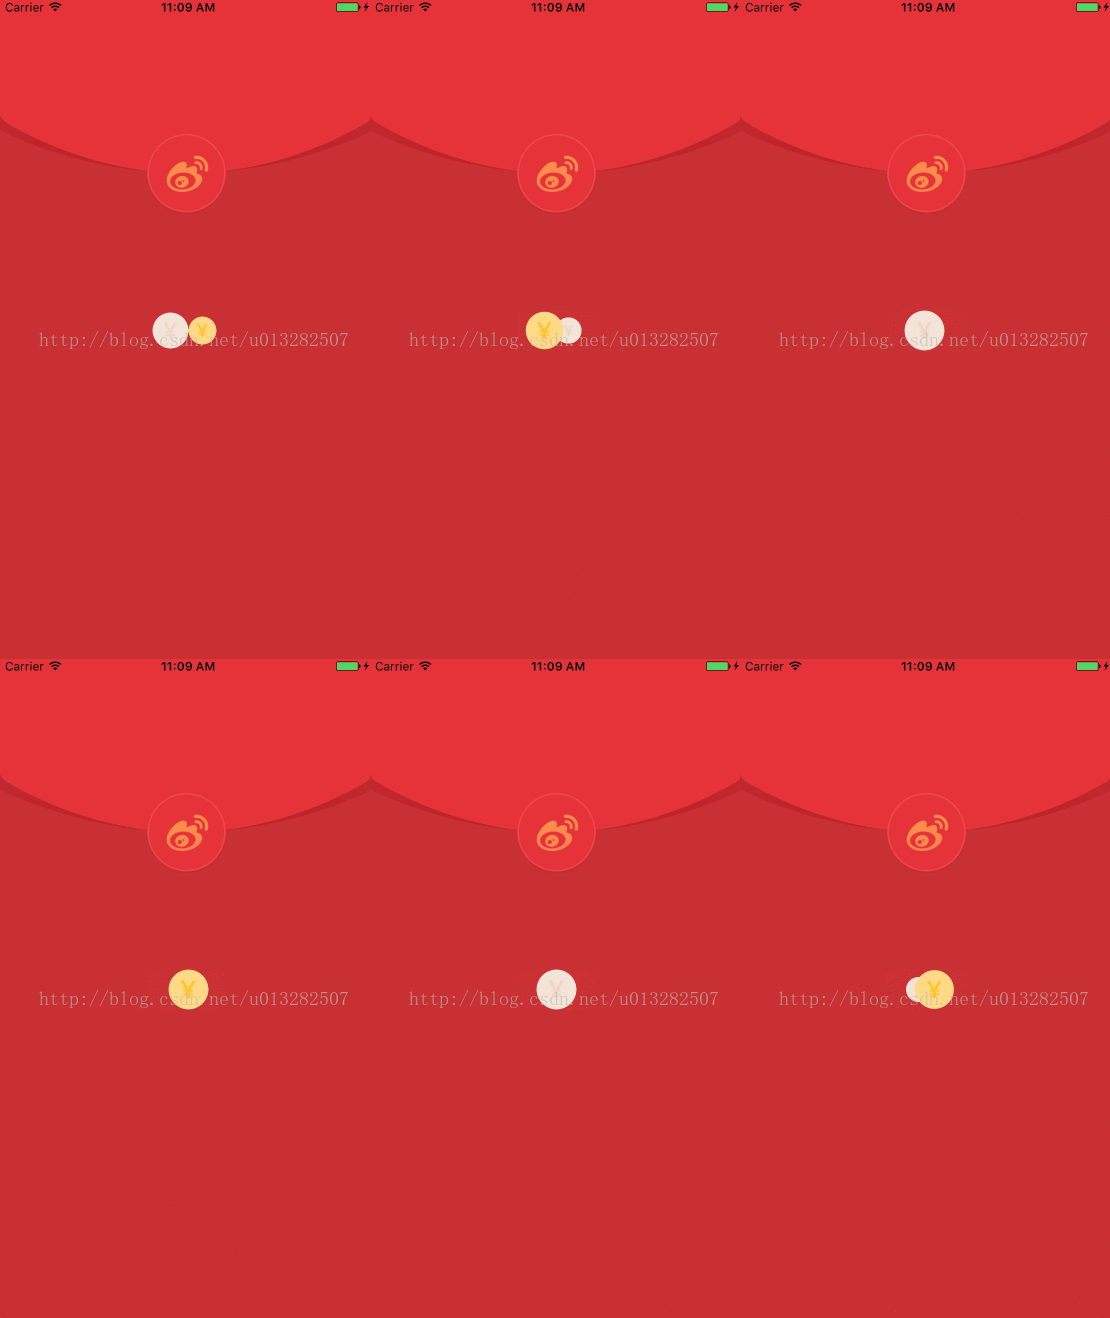
二、原理簡介
1、思路
要實現這個效果需要先知道這兩個硬幣是怎樣運動的,然後通過放大、縮小的效果實現的這種有距離感的效果。思路如下:
一、這兩個硬幣是在一定范圍內做相對運動的,可以先使一個硬幣在一個固定范圍內做左右的往復運動,另一個硬幣和它做“相對運動”即可。
二、讓硬幣從左至右移動時先變小再回復正常;從右至左移動時先變大再回復正常;這樣就實現了這用有距離感的“相對運動”。
2、代碼
第一步 要實現一個硬幣在一定范圍內實現左右往復運動,需要先固定一個范圍,當運動到左邊緣時讓其向右運動,當運動到有邊緣時讓其向左運動。
這裡用到了MVC的思想,先創建一個模型XLDot,給這個模型添加一個Direction屬性,然後通過改變模型direction屬性從而改變運動方向。
typedef NS_ENUM(NSInteger,DotDitection)
{
  DotDitectionLeft = -1,
  DotDitectionRight = 1,
};
@interface XLDot : UIView
//移動方向 就兩種 左、右
@property (nonatomic,assign) DotDitection direction;
//字體顏色
@property (nonatomic,strong) UIColor *textColor;
@end
先初始化一個豆,放在容器的左邊,方向設為向右
//初始化存放豆豆的的容器
_dotContainer = [[UIView alloc] initWithFrame:CGRectMake(0, 0, 320, 200)];
_dotContainer.center = self.center;
[self addSubview:_dotContainer];
XLDot *dot = [[XLDot alloc] initWithFrame:CGRectMake(0, 0, [self dotWidth],[self dotWidth])];
dot.backgroundColor = [UIColor redColor];
dot.direction = DotDitectionRight;
[_dotContainer addSubview:dot];
通過CADisplayLink實現刷新工作,代碼如下
_link = [CADisplayLink displayLinkWithTarget:self selector:@selector(reloadView)];
[_link addToRunLoop:[NSRunLoop mainRunLoop] forMode:NSRunLoopCommonModes];
刷新代碼如下,通過移動到左右邊緣,改變direction屬性
//刷新UI
-(void)reloadView
{
  XLDot *dot1 = _dots.firstObject;
  //改變移動方向、約束移動范圍
  //移動到右邊距時
  if (dot1.center.x >= _dotContainer.bounds.size.width - [self dotWidth]/2.0f) {
    CGPoint center = dot1.center;
    center.x = _dotContainer.bounds.size.width - [self dotWidth]/2.0f;
    dot1.center = center;
    dot1.direction = DotDitectionLeft;
    [_dotContainer bringSubviewToFront:dot1];
  }
  //移動到左邊距時
  if (dot1.center.x <= [self dotWidth]/2.0f) {
    dot1.center = CGPointMake([self dotWidth]/2.0f, dot1.center.y);
    dot1.direction = DotDitectionRight;
    [_dotContainer sendSubviewToBack:dot1];
  }
  //更新第一個豆的位置
  CGPoint center1 = dot1.center;
  center1.x += dot1.direction * [self speed];
  dot1.center = center1;
}
顯示效果:
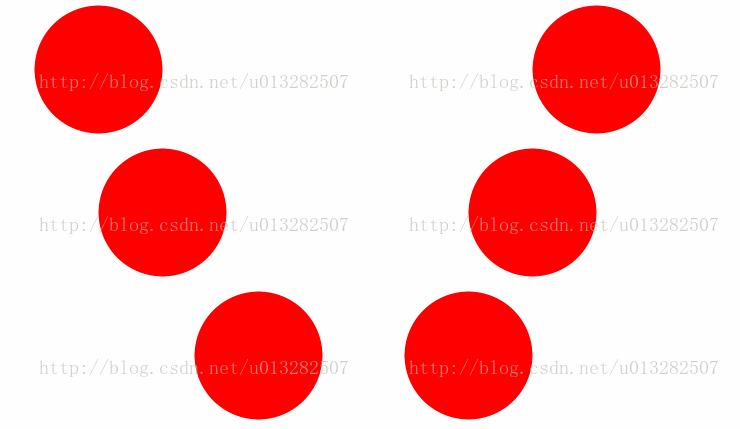
第二步 實現向左移動先放大再回復正常、向右運動先變小再回復正常。
代碼如下:
//顯示放大、縮小動畫
-(void)showAnimationsOfDot:(XLDot*)dot
{
  CGFloat apart = dot.center.x - _dotContainer.bounds.size.width/2.0f;
  //最大距離
  CGFloat maxAppart = (_dotContainer.bounds.size.width - [self dotWidth])/2.0f;
  //移動距離和最大距離的比例
  CGFloat appartScale = apart/maxAppart;
  //獲取比例對應余弦曲線的Y值
  CGFloat transfomscale = cos(appartScale * M_PI/2.0);
  //向右移動則 中間變大 兩邊變小
  if (dot.direction == DotDitectionLeft) {
    dot.transform = CGAffineTransformMakeScale(1 + transfomscale/4.0f, 1 + transfomscale/4.0f);
    //向左移動則 中間變小 兩邊變大
  }else if (dot.direction == DotDitectionRight){
    dot.transform = CGAffineTransformMakeScale(1 - transfomscale/4.0f,1 - transfomscale/4.0f);
  }
}
原理是利用余弦函數曲線-π/2到π/2先變大再變小的特性
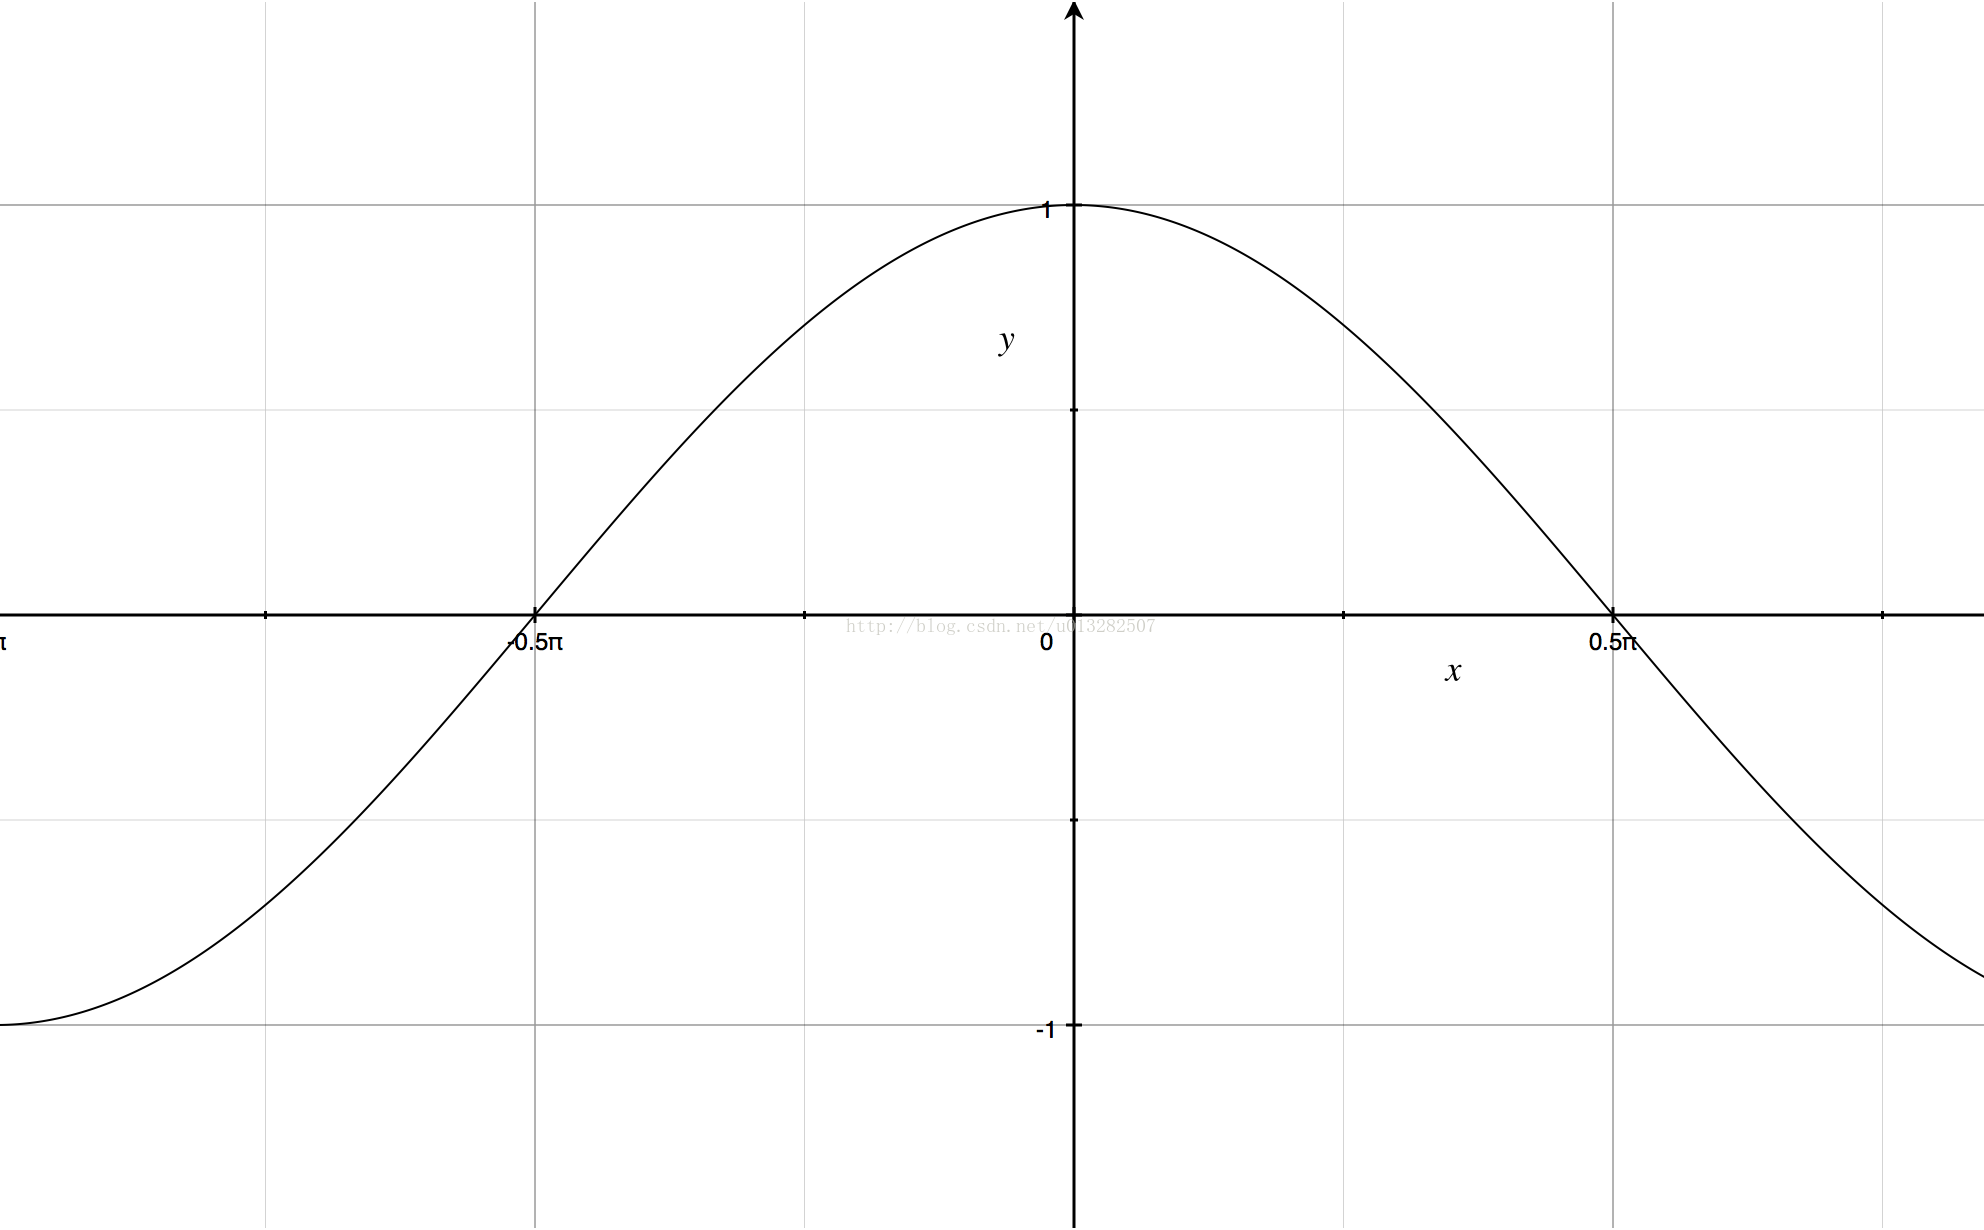
效果如下:
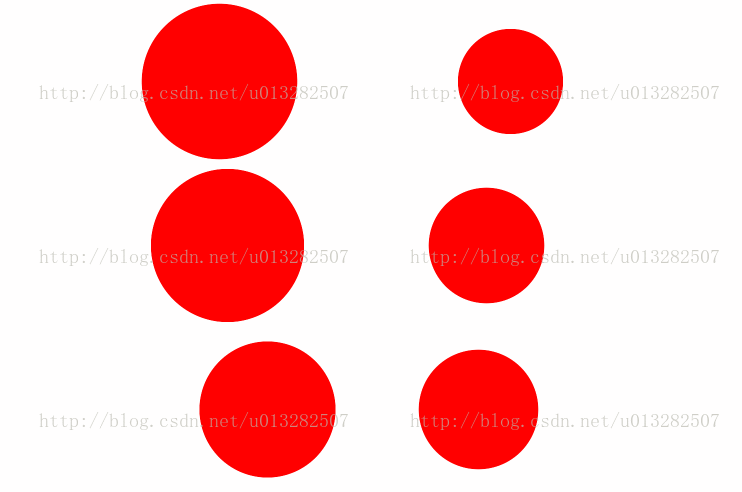
第三步 放置另一個豆豆,和第一個豆豆做“相對運動”,包括放大變小、運動方向;
保證相對距離的代碼:
CGFloat apart = dot1.center.x - _dotContainer.bounds.size.width/2.0f;
CGPoint center2 = dot2.center;
center2.x = _dotContainer.bounds.size.width/2.0f - apart;
dot2.center = center2;
效果如下:
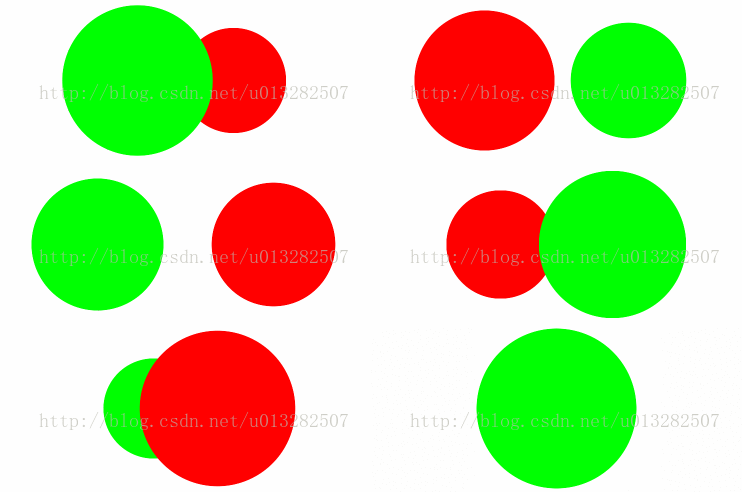
稍加潤色後:

三、代碼
GitHub地址
以上所述是小編給大家介紹的iOS 仿微博客戶端紅包加載界面 XLDotLoading效果,希望對大家有所幫助,如果大家有任何疑問請給我留言,小編會及時回復大家的。在此也非常感謝大家對本站網站的支持!
相關文章
+
