阿裡weex研究iOS(零)從0開始跑helloword
環境安裝
1、安裝nodejshttps://nodejs.org/en/ 安裝完後就可以使用npm命令了
2、npm切換到淘寶鏡像https://npm.taobao.org/
3、安裝weex環境 參考http://alibaba.github.io/weex/doc/tutorial.html
1)npm install -g weex-toolkit
2)在命令行輸入weex,回車檢查安裝是否成功
4、安裝cocoapods
1)gem安裝、更新https://rubygems.org/pages/download
2)gem切換淘寶鏡像
source -r https://rubygems.org/source -a https://ruby.taobao.org
驗證:$ gem sources -l
正常的輸出結果:
CURRENT SOURCES
http://ruby.taobao.org/
3)安裝cocoapods
sudo gem install -n /usr/local/bin cocoapods
如果報錯自己百度啦
項目初始化
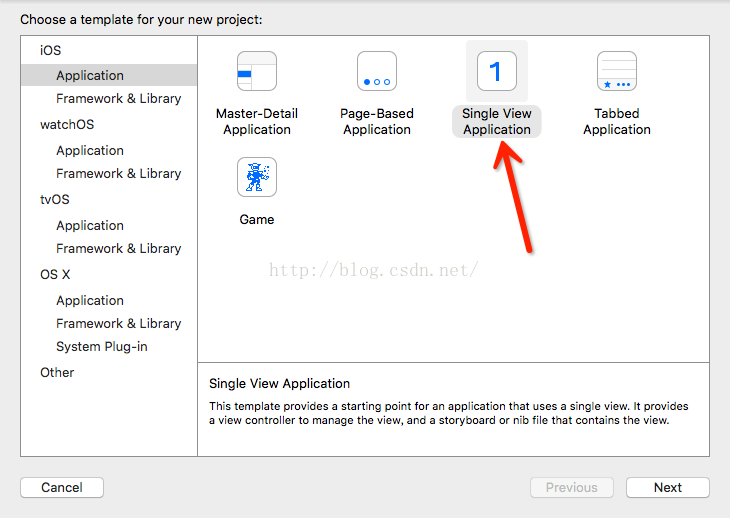
1、沒有現成的工程的話新建ios項目
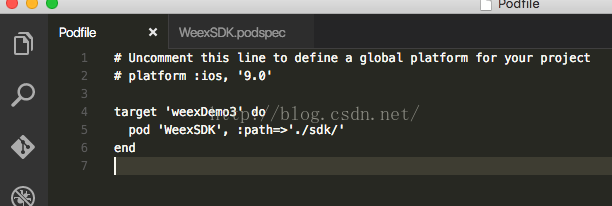
命令行cd到項目根目錄 執行 pod init,會創建一個pod配置文件
用編輯器打開,加上pod 'WeexSDK', :path=>'./sdk/'
下載最新的weexSDKhttps://github.com/alibaba/weex
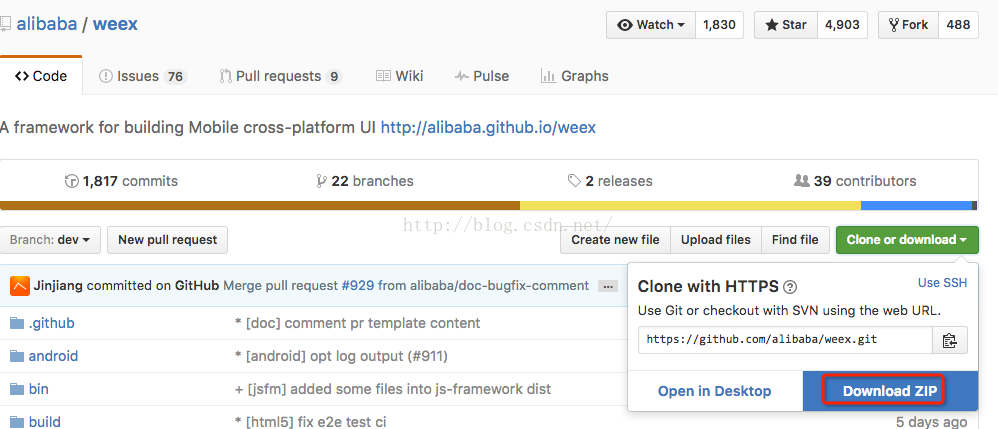
在ios目錄下有個sdk文件夾,把它復制到ios項目根目錄,和podFile裡配置的路徑一致

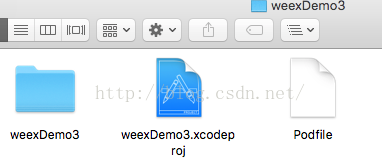
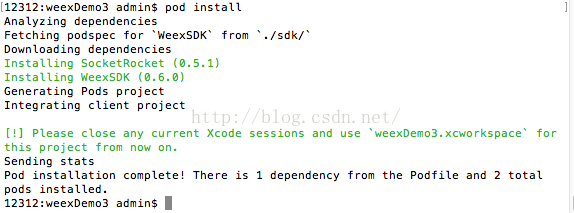
關掉xcode,在當前目錄,命令行執行pod install,
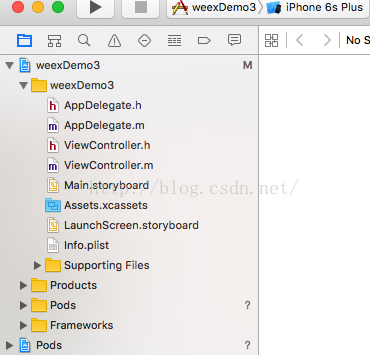
現在項目目錄變成了這樣,以後點擊xcworkspace文件打開項目

創建一個新目錄weex,命令行cd到weex目錄,執行weex init,會提示你輸入項目名稱

自動創建的文件:
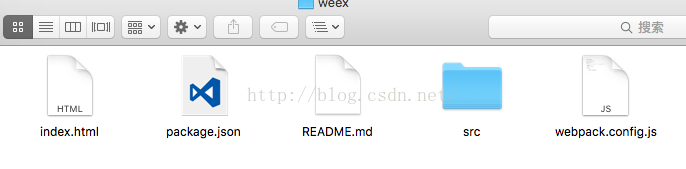
在當前目錄命令行執行npm install,安裝依賴庫
創建一個文件夾js,命令行執行weex src -o js生成最終需要的js文件
也可以weex src/main.we在浏覽器預覽
或者weex src/main.we --qr 生成二維碼,用playground App 掃描預覽
加載weex頁面
xcode打開workspace項目文件
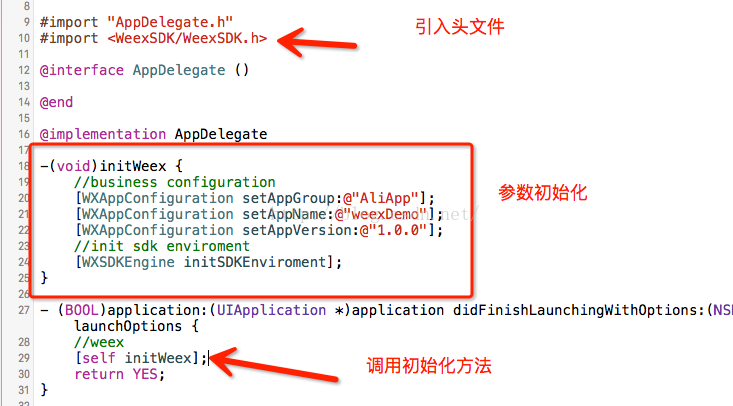
打開AppDelegate.m添加一下內容
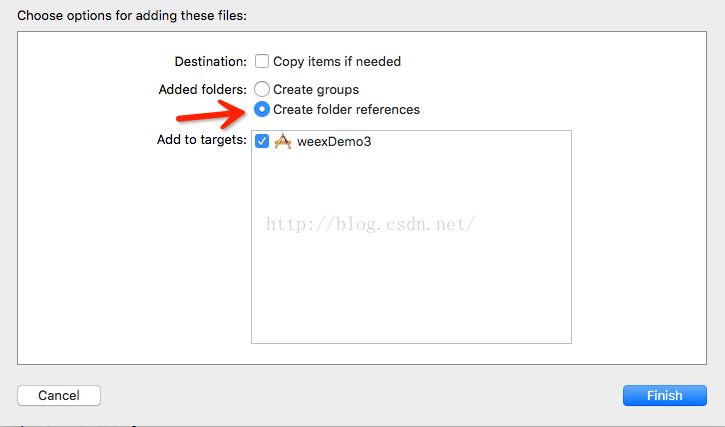
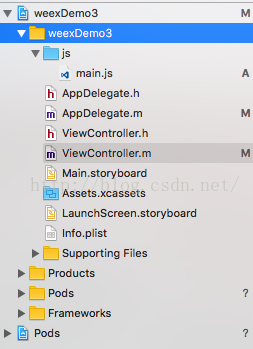
將之前創建的js文件夾拖到xcode工程的文件列表
效果是這樣的
weex視圖控制器的初始化
ViewController.h:
// // ViewController.h // weexDemo3 // // Created by admin on 16/8/3. // Copyright © 2016年 admin. All rights reserved. // #import@interface ViewController : UIViewController - (instancetype)initWithJs:(NSString *)filePath; @end
ViewController.m:
// // ViewController.m // weexDemo3 // // Created by admin on 16/8/3. // Copyright © 2016年 admin. All rights reserved. // #import "ViewController.h" #import@interface ViewController () @property (nonatomic, strong) WXSDKInstance *instance; @property (nonatomic, strong) UIView *weexView; @end @implementation ViewController{ NSURL *jsUrl; } - (instancetype)initWithJs:(NSString *)filePath { self = [super init]; if (self) { //遠程js文件 // NSString *path=[NSString stringWithFormat:@"http://192.168.232.13:8080/examples/js/%@",filePath]; //本地js文件 NSString *path=[NSString stringWithFormat:@"file://%@/js/%@",[NSBundle mainBundle].bundlePath,filePath]; NSLog(@"-----path:%@",path); jsUrl=[NSURL URLWithString:path]; } return self; } - (void)viewDidLoad { [super viewDidLoad]; _instance = [[WXSDKInstance alloc] init]; _instance.viewController = self; _instance.frame=self.view.frame; __weak typeof(self) weakSelf = self; _instance.onCreate = ^(UIView *view) { [weakSelf.weexView removeFromSuperview]; weakSelf.weexView = view; [weakSelf.view addSubview:weakSelf.weexView]; }; _instance.onFailed = ^(NSError *error) { NSLog(@"加載錯誤"); }; _instance.renderFinish = ^ (UIView *view) { NSLog(@"加載完成"); }; if (!jsUrl) { return; } [_instance renderWithURL: jsUrl]; self.view.backgroundColor=[UIColor whiteColor]; } - (void)didReceiveMemoryWarning { [super didReceiveMemoryWarning]; // Dispose of any resources that can be recreated. } - (void)dealloc { [_instance destroyInstance]; } @end
再打開AppDelegate.m創建導航控制器
引入頭文件
#import "ViewController.h"
創建導航視圖:
- (BOOL)application:(UIApplication *)application didFinishLaunchingWithOptions:(NSDictionary *)launchOptions {
    //weex
    [self initWeex];
    ViewController *vc=[[ViewController alloc]initWithJs:@"main.js"];
    UINavigationController *nav=[[UINavigationController alloc]initWithRootViewController:vc];
    self.window.rootViewController=nav;
    return YES;
}
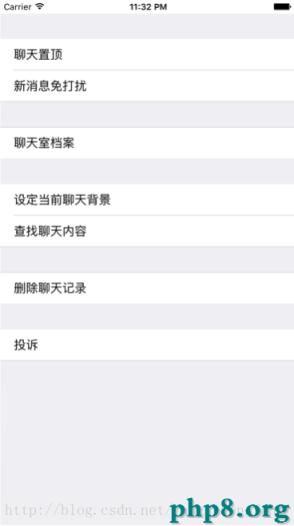
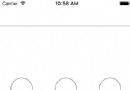
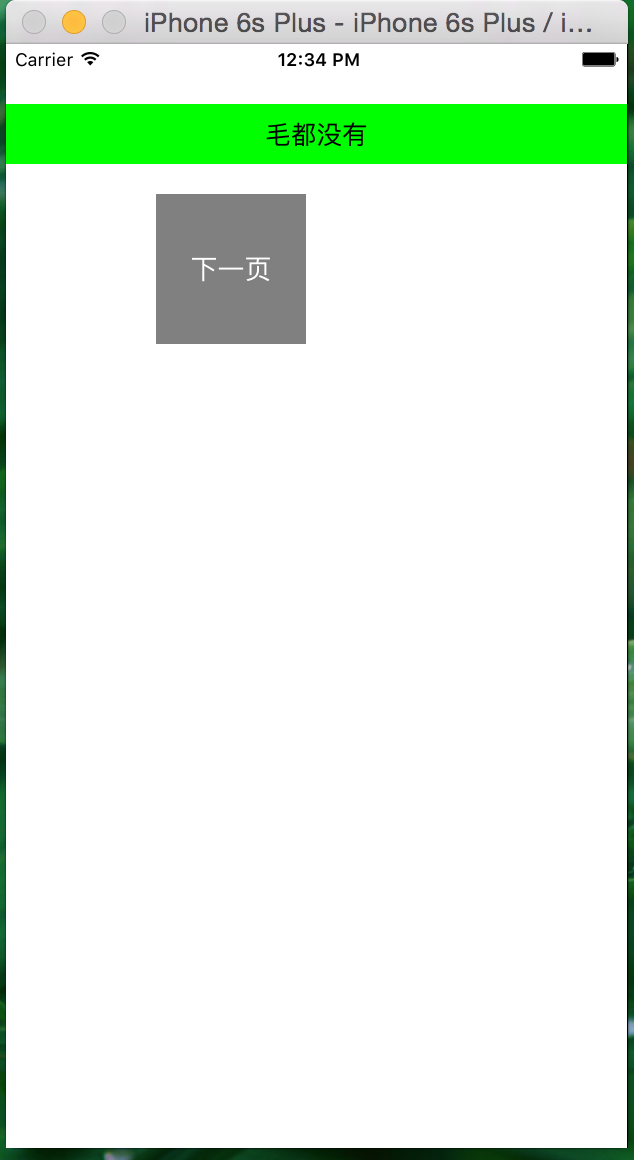
運行
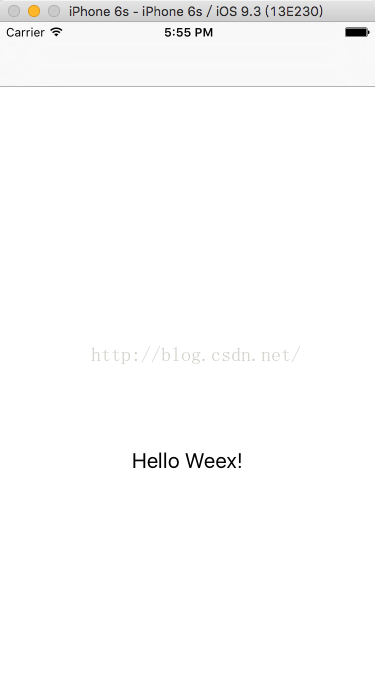
圖片不顯示是因為圖片加載需要自己創建模塊,可以直接把demo的代碼和pod配置粘過來使用

- iOS開辟中UIWebView的加載當地數據的三種方法
- iOS Webview自順應現實內容高度的4種辦法詳解
- iOS獲得cell中webview的內容尺寸
- iOS中UIWebView網頁加載組件的基本及應用技能實例
- 實例詳解IOS開辟之UIWebView
- IOS中應用UIWebView 加載網頁、文件、 html的辦法
- IOS之UIWebView的應用(根本常識)
- IOS中UIWebView的應用詳解
- 在iOS運用中應用UIWebView創立簡略的網頁閱讀器界面
- iOS開辟中WebView的根本應用辦法簡介
- iOS9中的WebKit 與 Safari帶來的欣喜
- CI Weekly #7 | Instgram/Quora 等大公司怎樣做繼續部署?
- resource fork, Finder information, or similar detritus not allowed錯誤處置步驟
- iOS之多線程單例形式、NSOperation、多圖下載、SDWebImage
- iOS開發:給UIWebview導航欄添加前往與封閉按鈕