布局萬花筒:UIColletionview
UICollectionView是iOS6的時候引入的,它同UITableView共享一套API設計,都是基於datasource和delegate,都繼承自UIScrollView。但它又與UITableView有很大不同,它進行了進一步的抽象,將它的所有子視圖的位置、大小、transform委托給了一個單獨的布局對象:UICollectionViewLayout。這是一個抽象類,我們可以繼承它來實現任何想要的布局,系統也為我們提供了一個開箱即食的實現UICollectionViewFlowLayout。在我看來,沒有任何排列布局是UICollectionViewLayout不能實現的,如果有那就自定義一個。
UITableView只能提供豎直滑動的布局,而且默認情況下cell的寬度和tableView的寬度一致,而且cell的排列順序也是挨次排列。UICollectionView則為我們提供了另一種可能:它能提供豎直滑動的布局也能提供水平滑動的布局,而且cell的位置、大小等完全由你自己決定。所以我們在遇到水平滑動的布局時,不要忙著用UIScrollView去實現,可以先考慮UICollectionView能不能滿足要求,還有一個好處是你不要自己考慮滑動視圖(cell)重用的問題。
這篇文章會講解如何自定義UICollectionViewLayout來實現任意布局,默認你已經會使用系統提供的UICollectionViewFlowLayout來進行標准的Grid View布局了。
1、UICollectionViewFlowLayout
系統為我們提供了一個自定義的布局實現:UICollectionViewFlowLayout,通過它我們可以實現Grid View類型的布局,也就是像一個一個格了挨次排列的布局,對於大多數的情況,使用它就能滿足我們的要求了。系統為我們提供了布局所需的參數,我們在使用的時候只需要去確定這些參數就行:
NS_CLASS_AVAILABLE_IOS(6_0) @interface UICollectionViewFlowLayout : UICollectionViewLayout

@property (nonatomic) CGFloat minimumLineSpacing;
@property (nonatomic) CGFloat minimumInteritemSpacing;
@property (nonatomic) CGSize itemSize;
@property (nonatomic) CGSize estimatedItemSize NS_AVAILABLE_IOS(8_0); // defaults to CGSizeZero - setting a non-zero size enables cells that self-size via -preferredLayoutAttributesFittingAttributes:
@property (nonatomic) UICollectionViewScrollDirection scrollDirection; // default is UICollectionViewScrollDirectionVertical
@property (nonatomic) CGSize headerReferenceSize;
@property (nonatomic) CGSize footerReferenceSize;
@property (nonatomic) UIEdgeInsets sectionInset;

// Set these properties to YES to get headers that pin to the top of the screen and footers that pin to the bottom while scrolling (similar to UITableView).
@property (nonatomic) BOOL sectionHeadersPinToVisibleBounds NS_AVAILABLE_IOS(9_0);
@property (nonatomic) BOOL sectionFootersPinToVisibleBounds NS_AVAILABLE_IOS(9_0);

@end
Grid View樣式的UICollectionView如下所示:

如果上面所說的Grid View類型的布局不能滿足我們的需求,這時就需要自定義一個Layout。
2、UICollectionViewLayout VS UICollectionViewFlowLayout
UICollectionViewFlowLayout繼承自UICollectionViewLayout,我們可以直接使用它,我們只需要提供cell的大小,以及行間距、列間距,它就會自己計算出每個cell的位置以及UICollectionView的滑動范圍contentSize。但它只能提供一個方向的滑動,也就是說我們自定義的類如果繼承自UICollectionViewFlowLayout,則只能是在一個方向上滑動的布局,要麼水平方向要麼豎直方向。 反之,則需要繼承自UICollectionViewLayout,UICollectionViewLayout是一個抽象類,不能直接使用。
3、自定義布局需要實現的方法
UICollectionViewLayout文檔為我們列出了需要實現的方法:

以上列出的這六個方法不是都需要我們自己實現的,而是根據需要,選擇其中的某些方法實現。
collectionViewContentSize
UICollection繼承自UIScrollView,我們都知道UIScrollView的一個重要參數:contentSize,如果這個參數不對,那麼你布局的內容就不能完全展示,而collectionViewContentSize就是為了得到這個參數,UICollection就像一個畫板,而collectionViewContentSize則規定了畫板的大小,如果是繼承自UICollectionViewFlowLayout,而且每個section裡面的cell大小是通過UICollectionViewFlowLayout的參數設定的,大小和位置也不在自定義的過程中隨意更改,那麼collectionViewContentSize是可以不自己重寫的,系統會自己計算contentSize,如果是繼承自UICollectionViewLayout,那就需要根據你自己的展示布局去提供合適的CGSize給collectionViewContentSize。
layoutAttributesForElementsInRect
這個方法的參數是UICollectionView當前的bounds,也就是視圖當前的可見區域,返回值是一個包含對象為UICollectionViewLayoutAttributes的數組,UICollectionView的可見區域內包含cell、supplementary view、decoration view(這裡統稱cell,因為它們都是collectionView的一個子視圖),它們的位置、大小等信息都由對應的UICollectionViewLayoutAttributes控制。默認情況下這個LayoutAttributes包含indexPath、frame、center、size、transform3D、alpha以及hidden屬性。如果你還需要控制其他的屬性,你可以自己自定義一個UICollectionViewLayoutAttributes的子類,加上任意你想要的屬性。
布局屬性對象(UICollectionViewLayoutAttributes)通過indexPath和cell關聯起來,當collectionView展示cell時,會通過這些布局屬性對象拿到布局信息。
返回原話題,layoutAttributesForElementsInRect方法的返回值是一個數組,這個數組裡面是傳遞進來的可見區域內的cell所對應的UICollectionViewLayoutAttributes。
要拿到可見區域內的布局屬性,通常的做法如下:
如果你是繼承自UICollectionViewFlowLayout,並且設置好了itemSize、行間距、列間距等信息,那麼你通過[super layoutAttributesForElementsInRect:rect]就能拿到可見區域內的布局屬性,反之,則進入步奏2。
創建一個空數組,用於存放可見區域內的布局屬性。
從UICollectionView的數據源中取出你需要展示的數據,然後根據你想要的布局計算出哪些indexPath在當前可見區域內,通過CGRectIntersectsRect函數可以判斷兩個CGRect是否有交集來確定。然後循環調用layoutAttributesForItemAtIndexPath:來確定每一個布局屬性的frame等數據。同樣,如果當前區域內有supplementary view或者decoration view,你也需要調用:layoutAttributesForSupplementaryViewOfKind:atIndexPath或者layoutAttributesForDecorationViewOfKind:atIndexPath,最後將這些布局屬性添加到數組中返回。這裡需要多說一點的是,有些布局屬性在UICollectionViewLayout的prepareLayout就根據數據源全部計算了出來,比如瀑布流樣式的布局,這個時候你就只需要返回布局屬性的frame和當前可見區域有交集的對象就行。
layoutAttributesFor…IndexPath
這裡用三個點,是因為有三個類似的方法:
layoutAttributesForItemAtIndexPath:
layoutAttributesForSupplementaryViewOfKind:atIndexPath:
layoutAttributesForDecorationViewOfKind:atIndexPath:
它們分別為cell、supplementaryView、decorationView返回布局屬性,它們的實現不是必須的,它們只是為對應的IndexPath返回布局屬性,如果你能通過其他方法拿到對應indexPath處的布局屬性,那就沒必要非要實現這幾個方法。
以layoutAttributesForItemAtIndexPath:為例,你可以通過+[UICollectionViewLayoutAttributes layoutAttributesForCellWithIndexPath:]方法拿到一個布局屬性對象,然後你可能需要訪問你的數據源去算出該indexPath處的布局屬性的frame等信息,然後賦值給它。
shouldInvalidateLayoutForBoundsChange
這個是用來告訴collectionView是否需要根據bounds的改變而重新計算布局屬性,比如橫豎屏的旋轉。通常的寫法如下:
  - (BOOL)shouldInvalidateLayoutForBoundsChange:(CGRect)newBounds
{
    CGRect oldBounds = self.collectionView.bounds;
    if (CGRectGetWidth(newBounds) != CGRectGetWidth(oldBounds)) {
        return YES;
    }
        return NO;
}
需要注意的是,當在滑動的過程中,需要對某些cell的布局進行更改,那麼就需要在這個方法裡面返回YES,告訴UICollectionView重新計算布局。因為一個cell的改變會引起整個UICollectionView布局的改變。
4、示例一:瀑布流實現
瀑布流的排列一般用於圖片或者商品的展示,它的布局特點是等寬變高,cell的排列是找到最短的那一列,然後把cell放到那個位置,效果如下:

下面我們來看看具體的實現,這裡的布局行間距和列間距都定位10,列數固定為3列,如上圖所示。
系統提供給我們的UICollectionViewFlowLayout顯然不能實現瀑布流的布局,因為它的默認實現是一行一列整齊對齊的,所以我們需要新建一個繼承自UICollectionViewFlowLayout的類,然後來講解一下這個類的實現。
prepareLayout
在講解如何布局瀑布流之前需要先說明一下UICollectionViewFlowLayout的prepareLayout方法,他會在UICollectionView布局之前調用,調用[self.collectionView reloadData]和[self.collectionView.collectionViewLayout invalidateLayout]的時候prepareLayout也會進行調用,如果shouldInvalidateLayoutForBoundsChange返回YES,prepareLayout方法同樣也會調用。所以這個函數是提前進行數據布局計算的絕佳地方。
在進行瀑布流布局的時候我們可以在prepareLayout裡面根據數據源,計算出所有的布局屬性並緩存起來:
  - (void)prepareLayout {
    [super prepareLayout];
    //記錄布局需要的contentSize的高度
    self.contentHeight = 0;
    //columnHeights數組會記錄各列的當前布局高度
    [self.columnHeights removeAllObjects];

    //默認高度是sectionEdge.top
    for (NSInteger i = 0; i < self.columnCount; i++) {
        [self.columnHeights addObject:@(self.edgeInsets.top)];
    }
    //清除之前所以的布局屬性數據
    [self.attrsArray removeAllObjects];
    //通過數據源拿到需要展示的cell數量
    NSInteger count = [self.collectionView numberOfItemsInSection:0];
    //開始創建每一個cell對應的布局屬性
    for (NSInteger index = 0; index < count; index++) {
        //創建indexPath
        NSIndexPath *indexPath = [NSIndexPath indexPathForItem:index inSection:0];
        //獲取cell布局屬性,在layoutAttributesForItemAtIndexPath裡面計算具體的布局信息
        UICollectionViewLayoutAttributes *attrs = [self layoutAttributesForItemAtIndexPath:indexPath];
        [self.attrsArray addObject:attrs];
    }
}
在layoutAttributesForItemAtIndexPath方法裡面去根據參數indexPath拿到數據源裡面對應位置的展示數據,根據等寬的前提,等比例的獲得布局屬性的高度,然後根據記錄每列當前布局到的高度的數組columnHeights來找到當前布局最短的那一列,從而獲取到布局屬性的origin信息,這樣在等寬的前提下就獲取到了當前indexPath處的布局屬性的frame信息。然後更新columnHeights裡面的數據,並且讓記錄布局所需高度的變量contentHeight等於當前列高度數組裡面的最大值。
  -(UICollectionViewLayoutAttributes *)layoutAttributesForItemAtIndexPath:(NSIndexPath *)indexPath {
    //獲取一個UICollectionViewLayoutAttributes對象
    UICollectionViewLayoutAttributes *attrs = [super layoutAttributesForItemAtIndexPath:indexPath];
    //列數是3,布局屬性的寬度是固定的
    CGFloat collectionViewW = self.collectionView.frame.size.width;
    CGFloat width = (collectionViewW - self.edgeInsets.left - self.edgeInsets.right - (self.columnCount - 1) * self.columnMargin) / self.columnCount;
    CGFloat height = 通過數據源以及寬度信息,獲取對應位置的布局屬性高度;
    //找到數組內目前高度最小的那一列
    NSInteger destColumn = 0;
    CGFloat minColumnHeight = [self.columnHeights[0] doubleValue];
    for (NSInteger index = 1; index < self.columnCount; index++) {
          CGFloat columnHeight = [self.columnHeights[index] doubleValue];
        if (minColumnHeight > columnHeight) {
            minColumnHeight = columnHeight;
            destColumn = index;
            break;
        }
    }
    //根據列信息,計算出origin的x
    CGFloat x = self.edgeInsets.left + destColumn * (width +self.columnMargin);
    CGFloat y = minColumnHeight;
    if (y != self.edgeInsets.top) {//不是第一行就加上行間距
        y += self.rowMargin;
    }
    //得到布局屬性的frame信息
    attrs.frame = CGRectMake(x, y, width, height);
    //更新最短那列的高度
    self.columnHeights[destColumn] = @(CGRectGetMaxY(attrs.frame));
    //更新記錄展示布局所需的高度
    CGFloat columnHeight = [self.columnHeights[destColumn] doubleValue];
    if (self.contentHeight < columnHeight) {
        self.contentHeight = columnHeight;
    }

    return attrs;
}
滑動的過程在,cell會不斷重用,系統會調用layoutAttributesForElementsInRect方法來獲取當前可見區域內的布局屬性,由於所有的布局屬性都緩存了起來,則只需返回布局屬性的frame和當前可見區域有交集的布局屬性就行。
  -(NSArray *)layoutAttributesForElementsInRect:(CGRect)rect {
    NSMutableArray *rArray = [NSMutableArray array];
    for (UICollectionViewLayoutAttributes *cacheAttr in _attrsArray) {
        if (CGRectIntersectsRect(cacheAttr.frame, rect)) {
            [rArray addObject:cacheAttr];
        }
    }

    return rArray;
}
最後由於我們自定義了每個cell的高度及布局,所以系統是不知道UICollectionView當前的contentSize的大小,所以我們需要在collectionViewContentSize方法裡返回正確的size以確保所以cell都能正常滑動到可見區域裡來。
  -(CGSize)collectionViewContentSize {
    return CGSizeMake(CGRectGetWidth(self.collectionView.frame), self.contentHeight + self.edgeInsets.bottom);
}
至此,瀑布流的布局就完成了,實現起來非常簡單,最關鍵的地方就是計算布局屬性的frame信息。
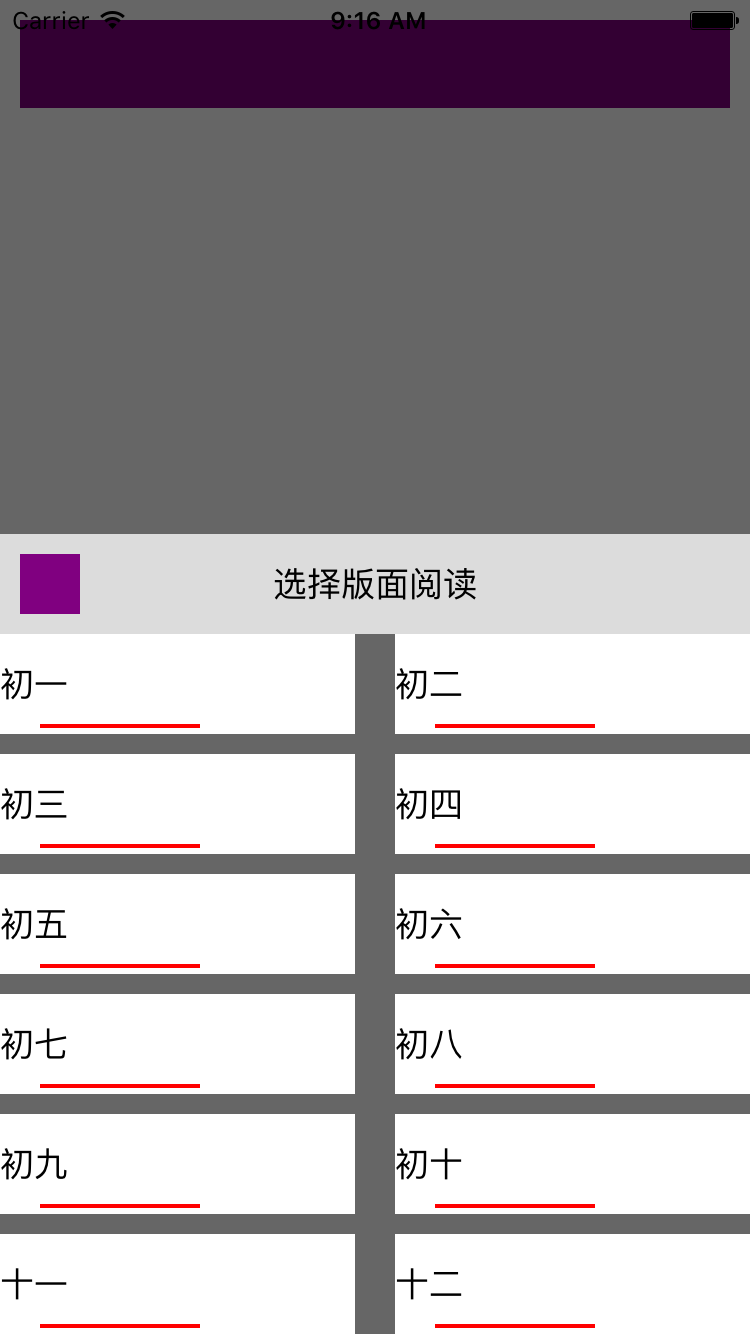
5、示例二:卡片吸頂布局
卡片吸頂布局的效果如下:

可以看到滑到頂部的cell本應該移出當前可見區域,但我們實現的效果是移到頂部後就懸停,並且可以被後來的cell覆蓋。
實現的原理非常簡單,cell的布局使用UICollectionViewFlowLayout就能實現,我們新建一個繼承自UICollectionViewFlowLayout的子類,利用這個子類創建布局,可以利用UICollectionViewFlowLayout提供的參數來構建一個不吸頂展示的collectionView:

只需要提供給UICollectionViewFlowLayoutitemSize和minimumLineSpacing就行,行間距minimumLineSpacing設置為一個負數就能建立起互相疊加的效果。
要建立吸頂的效果,只需要在原來的布局基礎上,判斷布局屬性frame小於布局頂部的y值,就將布局屬性的frame的y值設置為頂部的y值就行,這樣滑動到頂部的cell都會在頂部懸停下來。
@implementation CardCollectionViewFlowLayout

- (NSArray *)layoutAttributesForElementsInRect:(CGRect)rect
{
    //拿到當前可見區域內的布局屬性
    NSArray *oldItems = [super layoutAttributesForElementsInRect:rect];
    //處理當前可見區域內的布局屬性吸頂
    [oldItems enumerateObjectsUsingBlock:^(UICollectionViewLayoutAttributes *attributes, NSUInteger idx, BOOL *stop) {
        [self recomputeCellAttributesFrame:attributes];
    }];

    return oldItems;
}

- (void)recomputeCellAttributesFrame:(UICollectionViewLayoutAttributes *)attributes
{
    //獲取懸停處的y值
    CGFloat minY = CGRectGetMinY(self.collectionView.bounds) + self.collectionView.contentInset.top;
    //拿到布局屬性應該出現的位置
    CGFloat finalY = MAX(minY, attributes.frame.origin.y);

    CGPoint origin = attributes.frame.origin;
    origin.y = finalY;
    attributes.frame = (CGRect){origin, attributes.frame.size};
    //根據IndexPath設置zIndex能確立頂部懸停的cell被後來的cell覆蓋的層級關系
    attributes.zIndex = attributes.indexPath.row;
}

- (BOOL)shouldInvalidateLayoutForBoundsChange:(CGRect)newBounds
{
    //由於cell在滑動過程中會不斷修改cell的位置,所以需要不斷重新計算所有布局屬性的信息
    return YES;
}

@end
在實現裡面不需要-(CGSize)collectionViewContentSize方法的原因是,對於利用UICollectionViewFlowLayout來進行布局,而不是自定義的布局,系統會自動根據你設置的itemSize等信息計算出contentSize。
6、總結
通過上面的例子我們可以看到,UICollectionView相到於一個畫板,而UICollectionViewLayout則可以幫我們組織畫板的大小,以及畫板內容的組織形態。在日常開發需求中,我們也需要重視UICollectionView,利用好它可以達到事半功倍的效果。

- iOS架構設計(解耦的嘗試)之UI樣式復用與布局管理
- iOS下的界面布局利器
- iOS10、Win10完善生態布局,蘋果和微軟有何差別
- iPhone蘋果手機iOS 8.3系統輸入鍵盤布局修改介紹
- iOS開發之自定義表情鍵盤(組件封裝與自動布局)(1)
- AutoLayout代碼布局使用大全—一種全新的布局思想
- iPhone蘋果手機iOS 8.3系統輸入鍵盤布局修改介紹
- 自動布局之autoresizingMask使用詳解(Storyboard&Code)
- Storyboard中的UIScrollView使用自動布局,使其能夠滾動
- AutoLayout 布局技巧-等寬子視圖
- 源碼推薦(5.15):瀑布流布局演示demo,高仿微信限定行數文字內容
- 如何實現一個不規則排列的圖片布局算法
- 源碼推薦(7.01):SXPhotoShow三種好看的布局,GitHub第三方客戶端Monkey for GitHub
- 葉孤城:UICollectionView自定義布局教程——Pinterest
- 源碼推薦(9.16):一個實現QQ空間和Path個人主頁的景深效果DEMO,iOS 流式自動布局適配All Screen