IOS項目開發布局三
IOS項目開發布局三
上次講到項目文件夾的模版,下面我開始以側邊欄為例,繼續講框架。
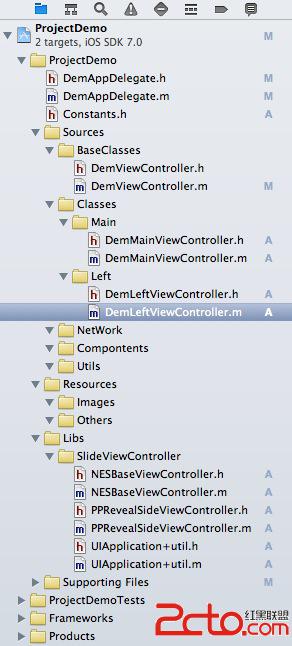
首先看文件的結構布局圖如下:
 vc7EvP48L3A+CjxwPjIuIMq508Oy4LHfwLi0+sLr1NpEZW1BcHBEZWxlZ2F0ZdbQzO2808jnz8KjuqOo1vfSqrT6wuujqTwvcD4KPHA+PC9wPgo8cHJlIGNsYXNzPQ=="brush:java;">- (BOOL)application:(UIApplication *)application didFinishLaunchingWithOptions:(NSDictionary *)launchOptions
{
self.window = [[[UIWindow alloc] initWithFrame:[[UIScreen mainScreen] bounds]] autorelease];
SLVMainViewController *mainViewController = [[SLVMainViewController alloc] init];
mainViewController.view.backgroundColor = [UIColor greenColor];
self.sideViewController = [[PPRevealSideViewController alloc] initWithRootViewController:mainViewController];
self.sideViewController.delegate = self;
[mainViewController release];
self.window.rootViewController = self.sideViewController;
[self.window makeKeyAndVisible];
return YES;
}
3. 在Constants文件中定義一些全局的宏
vc7EvP48L3A+CjxwPjIuIMq508Oy4LHfwLi0+sLr1NpEZW1BcHBEZWxlZ2F0ZdbQzO2808jnz8KjuqOo1vfSqrT6wuujqTwvcD4KPHA+PC9wPgo8cHJlIGNsYXNzPQ=="brush:java;">- (BOOL)application:(UIApplication *)application didFinishLaunchingWithOptions:(NSDictionary *)launchOptions
{
self.window = [[[UIWindow alloc] initWithFrame:[[UIScreen mainScreen] bounds]] autorelease];
SLVMainViewController *mainViewController = [[SLVMainViewController alloc] init];
mainViewController.view.backgroundColor = [UIColor greenColor];
self.sideViewController = [[PPRevealSideViewController alloc] initWithRootViewController:mainViewController];
self.sideViewController.delegate = self;
[mainViewController release];
self.window.rootViewController = self.sideViewController;
[self.window makeKeyAndVisible];
return YES;
}
3. 在Constants文件中定義一些全局的宏
4. DemViewController.h和DemViewController.m 是所有ViewController的基類,在裡面可以添加一些公用的代碼
代碼片段如下:
- (id)init
{
    if (self = [super init]) {
        if ([self respondsToSelector:@selector(setAutomaticallyAdjustsScrollViewInsets:)]) {
            [self setAutomaticallyAdjustsScrollViewInsets:NO];
        }
        if ([self respondsToSelector:@selector(setEdgesForExtendedLayout:)]) {
            [self setEdgesForExtendedLayout:UIRectEdgeNone];
        }
    }

    return self;
}
說明如下:
在init方法中添加的代碼是為了適配IOS7和IOS7以前的版本,因為IOS7的視圖會占用狀態欄。
5. 在DemMainViewController中添加需要注意的代碼如下
- (void)addMainController
{
    UIViewController *viewController = [[UIViewController alloc] init];
    viewController.view.backgroundColor = [UIColor blueColor];
    viewController.title = @"主頁面";
    viewController.navigationItem.leftBarButtonItem=[[UIBarButtonItem alloc] initWithBarButtonSystemItem:UIBarButtonSystemItemReply target:self action:@selector(showLeftController)];

    UILabel *contentLabel = [[UILabel alloc] initWithFrame:CGRectMake(0, 0, 100, 40)];
    contentLabel.center = CGPointMake(viewController.view.bounds.size.width/2, (viewController.view.bounds.size.height - 64)/2);
    contentLabel.text = @"主視圖";
    contentLabel.textColor = [UIColor redColor];
    contentLabel.backgroundColor = [UIColor clearColor];
    contentLabel.font = [UIFont systemFontOfSize:30.f];
    [viewController.view addSubview:contentLabel];
    [contentLabel release];

    _mainNavController = [[UINavigationController alloc] initWithRootViewController:viewController];
    [_mainNavController.view setFrame:self.view.bounds];
    [viewController release];
    [self.view addSubview:_mainNavController.view];
}
說明:注意紅色部分的代碼,如果不添加這一行代碼,導航欄視圖會下移20個像素
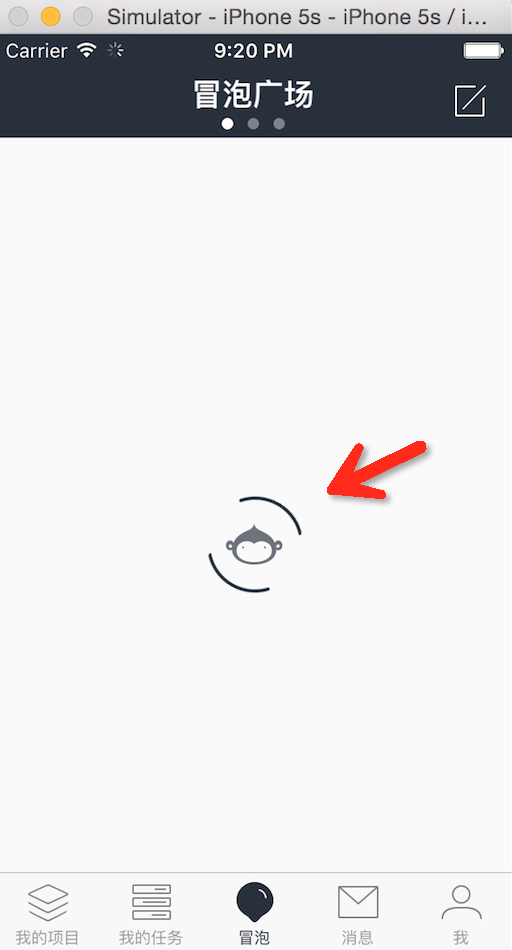
6. 運行的效果圖如下:
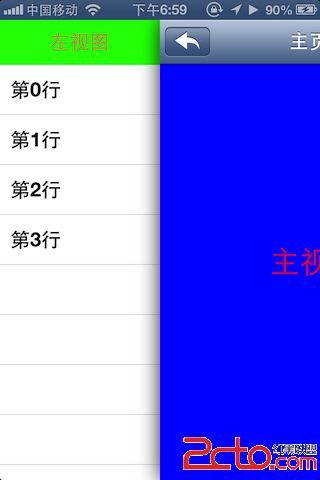
IOS6系統的運行圖
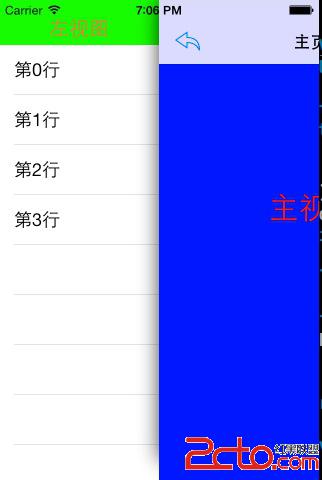 系統的運行圖
提供項目工程的下載地址如下:http://download.csdn.net/detail/chchong1234/6979661
- 上一頁:iOS安全攻防(二十):越獄檢測的攻與防
- 下一頁:IOS項目開發布局二